Zap tutorial SimplyBook and Gmail
We are often asked how to send confirmation email to more than one email address. It may be needed if client has an agent or if some other people need to receive confirmation letters for clients or service providers. Now this option becomes available with our new application on Zapier!
Firstly, create an intake form for the 2nd recipient in admin Simplybook app with the help of Intake Forms Custom Feature.

After creating an intake form, you will see the variable name.

In the picture, it is [data_field_7] (but it can be data_field_2, data_field_3…). This variable will contain the alternative email address needed for synchronization with Gmail.
Then create a test booking on your Simplybook booking page. It is needed to notify the system that the new form was created in the system and is ready for further usage.
When Simplybook preparations are over, it is time to switch to Zapier settings. If you don’t have Zapier account yet, please register and add Simplybook to your list of applications. Detailed instructions, invitation link and examples are here . After that, press “Make a New Zap”.
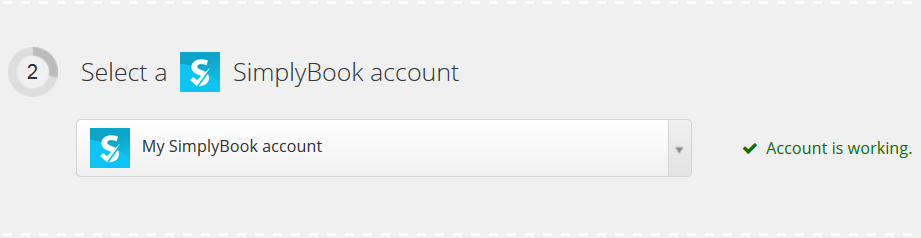
Next, you will need to connect your SimplyBook account.

Verify your Simplybook account.

Connect and verify your Gmail account.


You can filter SimplyBook events if needed.

In “Match up Simplybook booking to Gmail Email” select recipients of notification and select the variable of your recently created intake form. Please note, that your client will receive 2 email notifications, one from Simplybook (sent immediately) and one from Zapier (is sent in 5 minutes after booking). You may disable email notifications for clients in Simplybook Settings//Email and SMS settings by unchecking the corresponding boxes.

Then enter notification text and press “Continue”. You can create more detailed and rich notification than the one on the example by adding text and using variables from the list.

Test your newly created Zap.

Name it and turn this Zap on.

Check this Zap in the Zap list.

Congratulations, you have created a new connection that will send the copies of confirmation emails to various recipients!