Translations:WordPress integration/8/fr: Difference between revisions

From SimplyBook.me
 
(No difference)

Latest revision as of 12:30, 19 May 2025

Information about message (contribute)
This message has no documentation. If you know where or how this message is used, you can help other translators by adding documentation to this message.
Message definition (WordPress integration)
[[File:Booking widget path redesigned.png|1200px | center|link=https://help.simplybook.me/images/6/68/Booking_widget_path_redesigned.png]]
<br><br>
[[File:Booking widget design path redesigned.png|1200px | center|link=https://help.simplybook.me/images/3/37/Booking_widget_design_path_redesigned.png]]
<br><br>
[[File:Copy widget code redesigned.png|1200px | center|link=https://help.simplybook.me/images/b/b4/Copy_widget_code_redesigned.png ]]
<br><br>
:2. Go to your WordPress admn side and create a new page or navigate to already created one, where you plan to add the widget. Click on <span style="background-color:#d4f8e5; padding:5px; border-radius:5px;">+</span> icon.
[[File:Creating new page wp.png | center]]
<br><br>
:3. Search for <span style="background-color:#d4f8e5; padding:5px; border-radius:5px;">HTML</span> option.
[[File:Add html editor.png | center]]
<br><br>
:4. Paste the previously copied code.
[[File:Paste the code.png | center]]
<br><br>
:5. Publish your changes.
<br><br>


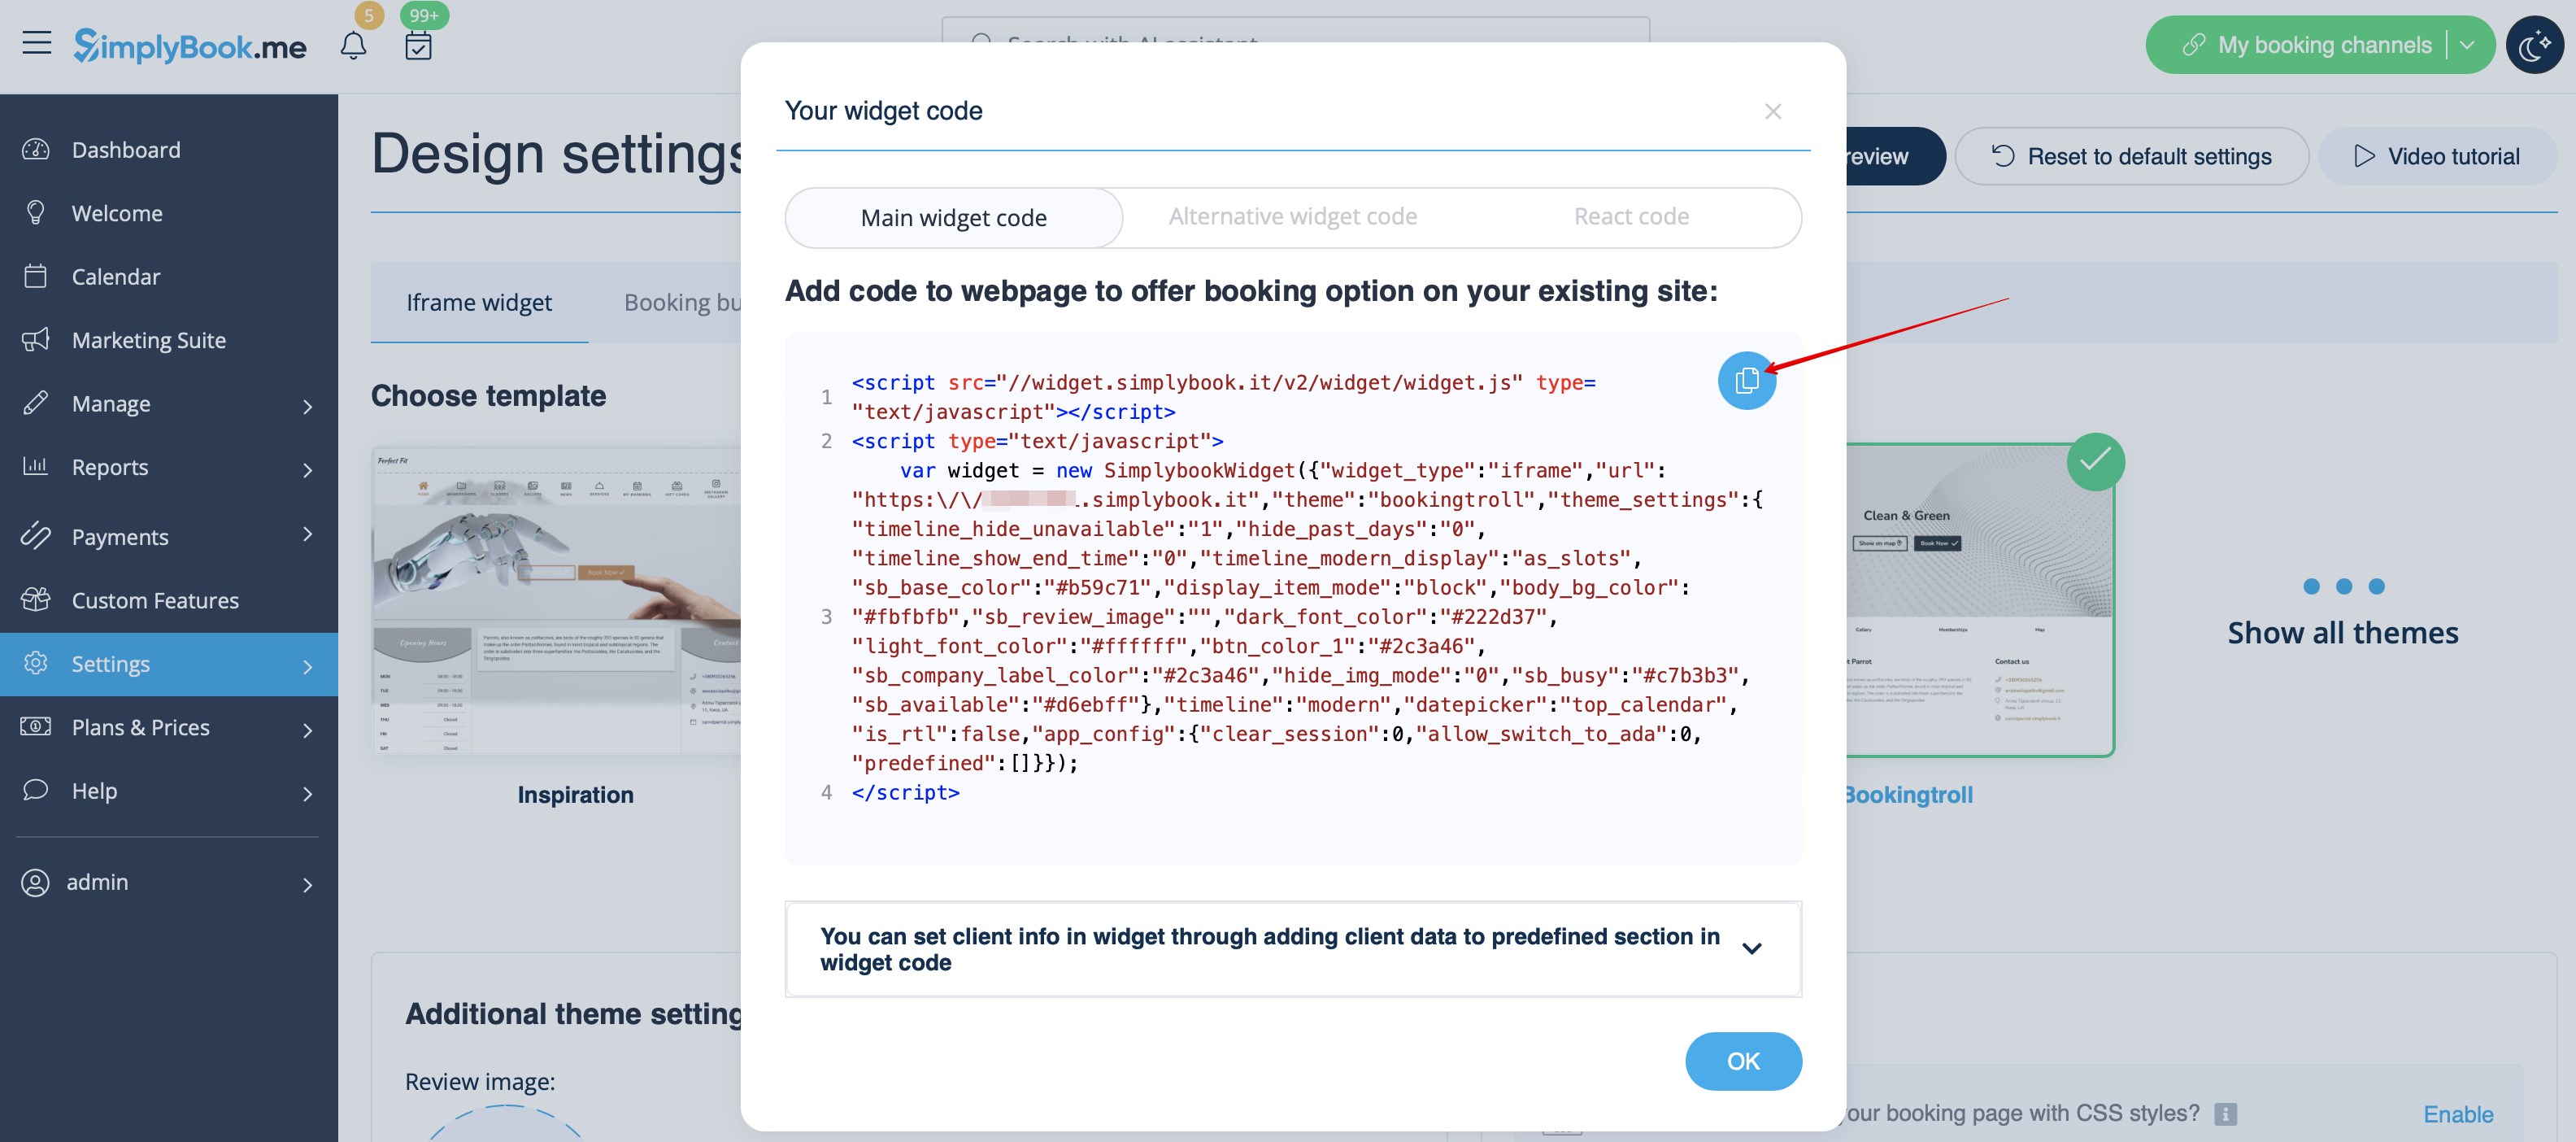
2. Accédez à votre interface d'administration WordPress et créez une nouvelle page ou accédez à une page existante où vous souhaitez ajouter le widget. Cliquez sur l'icône +.


3. Recherchez l'option HTML.


4. Collez le code précédemment copié.


5. Publiez vos modifications.