Translations:WordPress integration/5/da: Difference between revisions

From SimplyBook.me
No edit summary
Marked translation unit as no longer outdated with no changes
 
(No difference)

Latest revision as of 12:58, 17 October 2025

Information about message (contribute)
This message has no documentation. If you know where or how this message is used, you can help other translators by adding documentation to this message.
Message definition (WordPress integration)
:6. Switch to <span style="background-color:#d4f8e5; padding:5px; border-radius:5px;">Design</span> tab.<br>
:Adjust the look for your widget.<br>
:You can select the preferable calendar layout, adjust the colors and much more.
[[File:Wp new design settings path.png|1200px|center|link=https://help.simplybook.me/images/b/ba/Wp_new_design_settings_path.png]]
<br><br>
:7. Save your settings and navigate to <span style="background-color:#d4f8e5; padding:5px; border-radius:5px;">Pages</span> tab of the WordPress interface.<br>
:Open the page you would like to add the booking functionality to or add a new one.
:Click on "+" button there and look for '''Simplybook''' option. Click on it to add to the page. Save the page.
:After the website is published the clients will be able to book your services.
[[File:Wp new add plugin to page.png|1200px|center|link=https://help.simplybook.me/images/7/7e/Wp_new_add_plugin_to_page.png]]
<br><br>
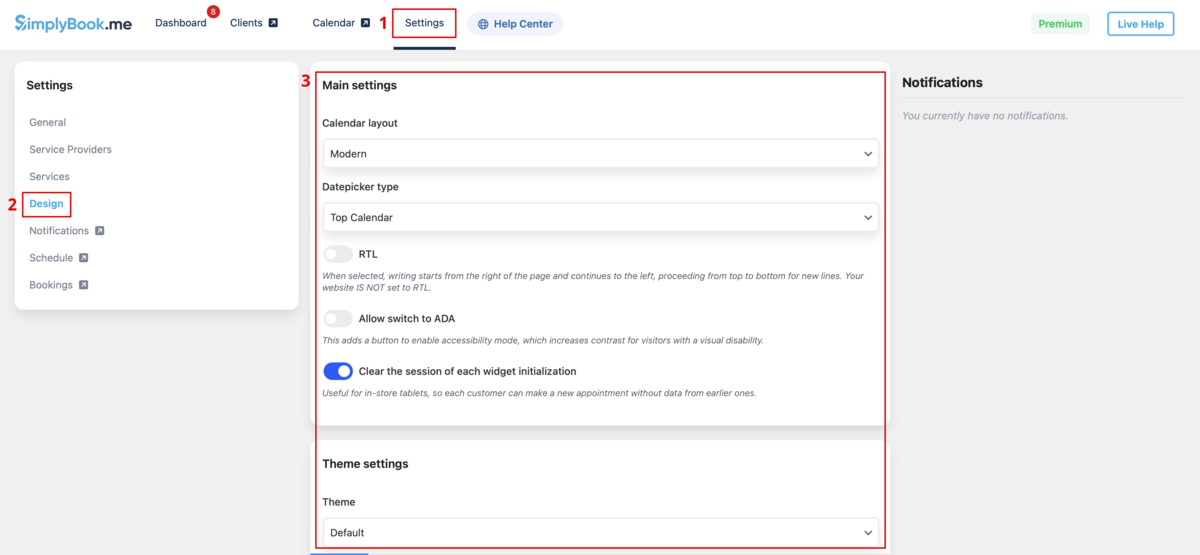
6. Skift til fanen Design.
Juster udseendet på din widget.
Du kan vælge den foretrukne kalenderlayout, justere farverne og meget mere.


7. Gem dine indstillinger og gå til fanen Sider i WordPress-grænsefladen.
Åbn den side, du vil tilføje bookingfunktionen til, eller opret en ny. :Klik på "+"-knappen og find muligheden Simplybook. Klik på den for at tilføje den til siden. Gem siden.
Når hjemmesiden er udgivet, vil kunder kunne booke dine tjenester.