SITE123 integration
Use SimplyBook.me at your SITE123 website to allow your customers to schedule an appointment on your website.
Watch this short video and learn how to embed SimplyBook.me to your SITE123 website:
Step by step guide
- Creating the account and customization
1. If you have not created account with SimplyBook.me you can use this link to create account for your company.
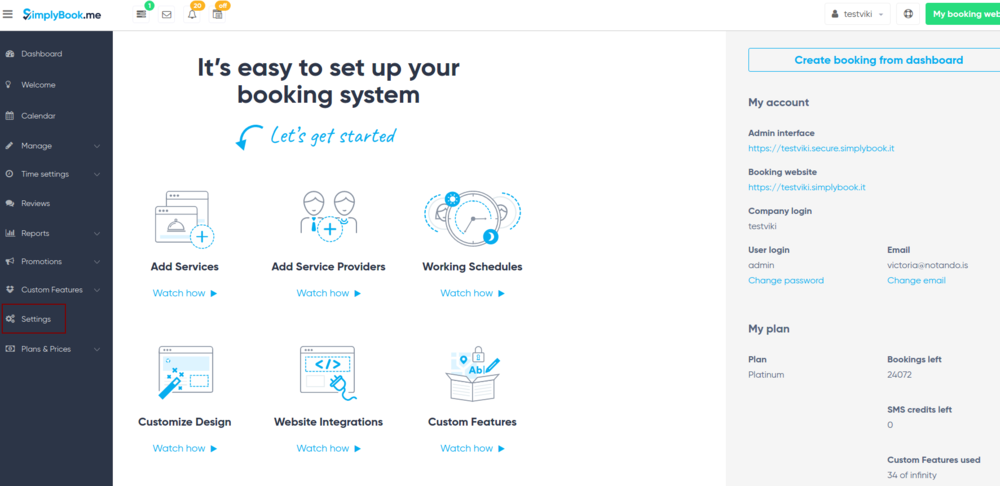
2. Then please click on the Settings icon. It is located on the left side menu.
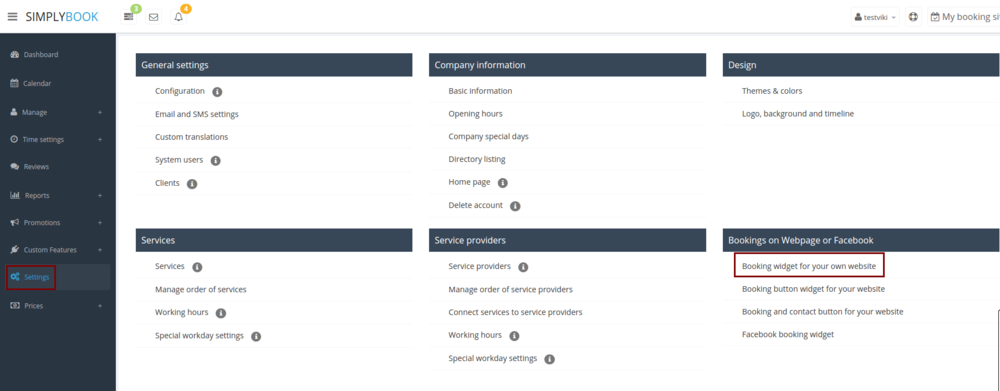
3. Under “Bookings on Webpage or Facebook”, click on “Booking widget for your own website”.
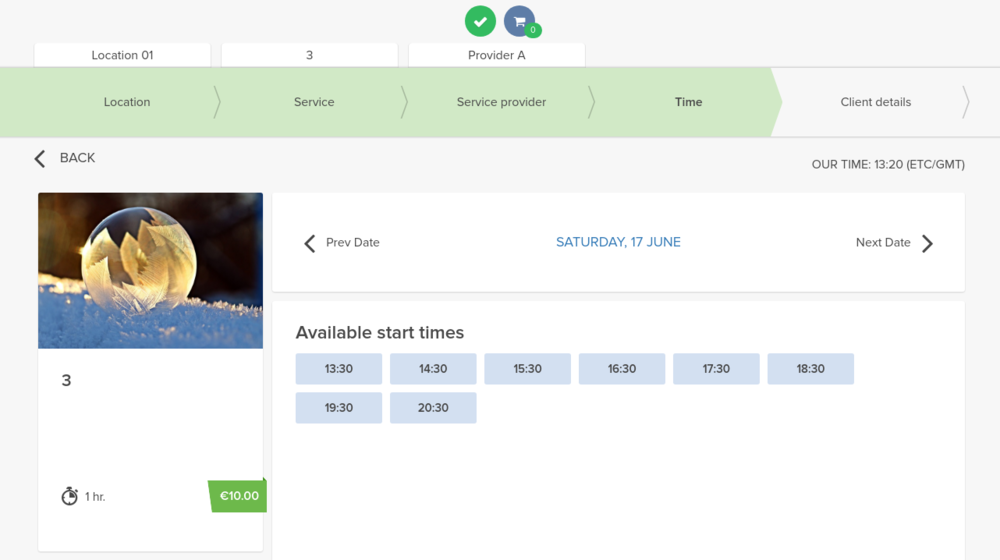
4. Now you have all the options needed to design the widget. Choose the types and modes. Choose the layout and colors that match your website.
5. You can see how the schedule widget will look like on your website. Adapt it to your taste.
6. When you are done with the settings, click on “Save settings and Get iframe code”. It is on the top on the page, on the right.

- Installation
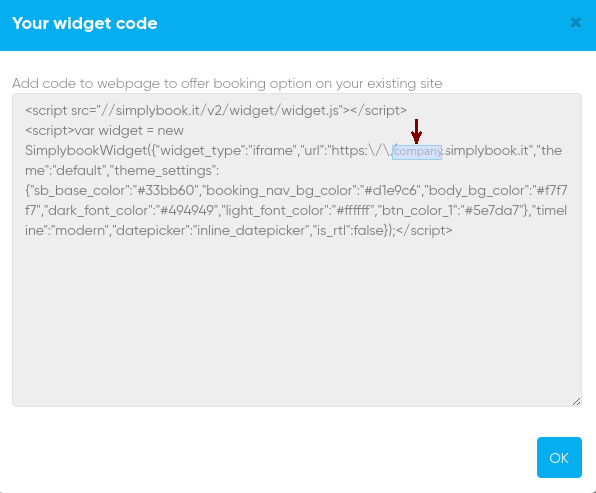
1. The next window shows a piece of code. Focus on the part that comes right before “simplybook.me”. Copy that part.
2. Go to SITE123.com and click on “START HERE” to sign up.

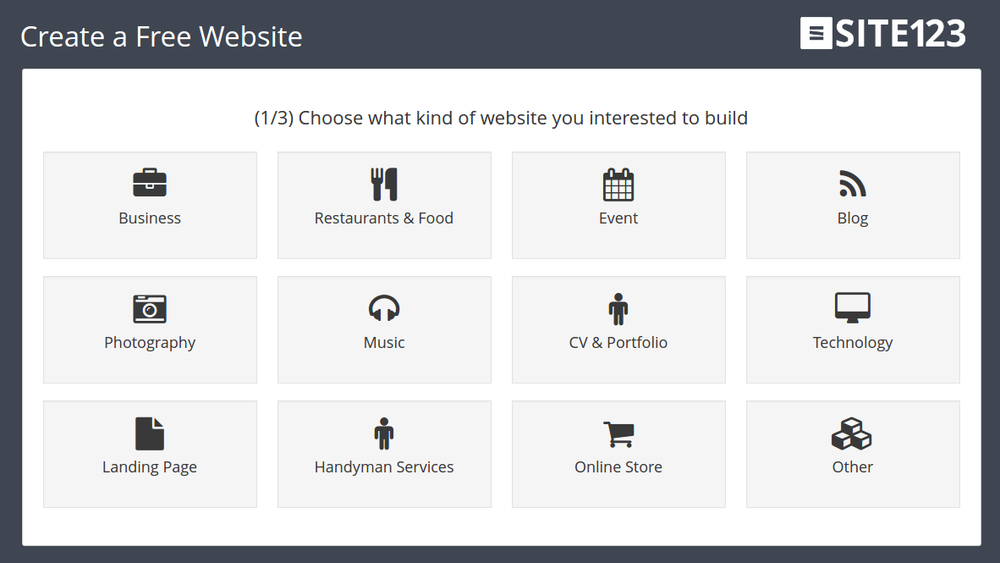
3. Choose the category of website you want to create.
4. Enter the name of your website.

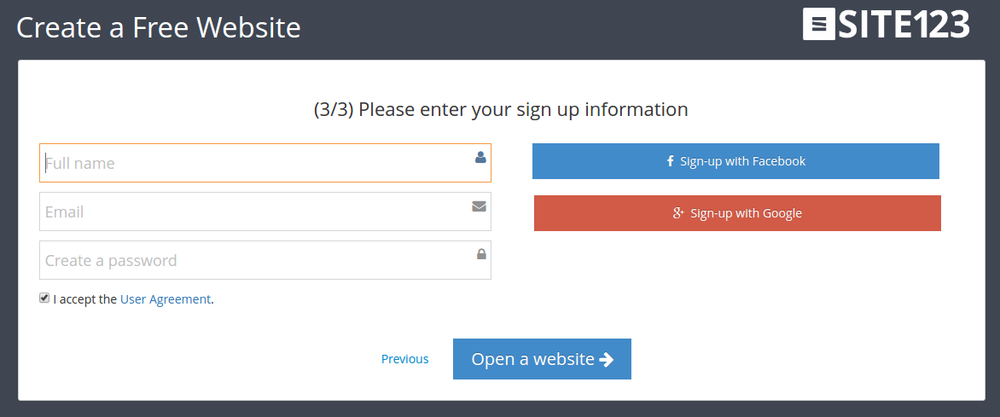
5. Complete the sign up process by entering your full name, email and password or by using Facebook or Google to log in.
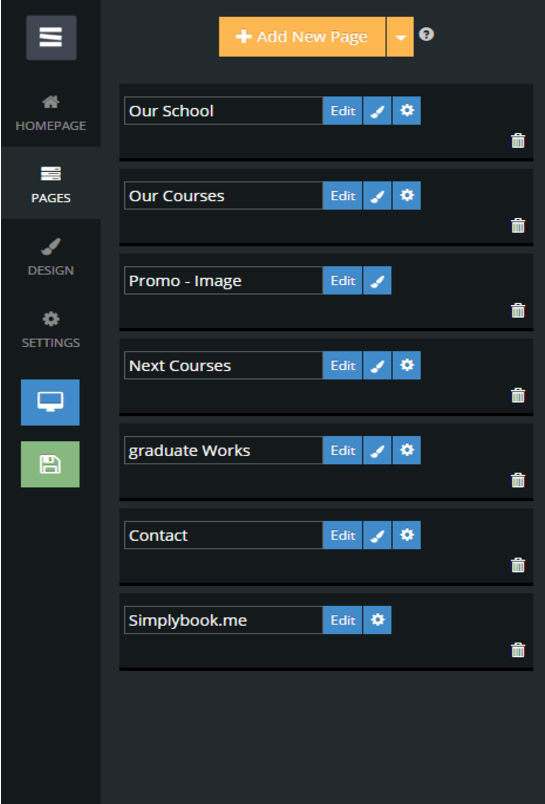
6. After your account at SITE123 is created open the website editor, go to “Pages” and click on “Add new page”
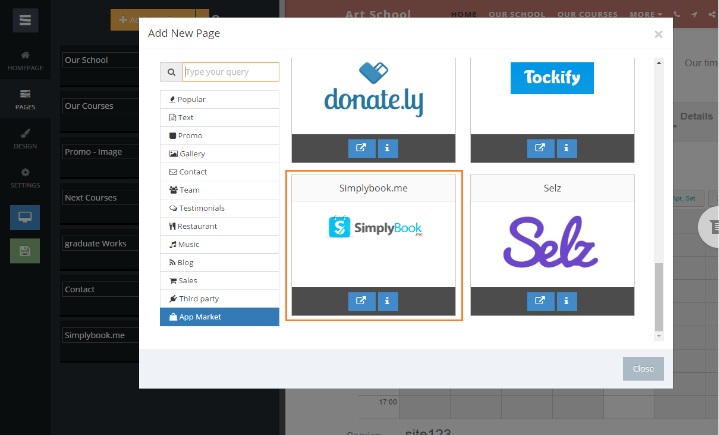
7. Open the App market, scroll down and find SimplyBook.me.
8. On the Pages menu, you will see the SimplyBook.me module. Click on “Edit”.
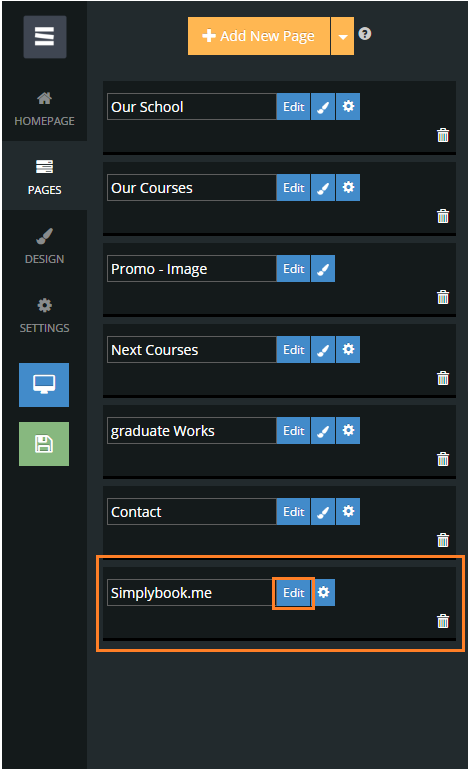
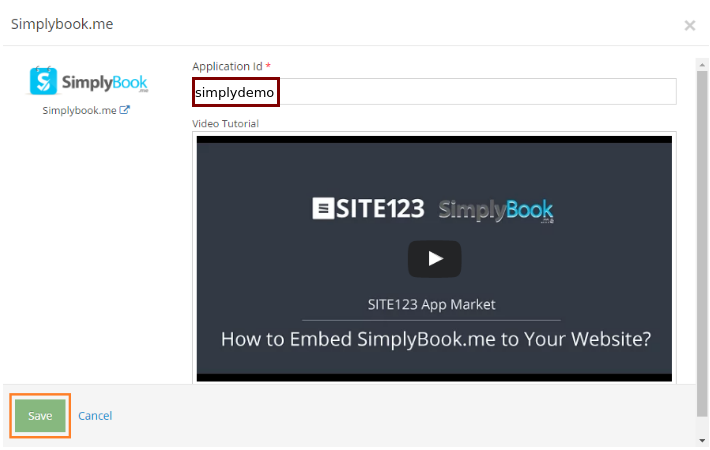
9. Now paste the selection into the “Application id” field. Then, hit save and your schedule will be immediately added to your website.
It's all done now! You have great booking system on your SITE123 website now!