WordPress integration via Extendify
- 1. Within the Extendify interface please navigate to Plugin management section, install and activate the Simplybook plugin.
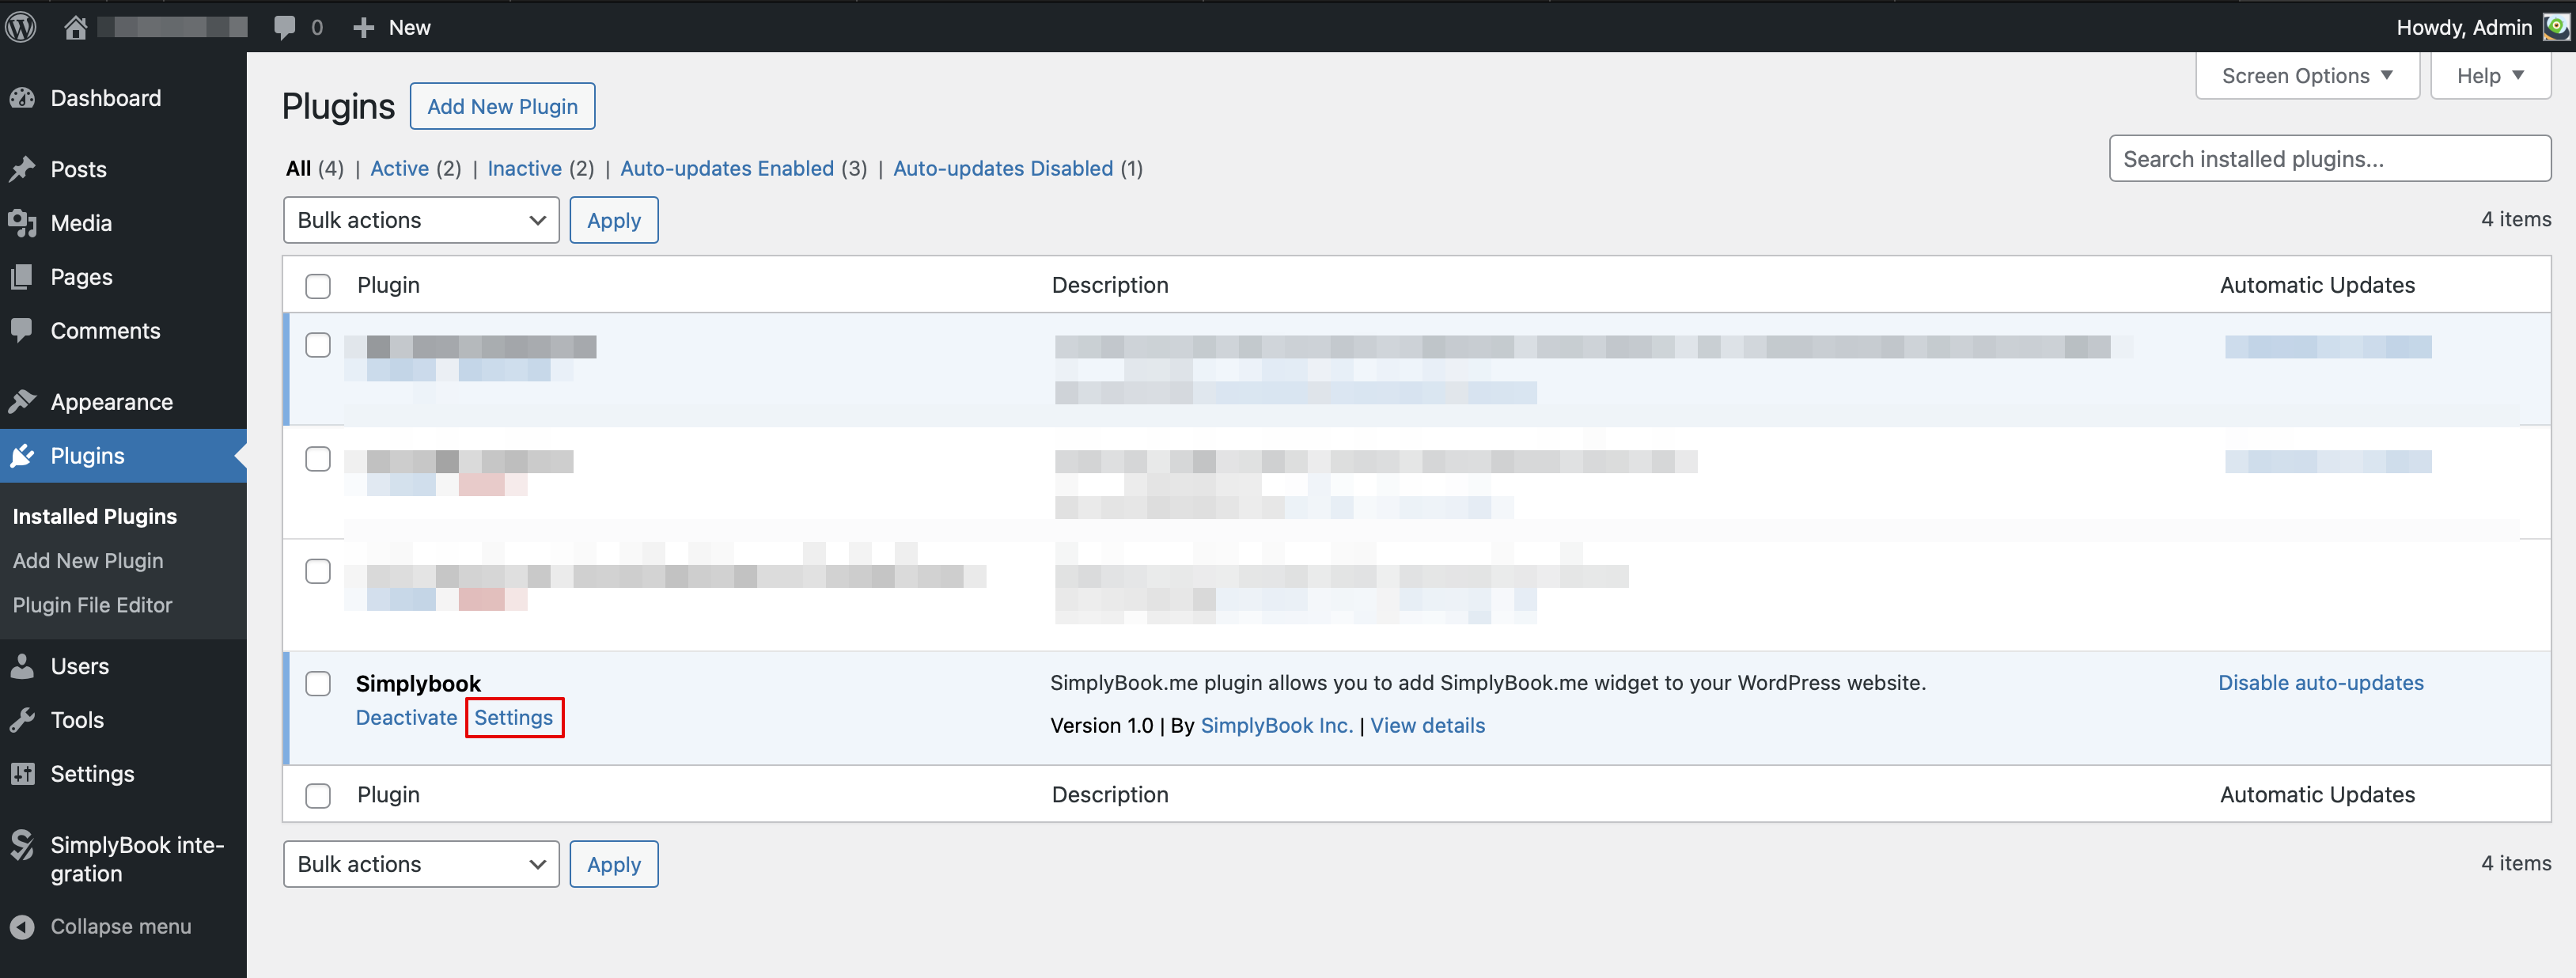
- 2. Navigate to its Settings.
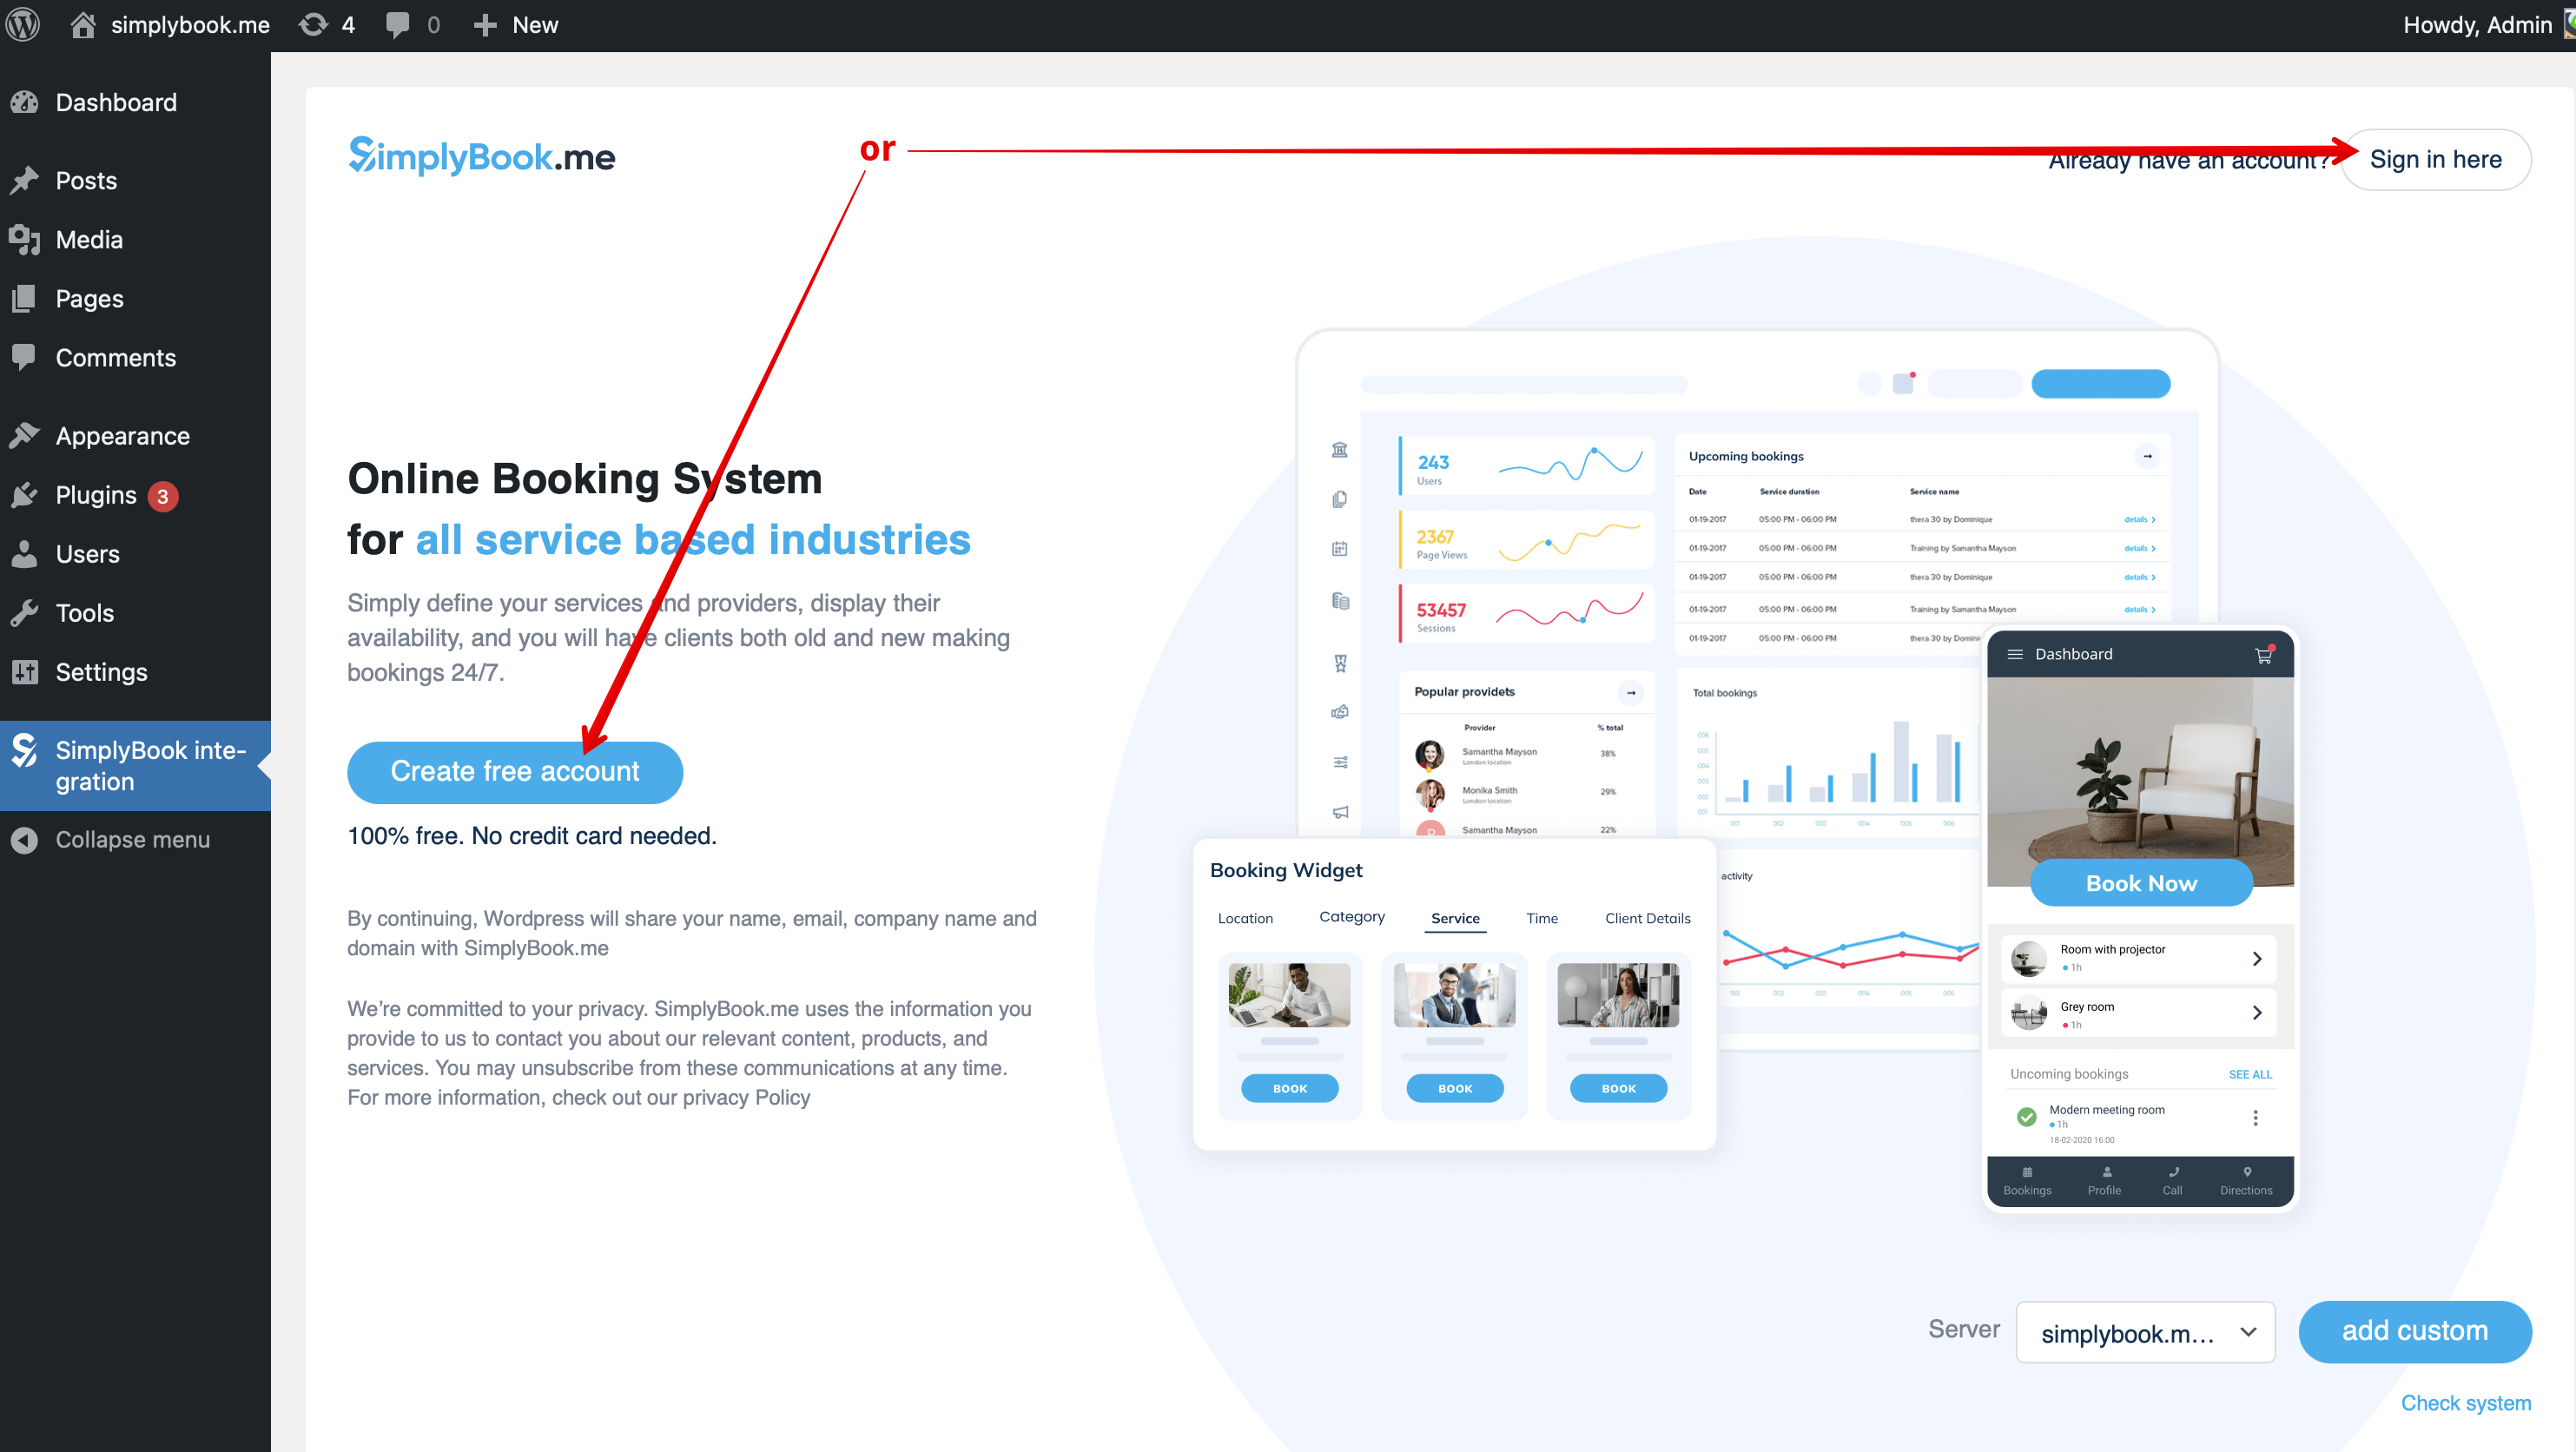
- 3. If you already have an account with SimplyBook.me please choose the Sign in here option there.
- If you have not created it yet, simply click on Create free account option and sign up following the suggested steps.
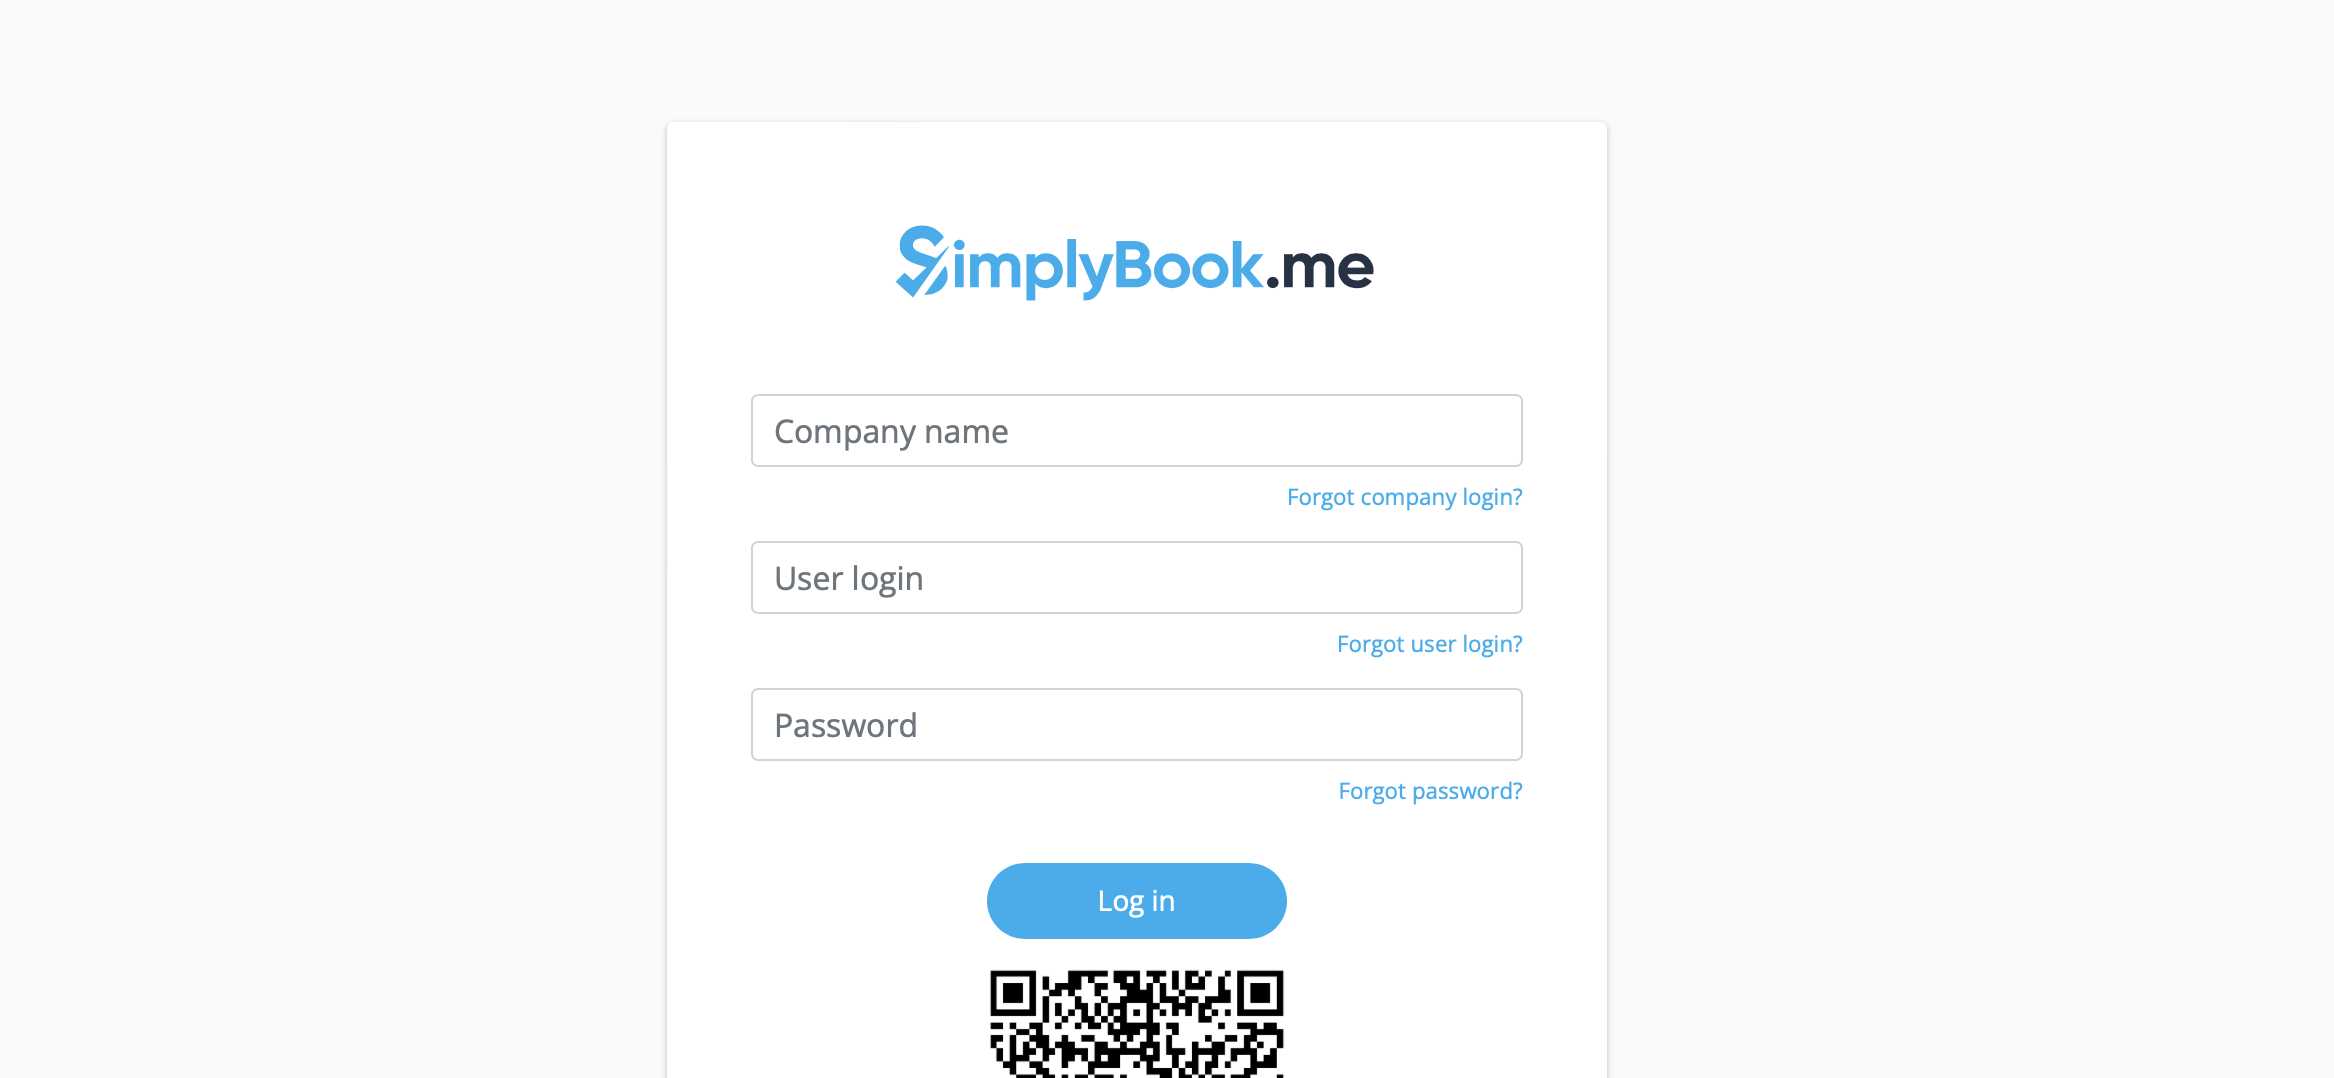
- 4. Log in providing company login, user login and password.
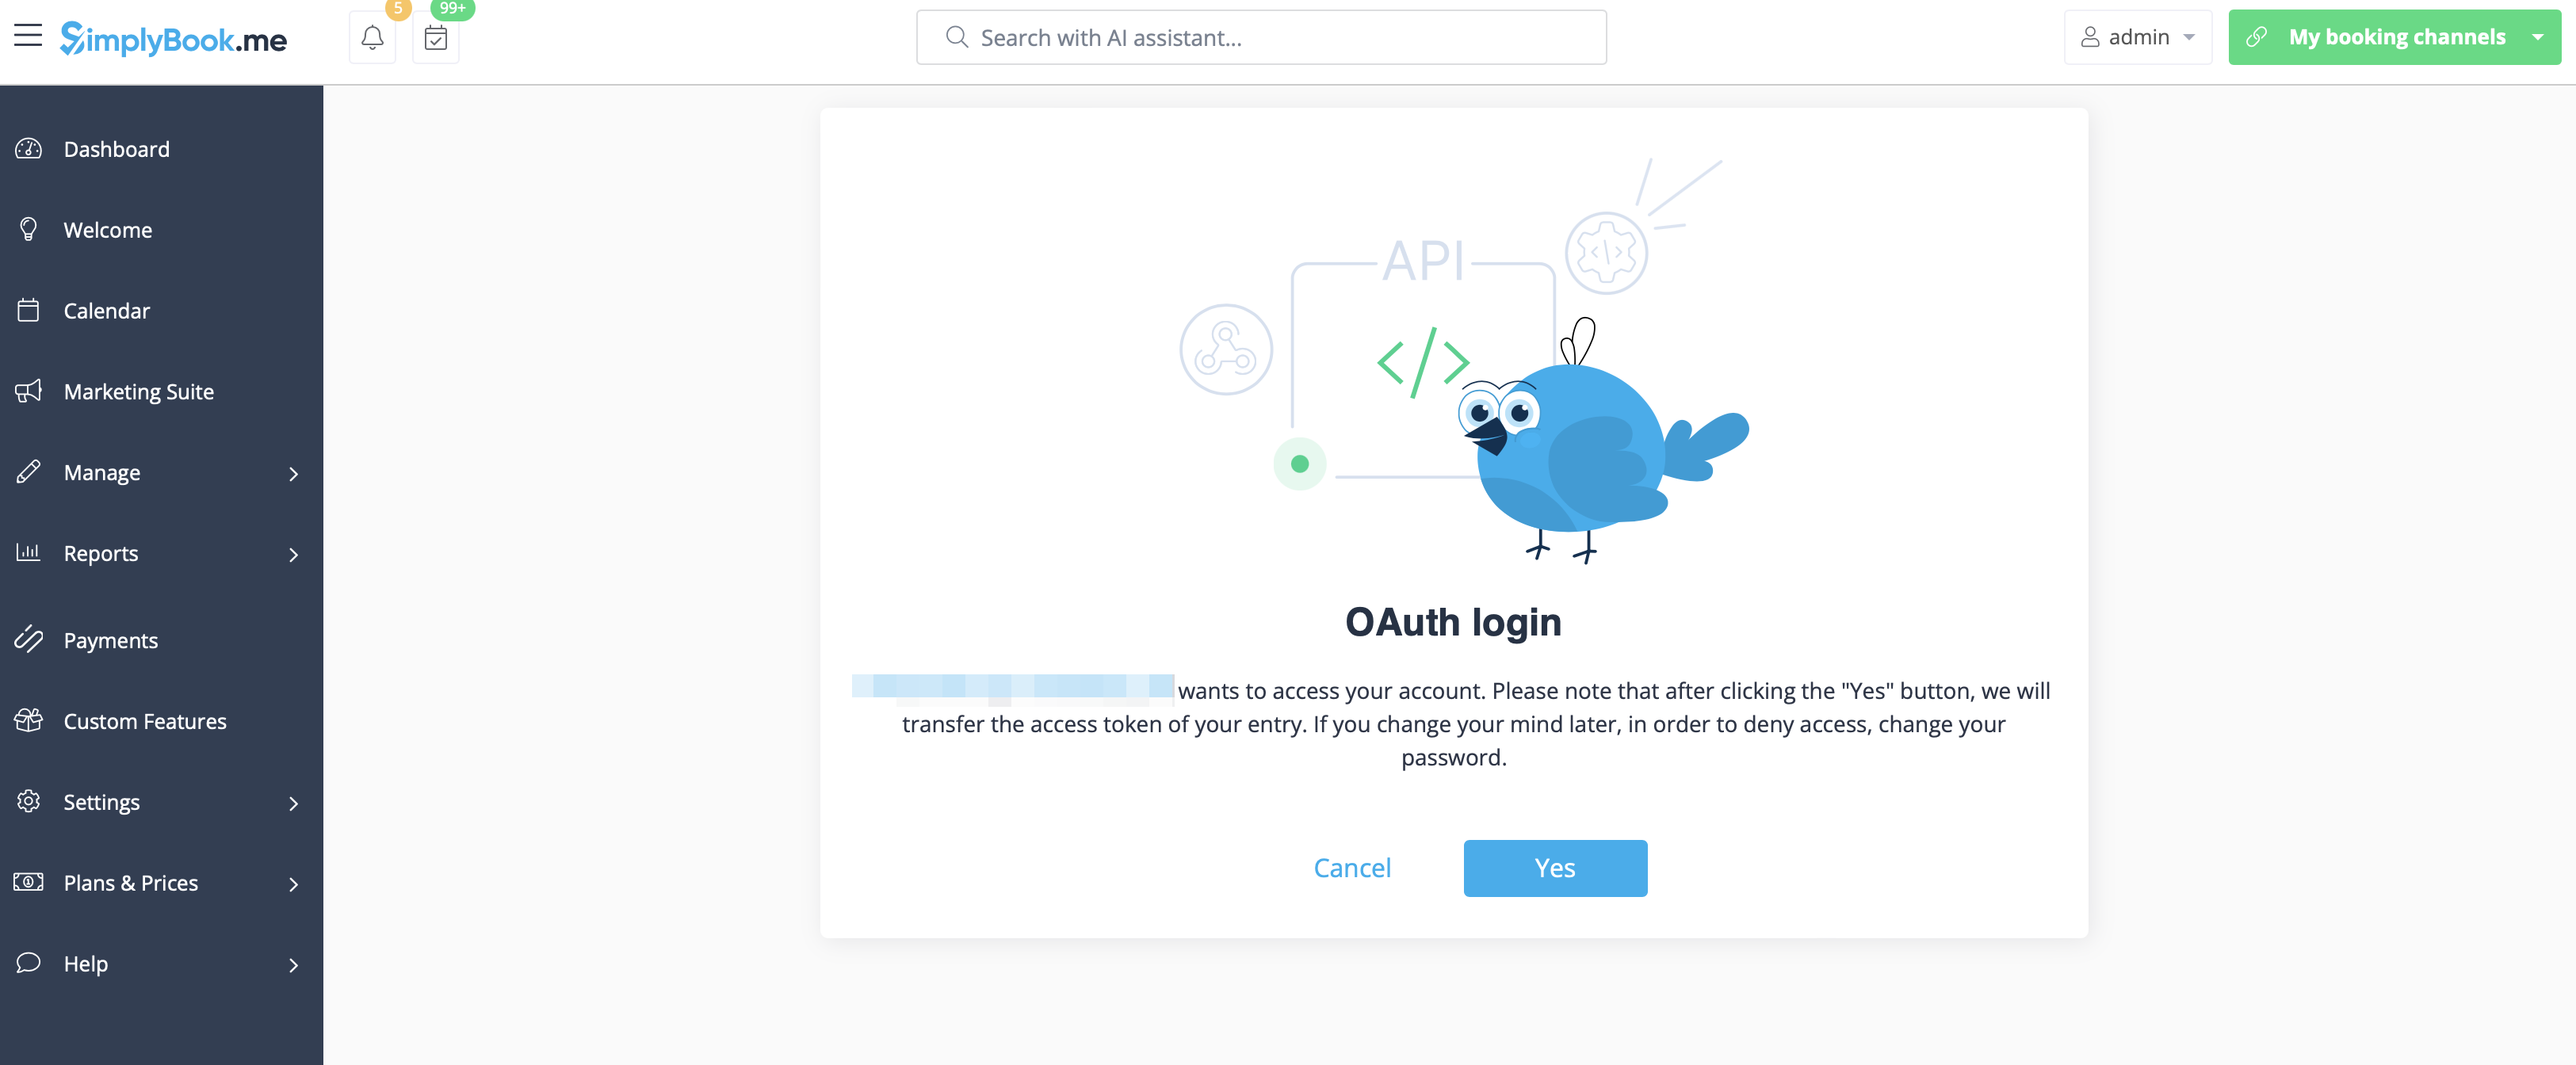
- 5. Confirm the connection between SimplyBook.me account and your WordPress system.
- You will get the one-time code to finalise the connection.
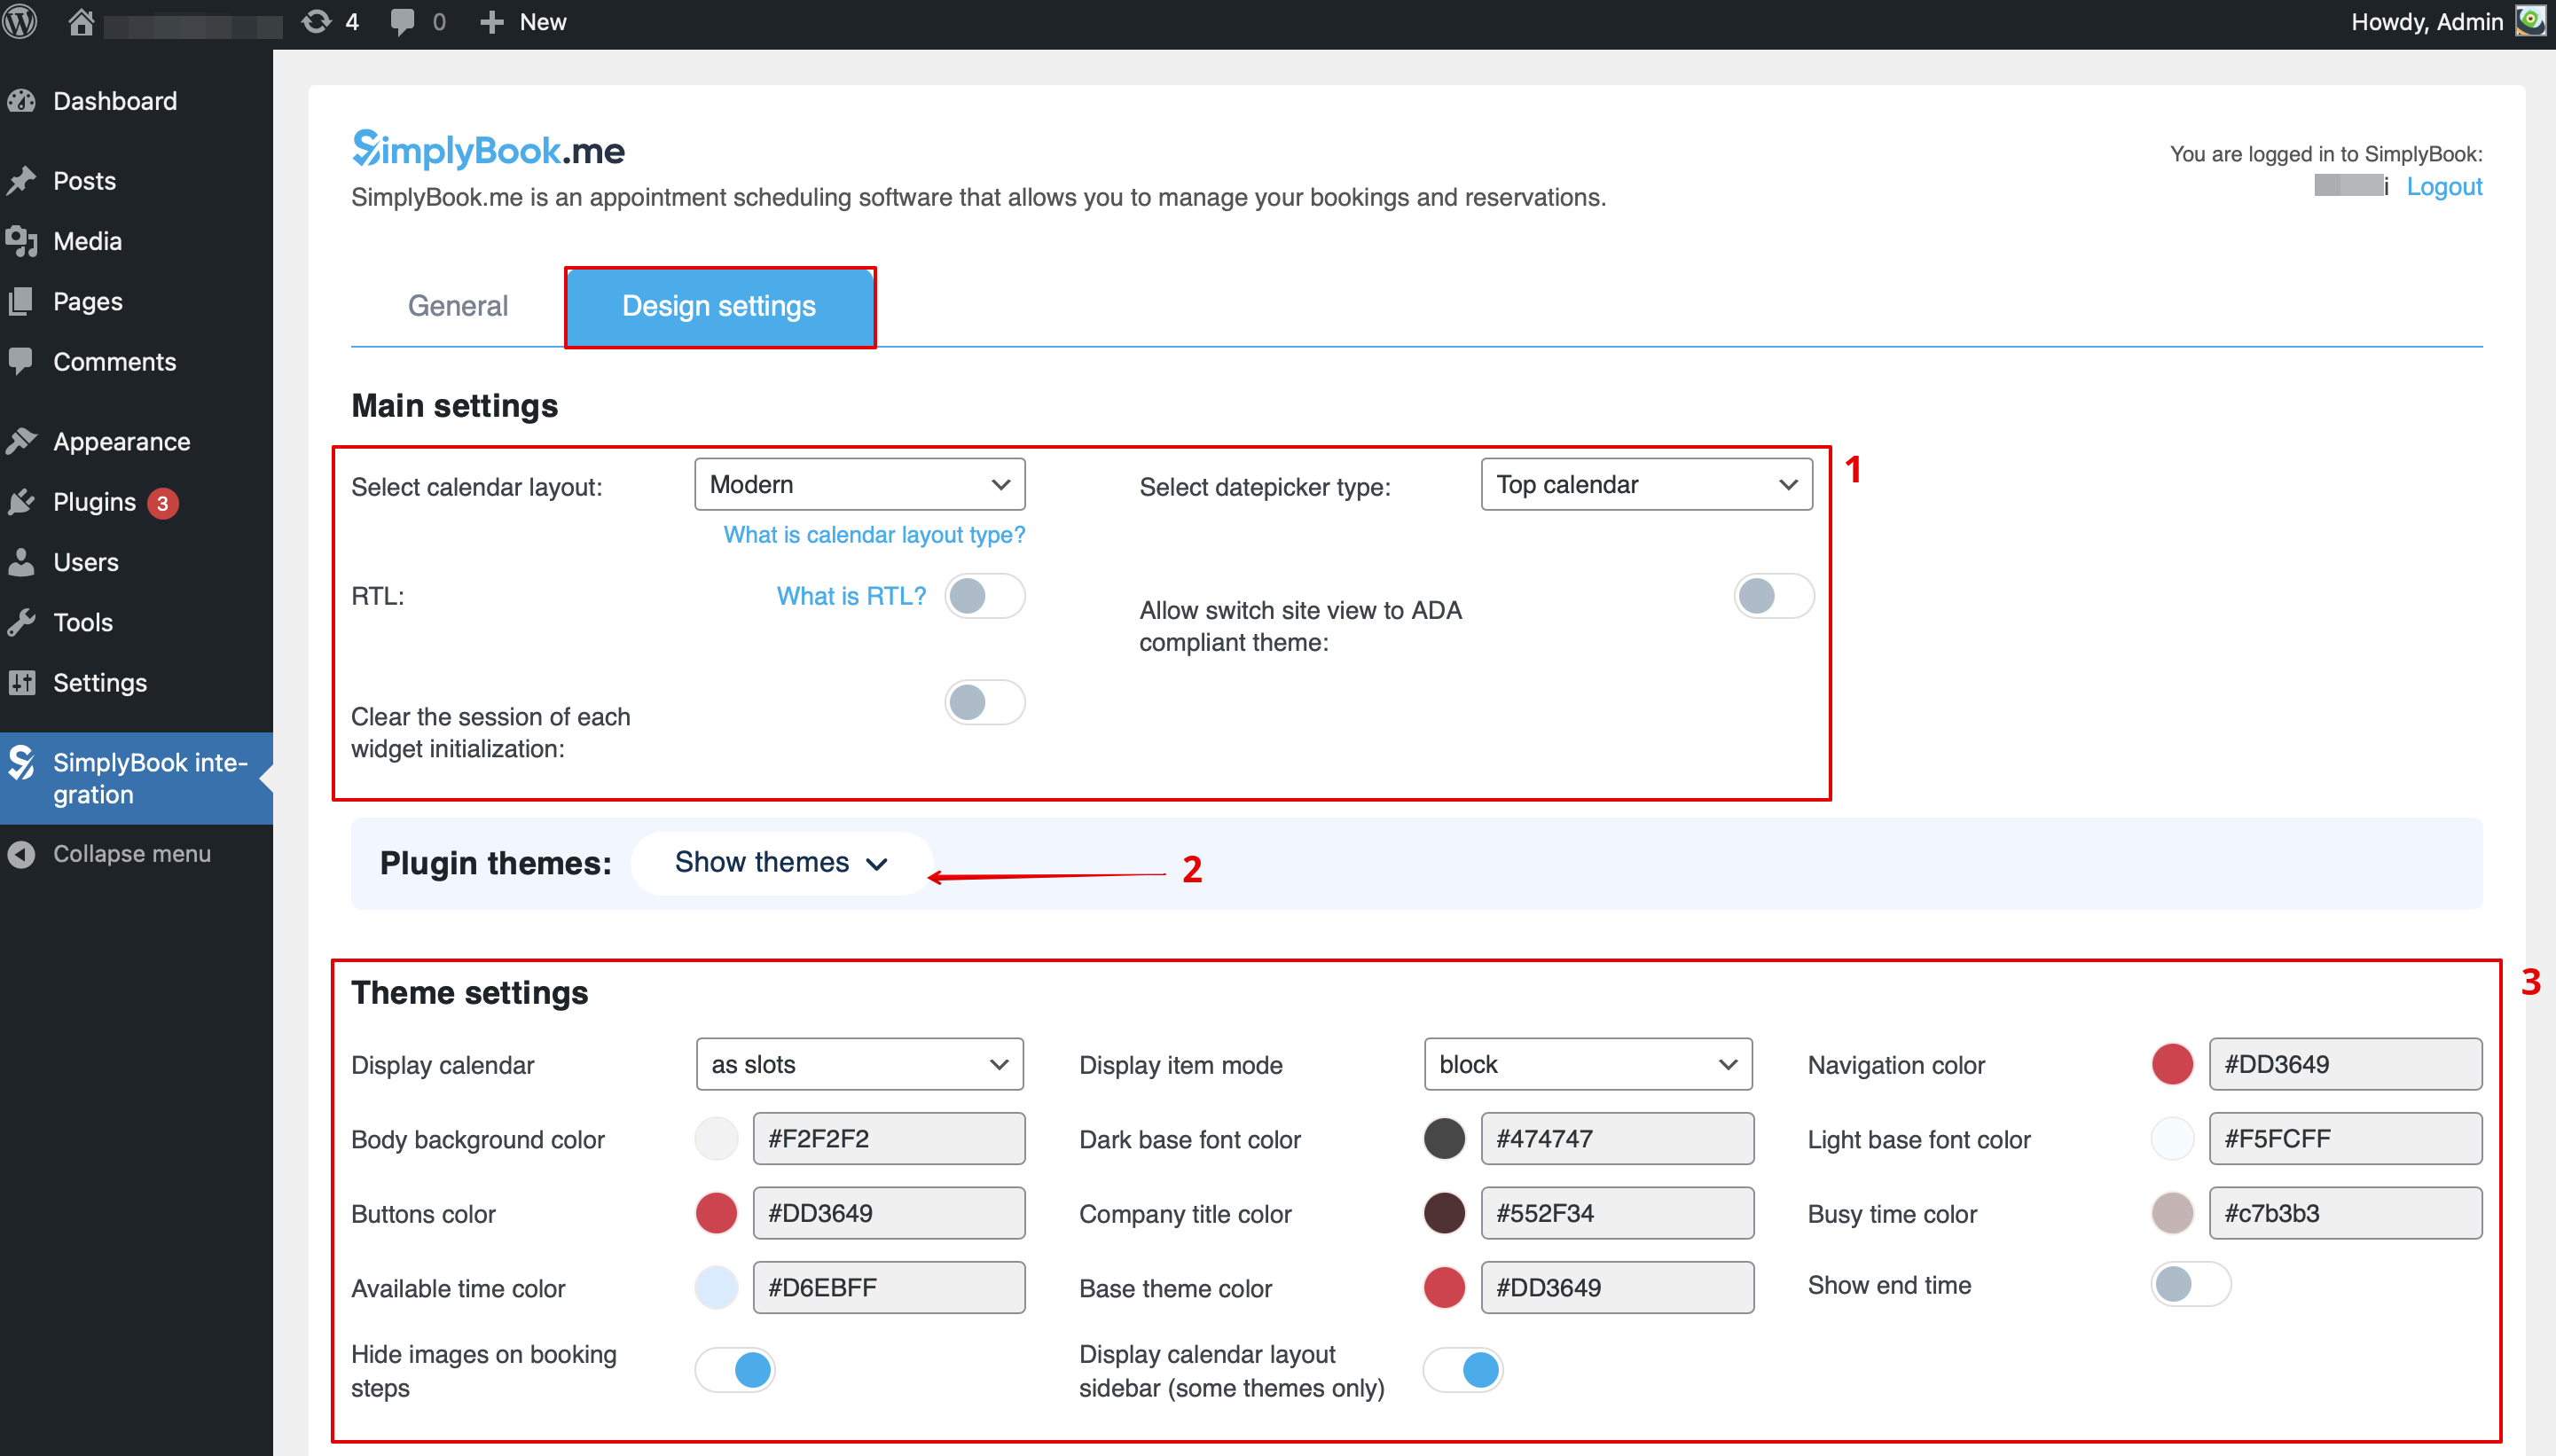
- 6. Switch to Design tab.
- Adjust the design settings for your widget.
- You can select the preferance calendar layout, change the theme, adjust the colors and many more.
- Here you can also select some predefined options for the plugin if necessary.
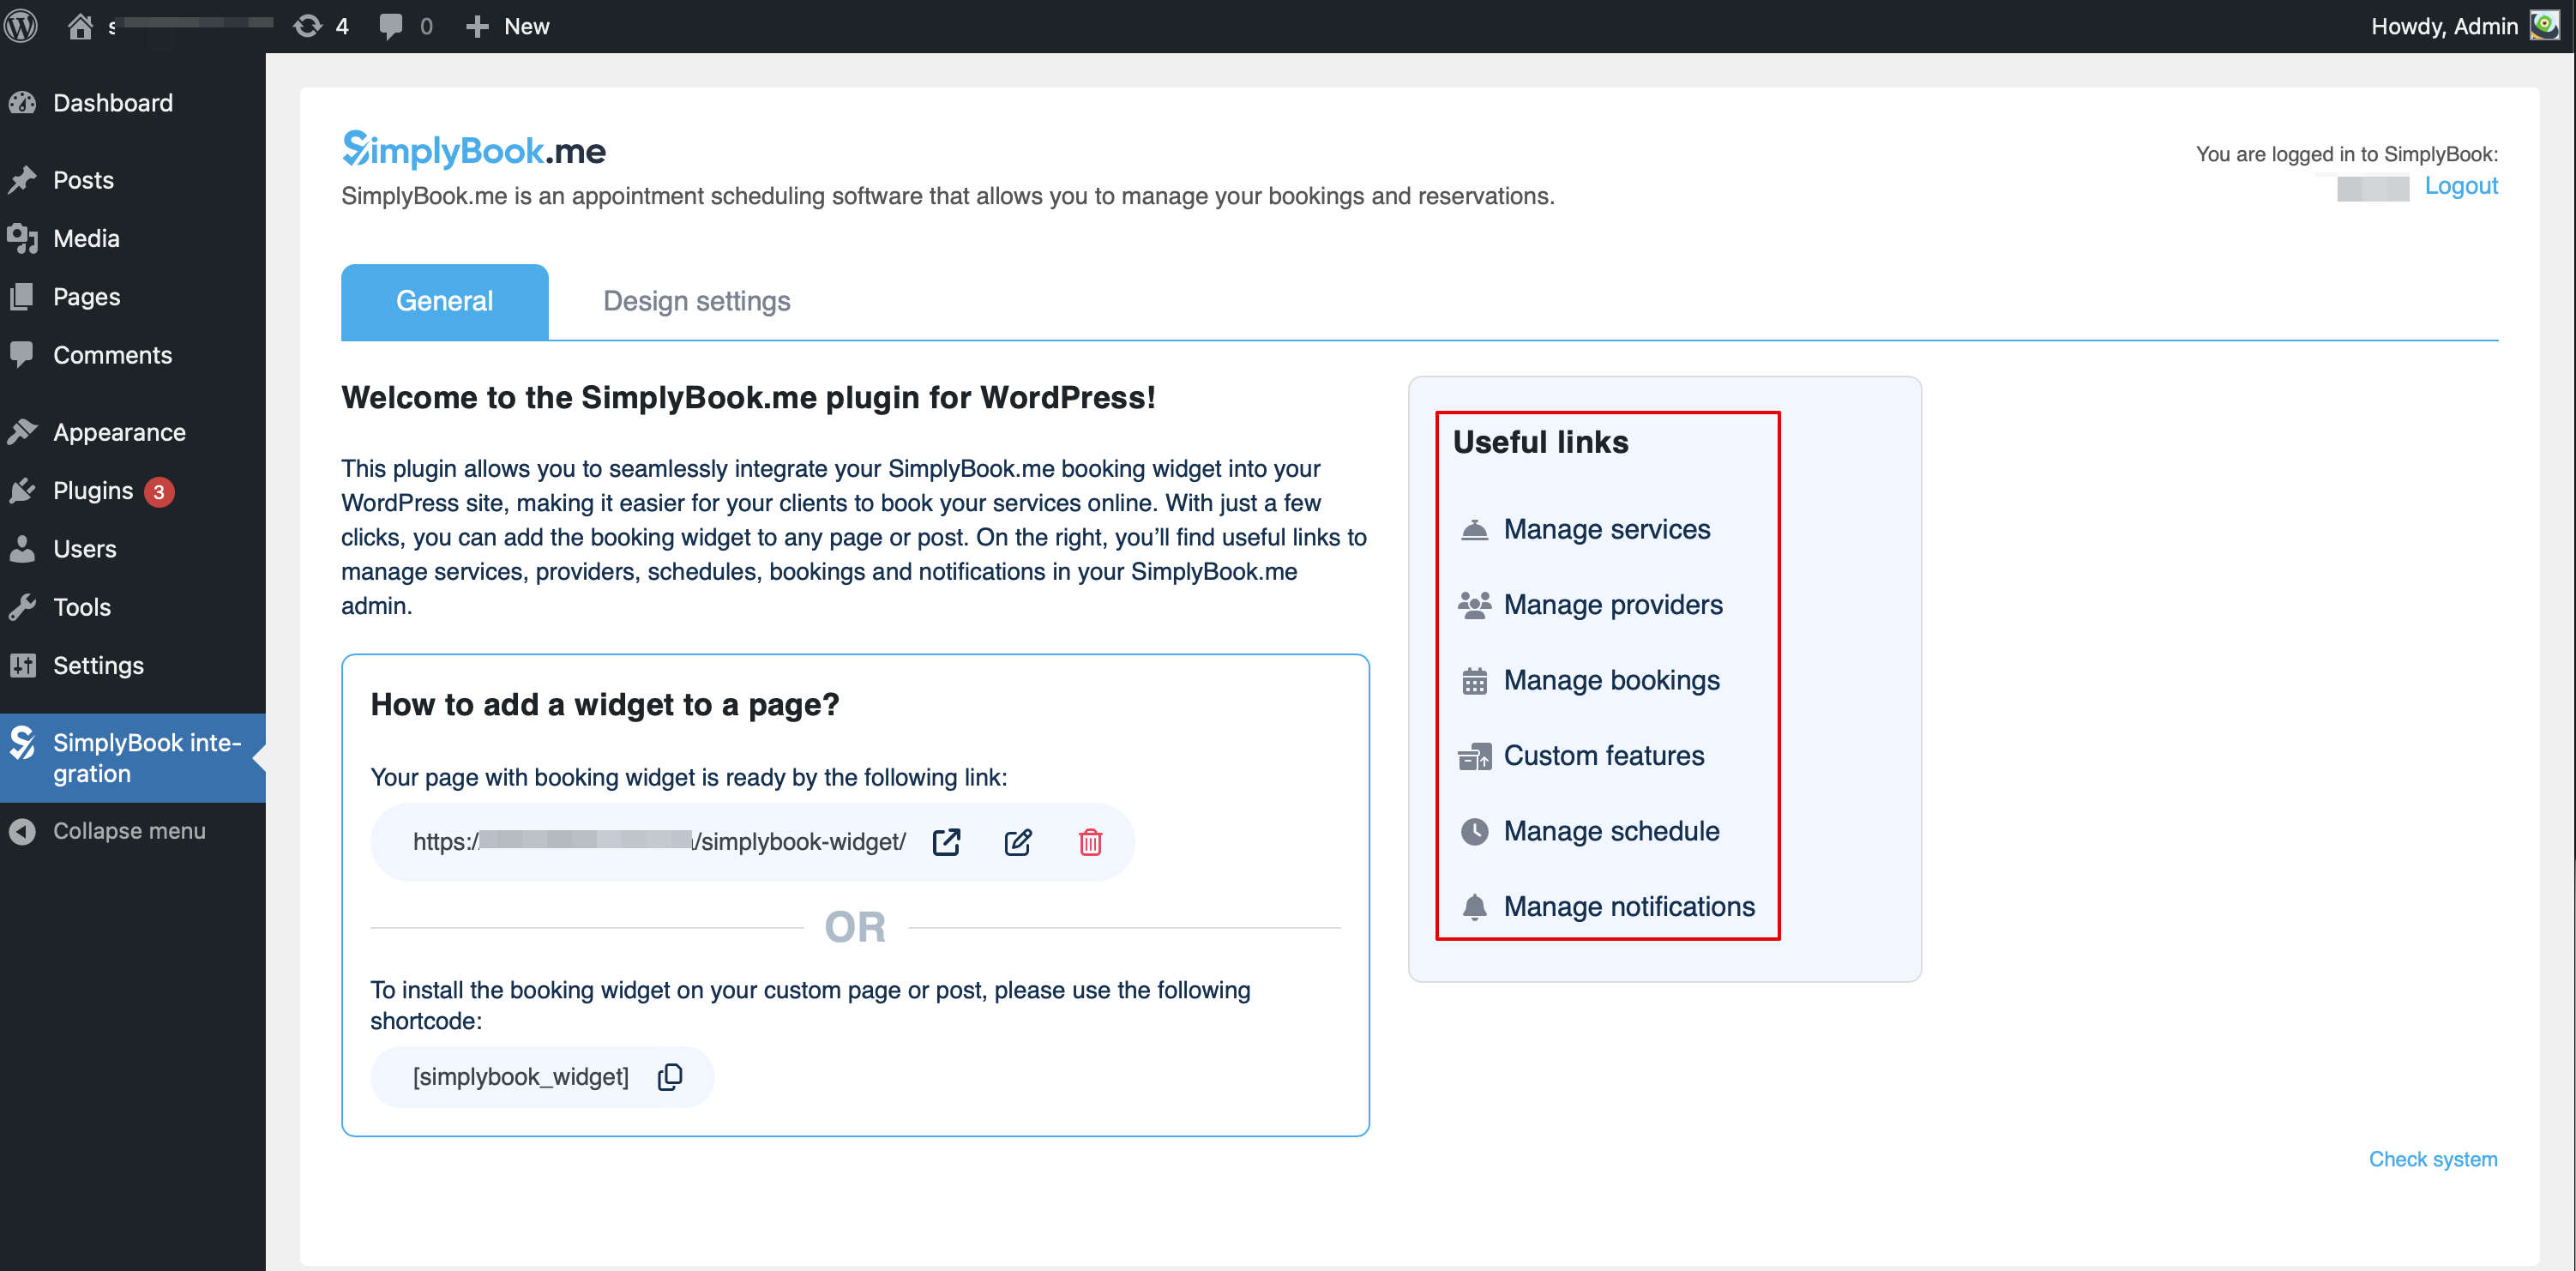
- 7. Save your settings and navigate to General tab of the plugin interface.
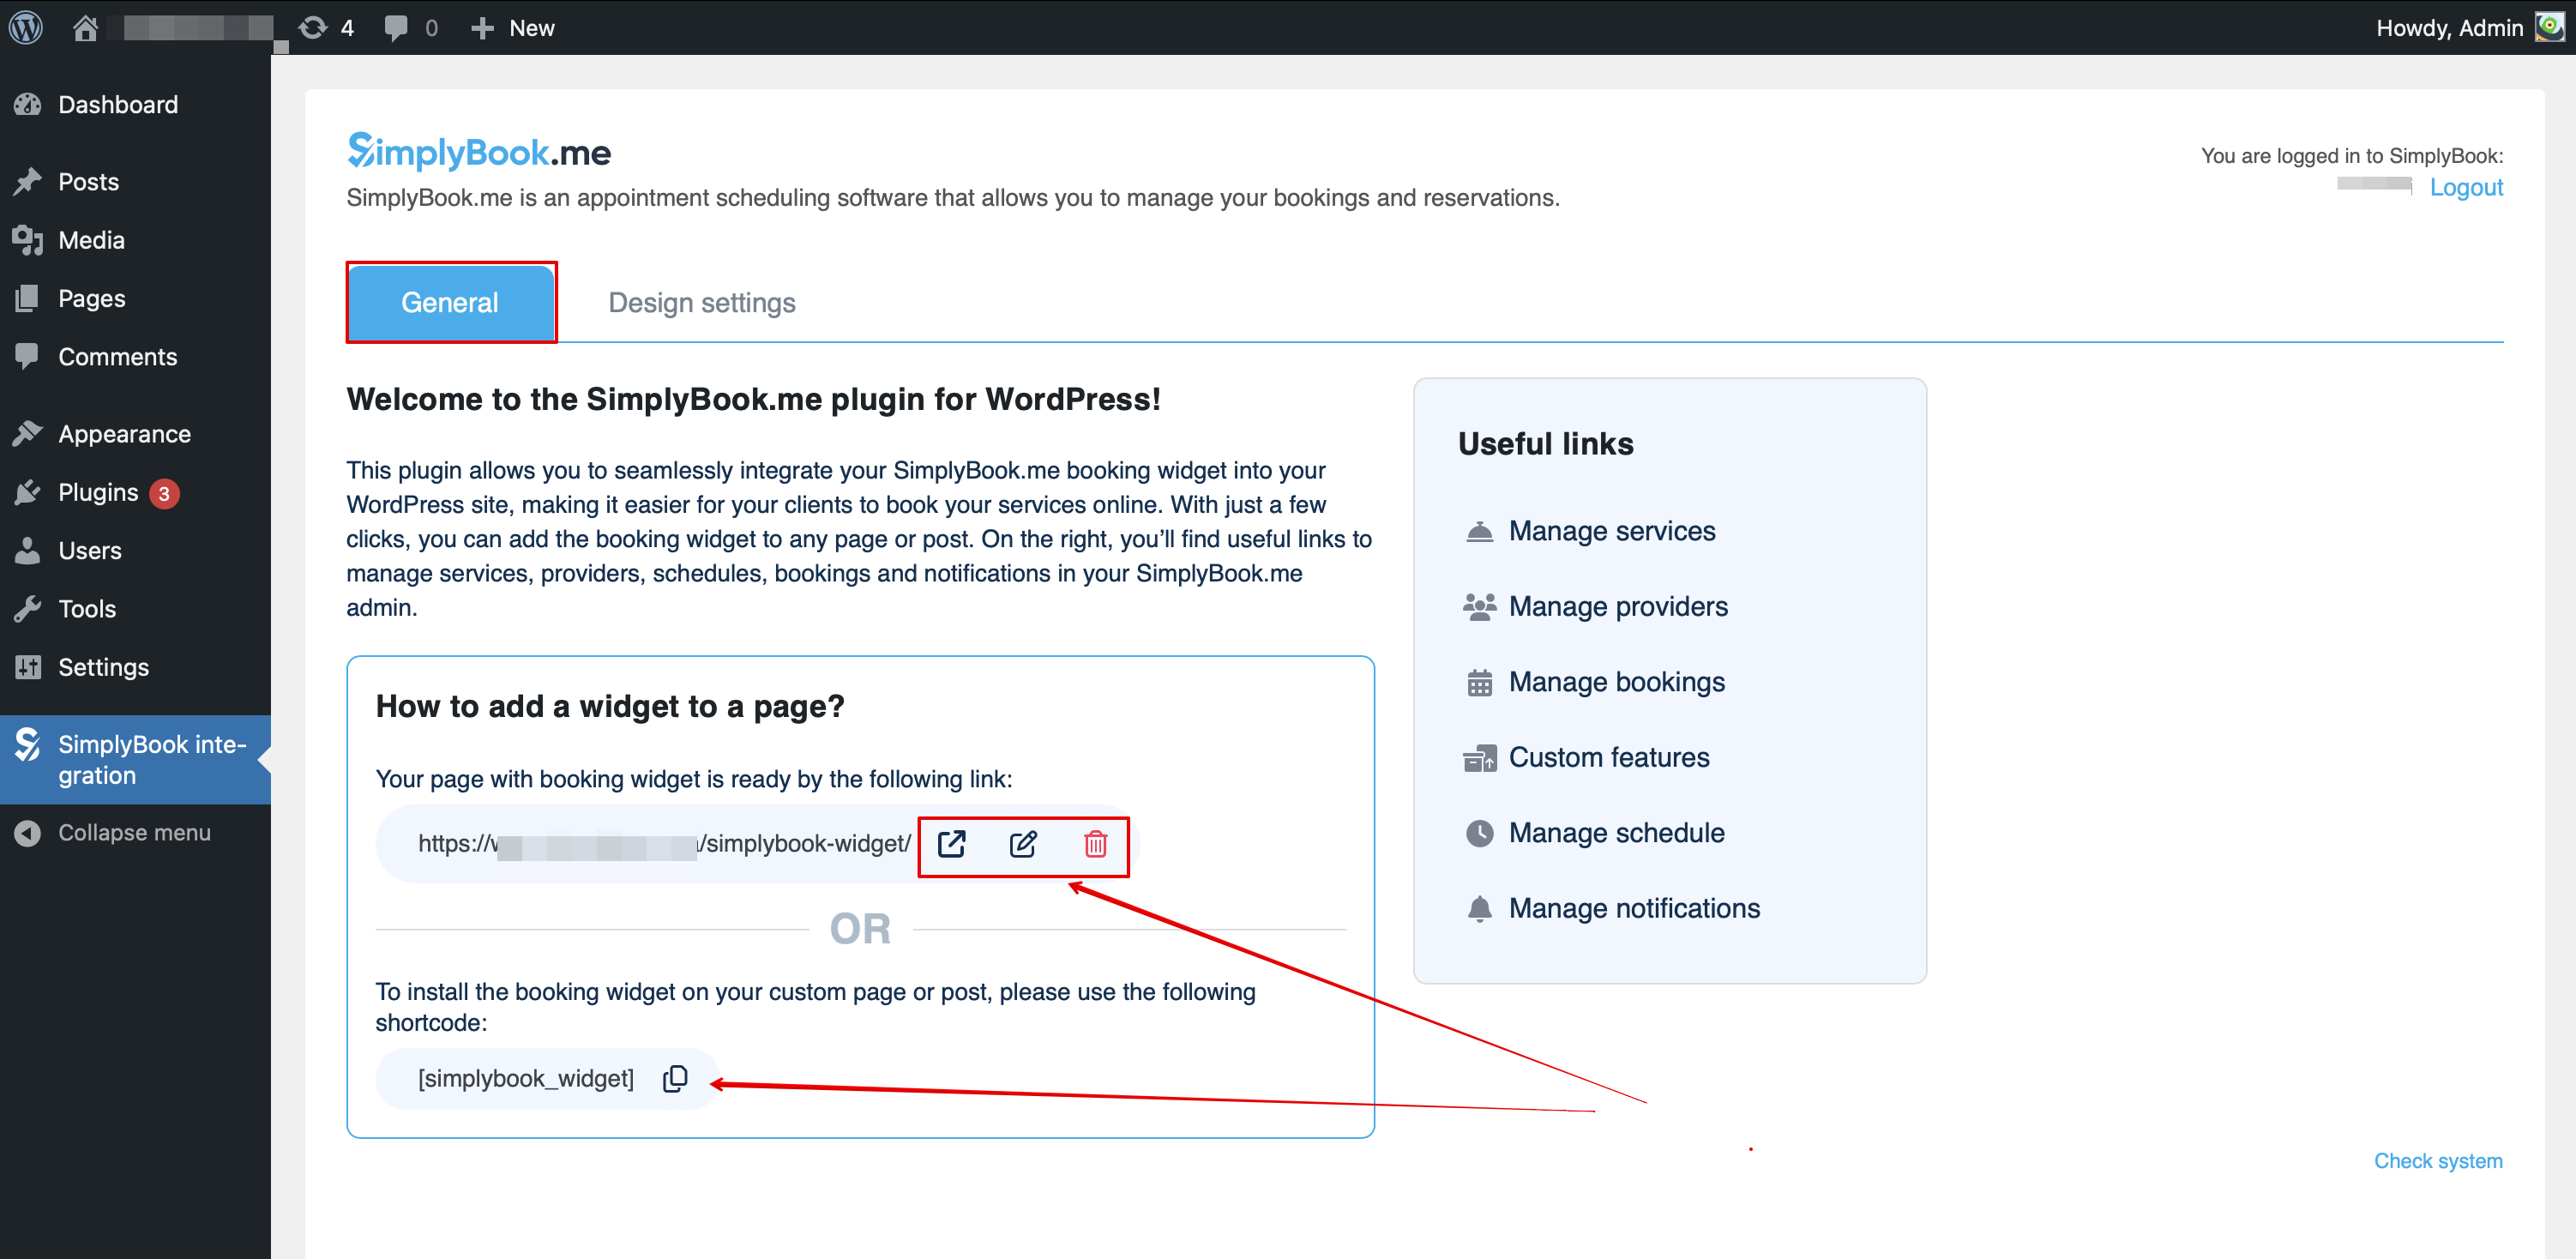
- The page with the booking widget is already pre-created for you - you can edit, remove or keep it as it is.
- Or you can create a new page and paste [simplybook_widget] tag to its body and publish the page.
- From here you can also easily access various pages on SimplyBook.me side to add or edit your services and providers, enable some additional functionality for the booking process with the Custom features.