Go Daddy
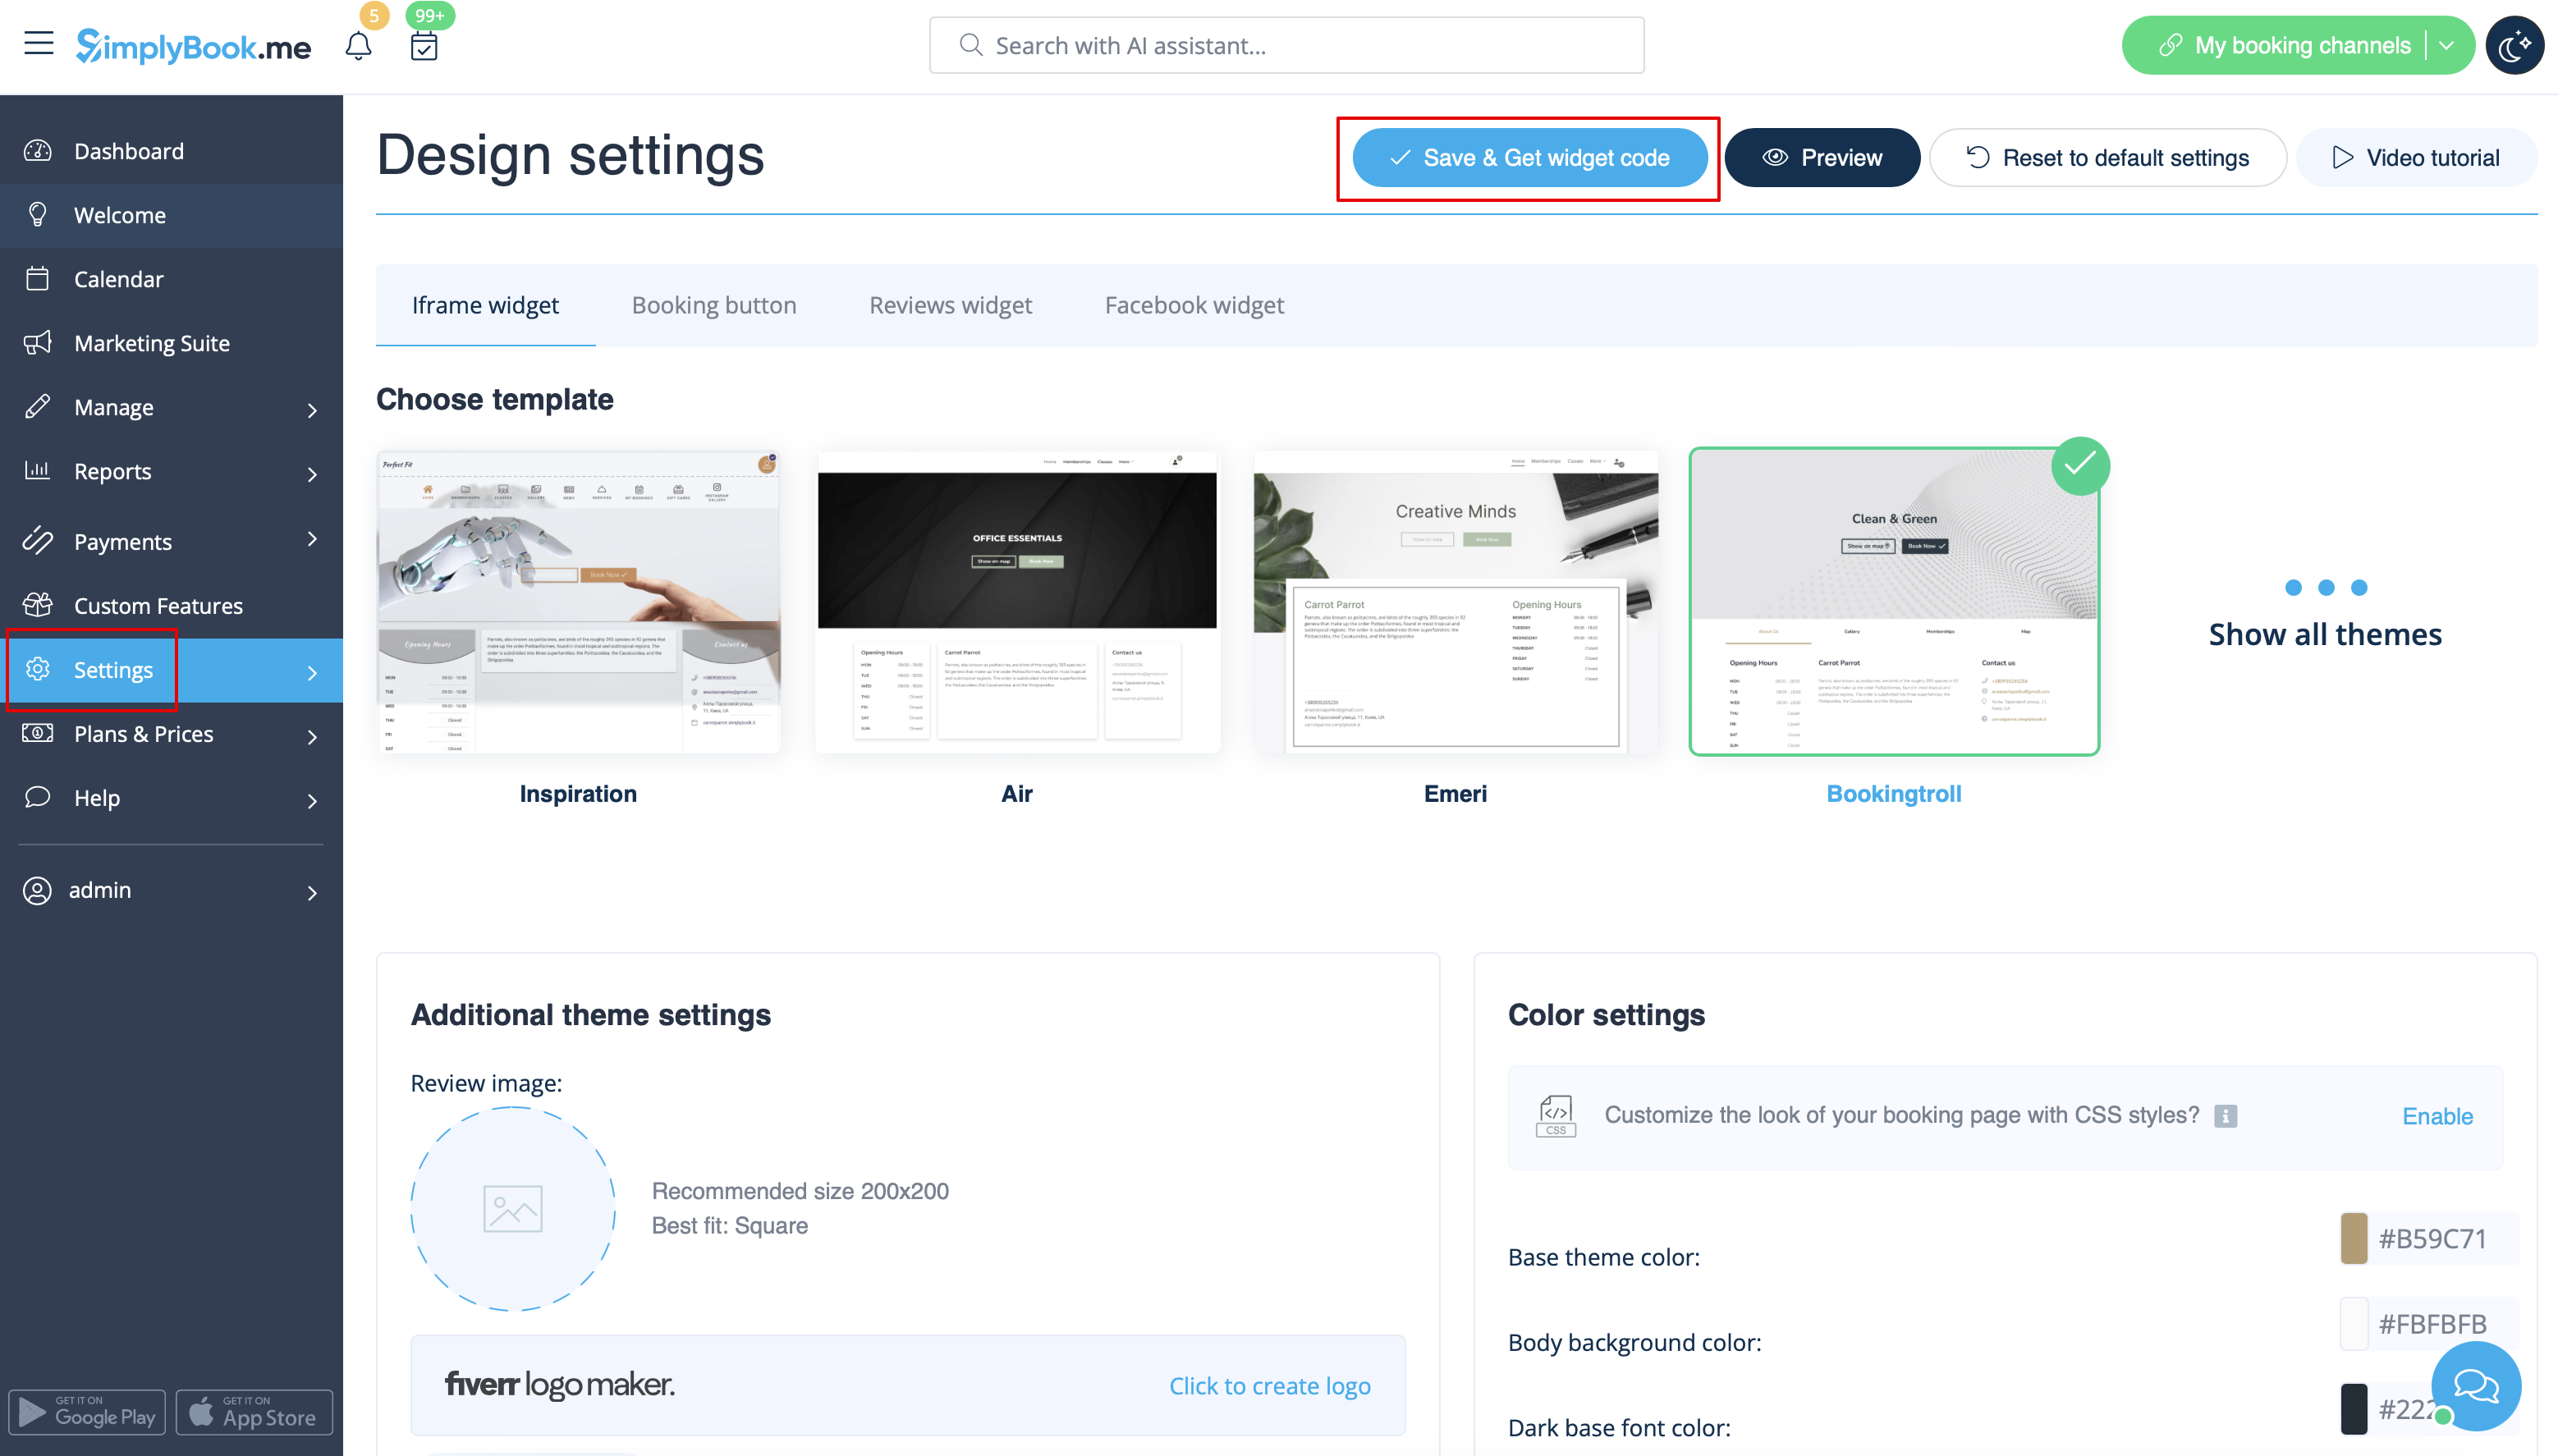
- 1. In your Simplybook admin page get the code in Settings -> Booking widgets settings -> iFrame widget -> Get widget code.
- 2. In GoDaddy system, Log in to your account and go to website editing.
- 3. Click on Pages&Sections.

- 4. Select Manage Pages option.

- 5. From the pages menu, select the page you want to modify or add a new one.

- 6. On page details add page title, set appearance options to your taste and create the page.

- 7. Proceed to adding a section.

- 8. Select to add HTML block from the side menu.

- 9. Paste the code that you have previously copied from SimplyBook.me interface to the corresponding box.

- 10. Check the preview and publish the changes.
