Translations:SSO-SAML Custom Feature/10/en
From SimplyBook.me
How to set & use Okta
- 1. Create account at Okta.
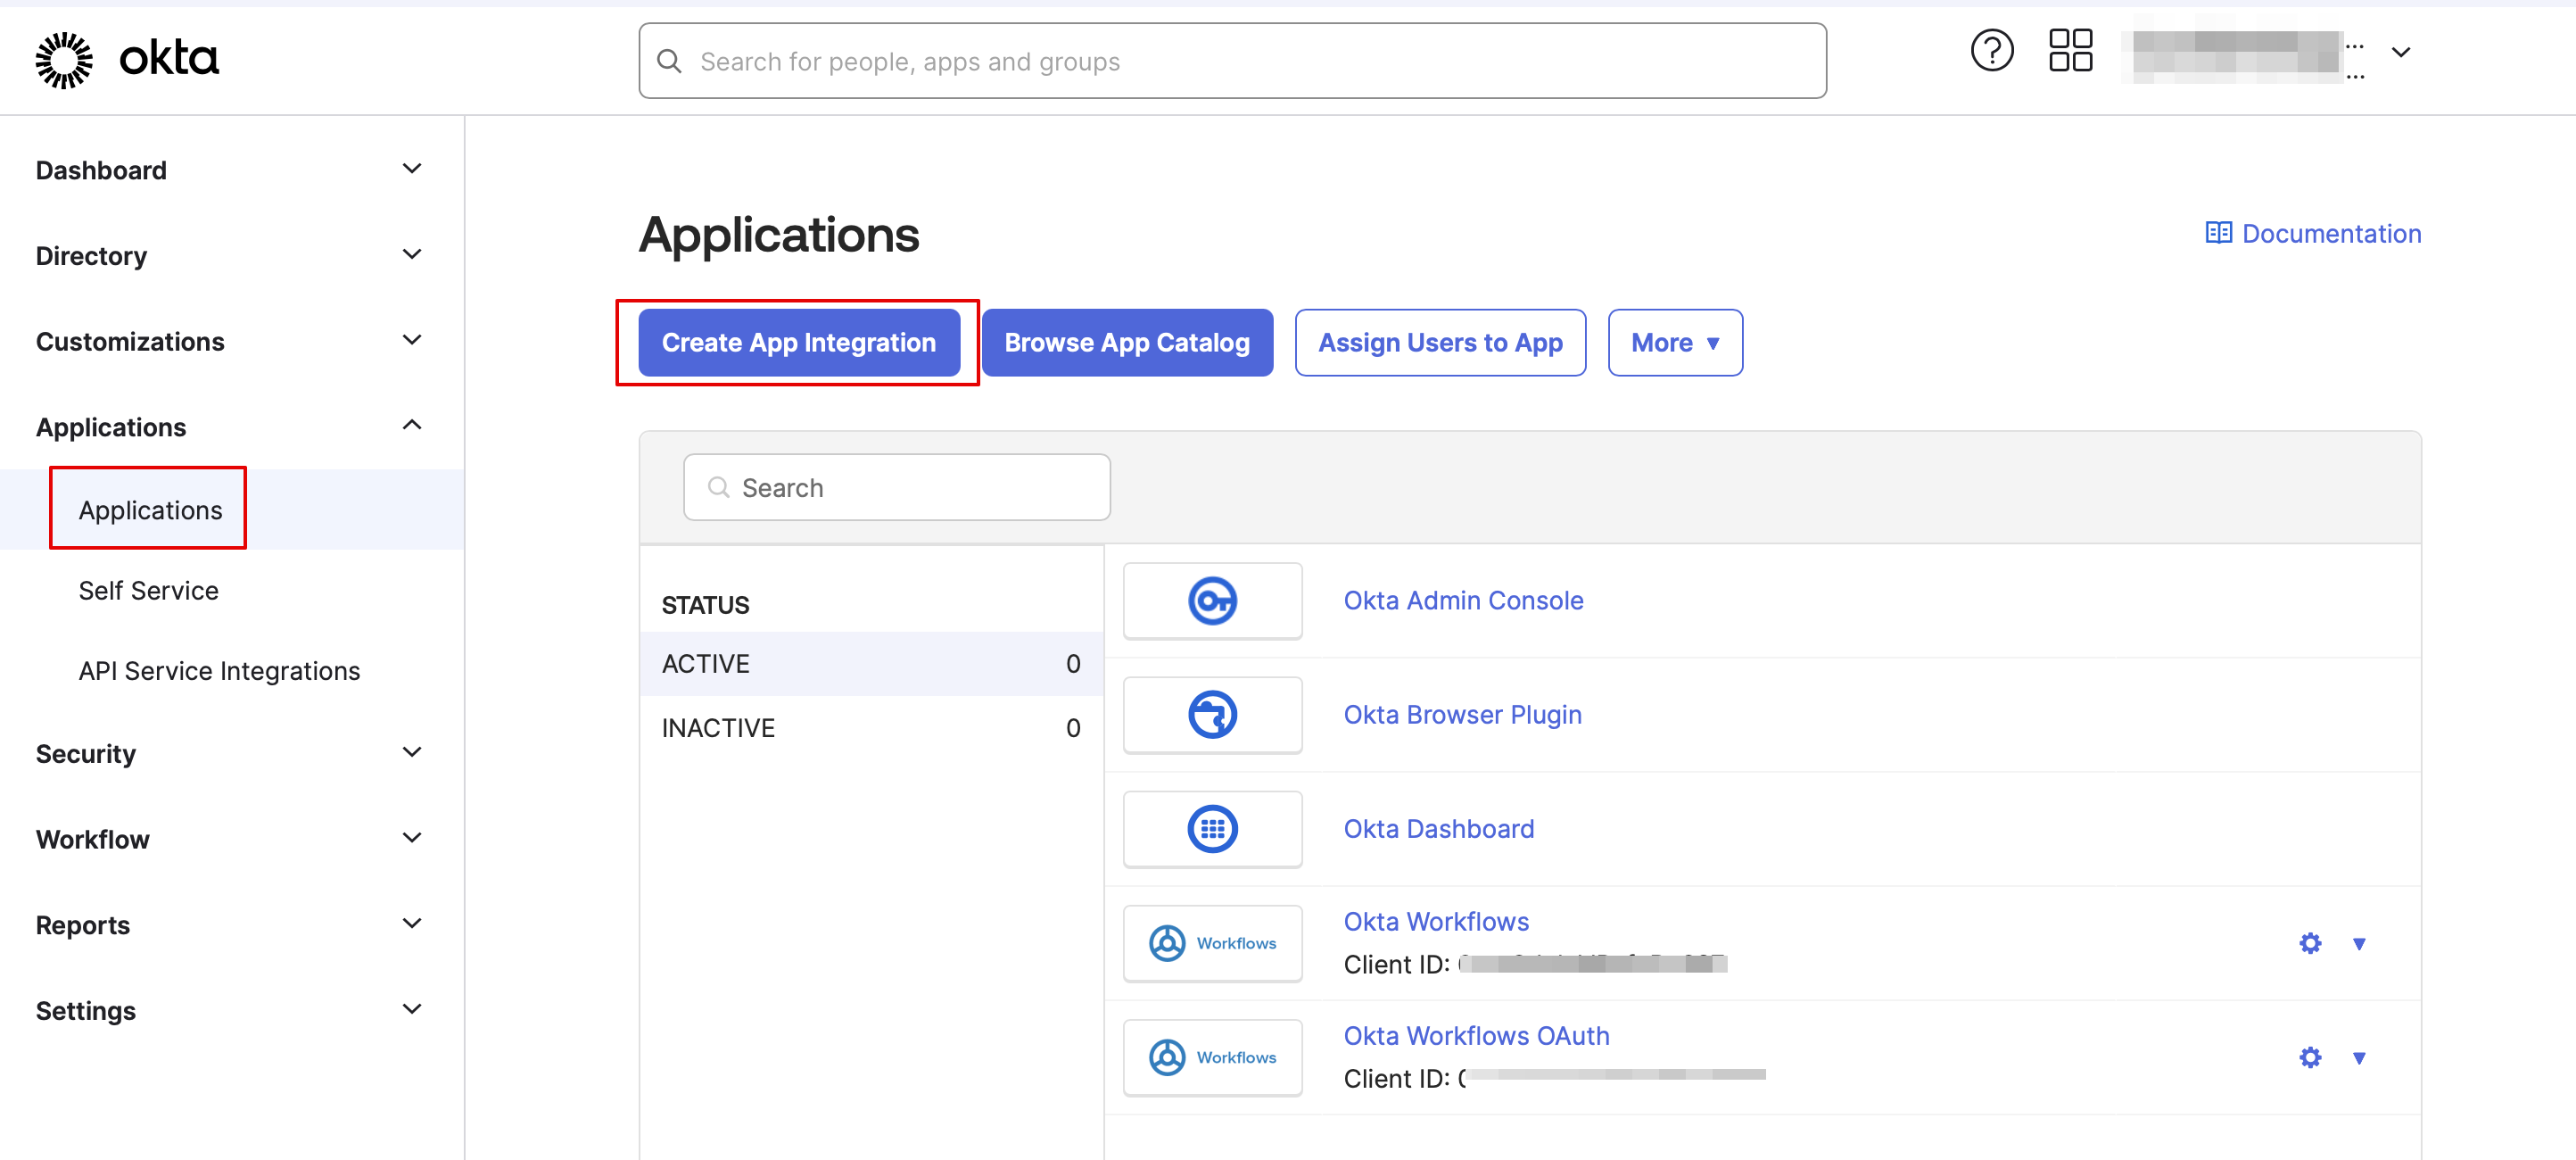
- 2. Navigate to Applications in Okta admin panel and click to create a new app there.
- 3. Add the desirable name and upload a logo.
- 4. Select SAML method.

- 5. On the SAML settings step please copy the Audience URI and Okta Single Sign-On URL from SimplyBook.me SSO-SAML custom feature -> Manage -> Okta SAML Single Sign-On and paste to the corresponding fields on the Okta side.
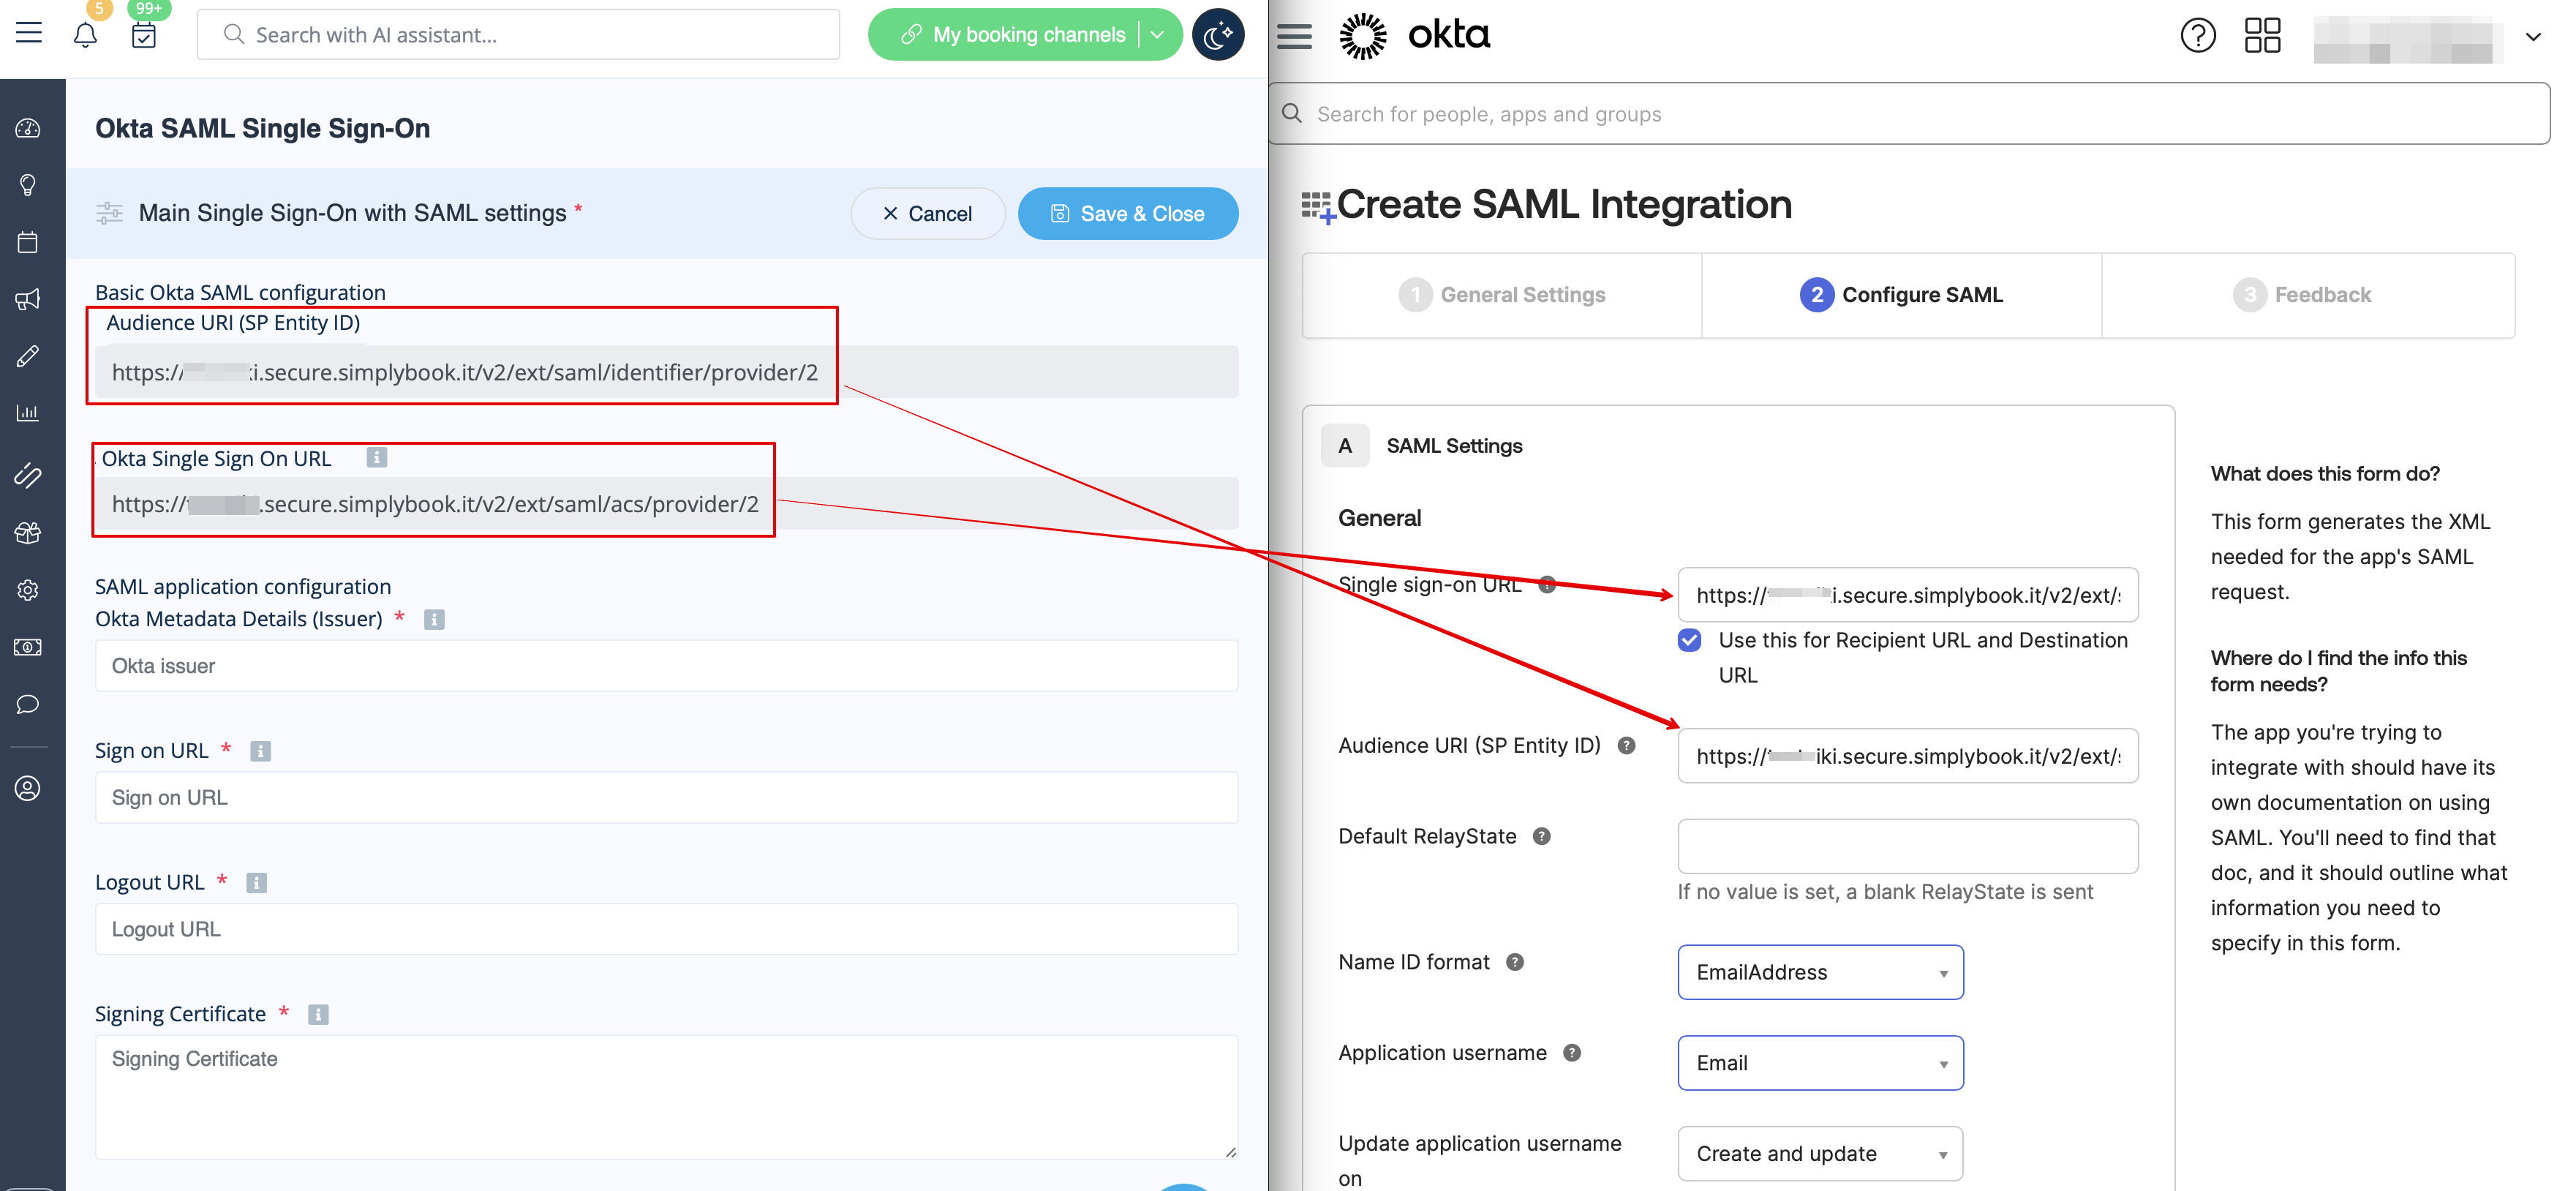
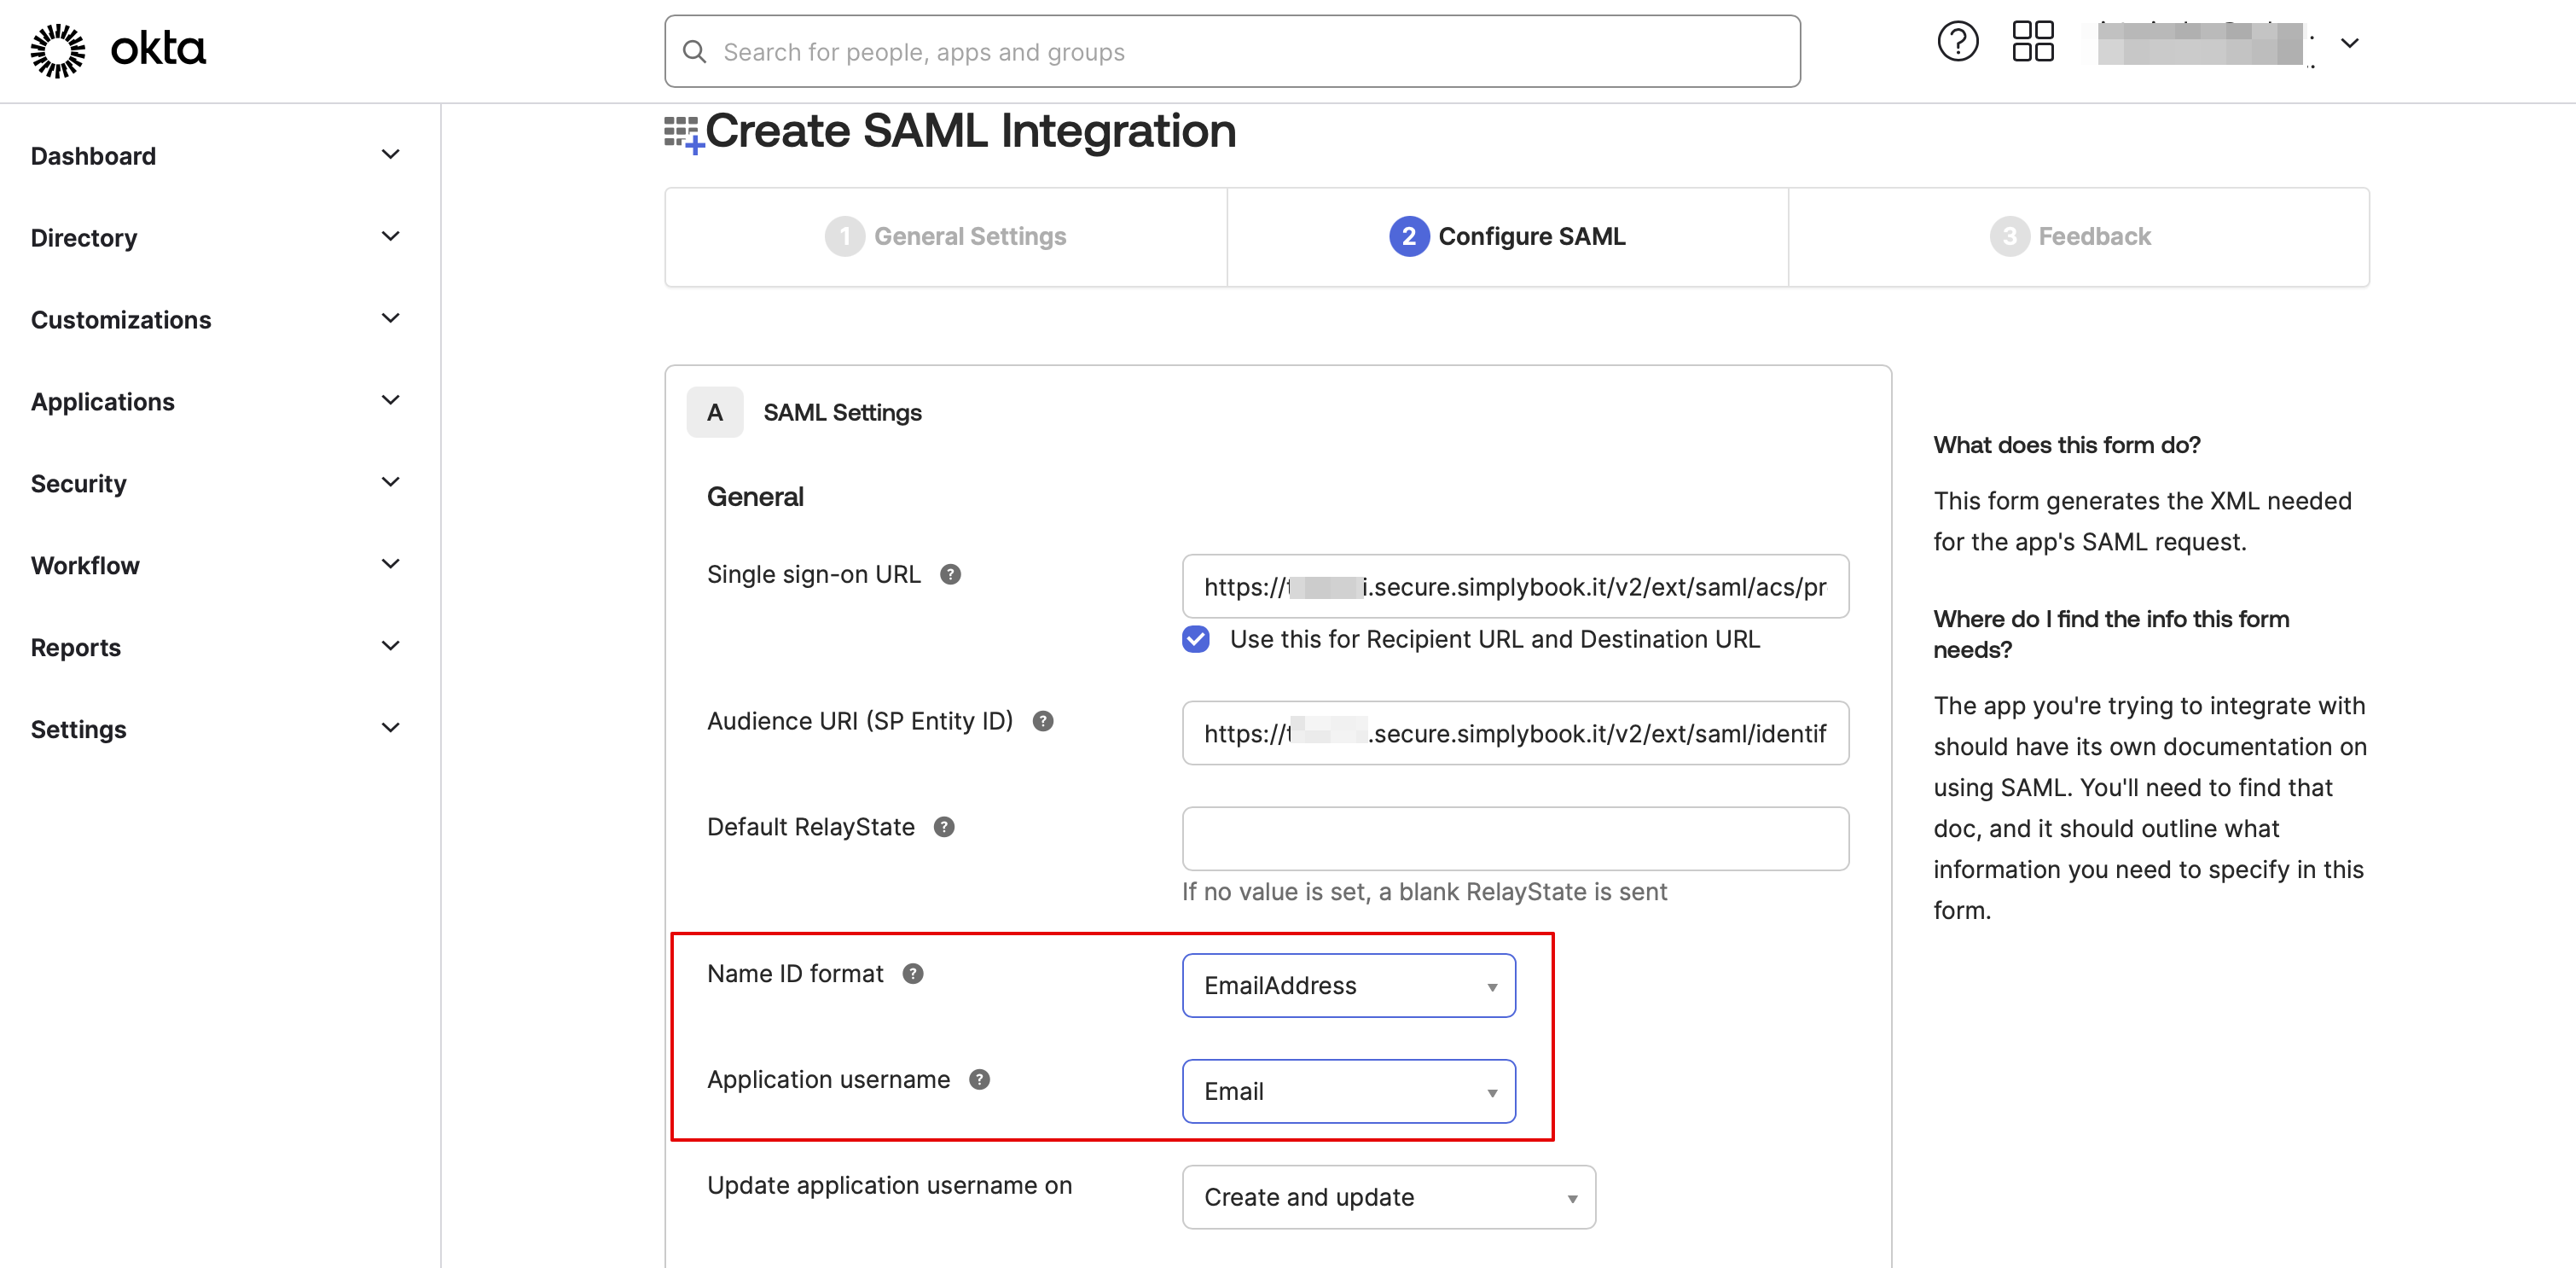
- 6. Set Name ID and Application username as in the image below.
- 7. Scroll the page to Attribute settings and add the attributes for name, email, id and firstname as in the example.
- And separately group attribute in the corresponding block.
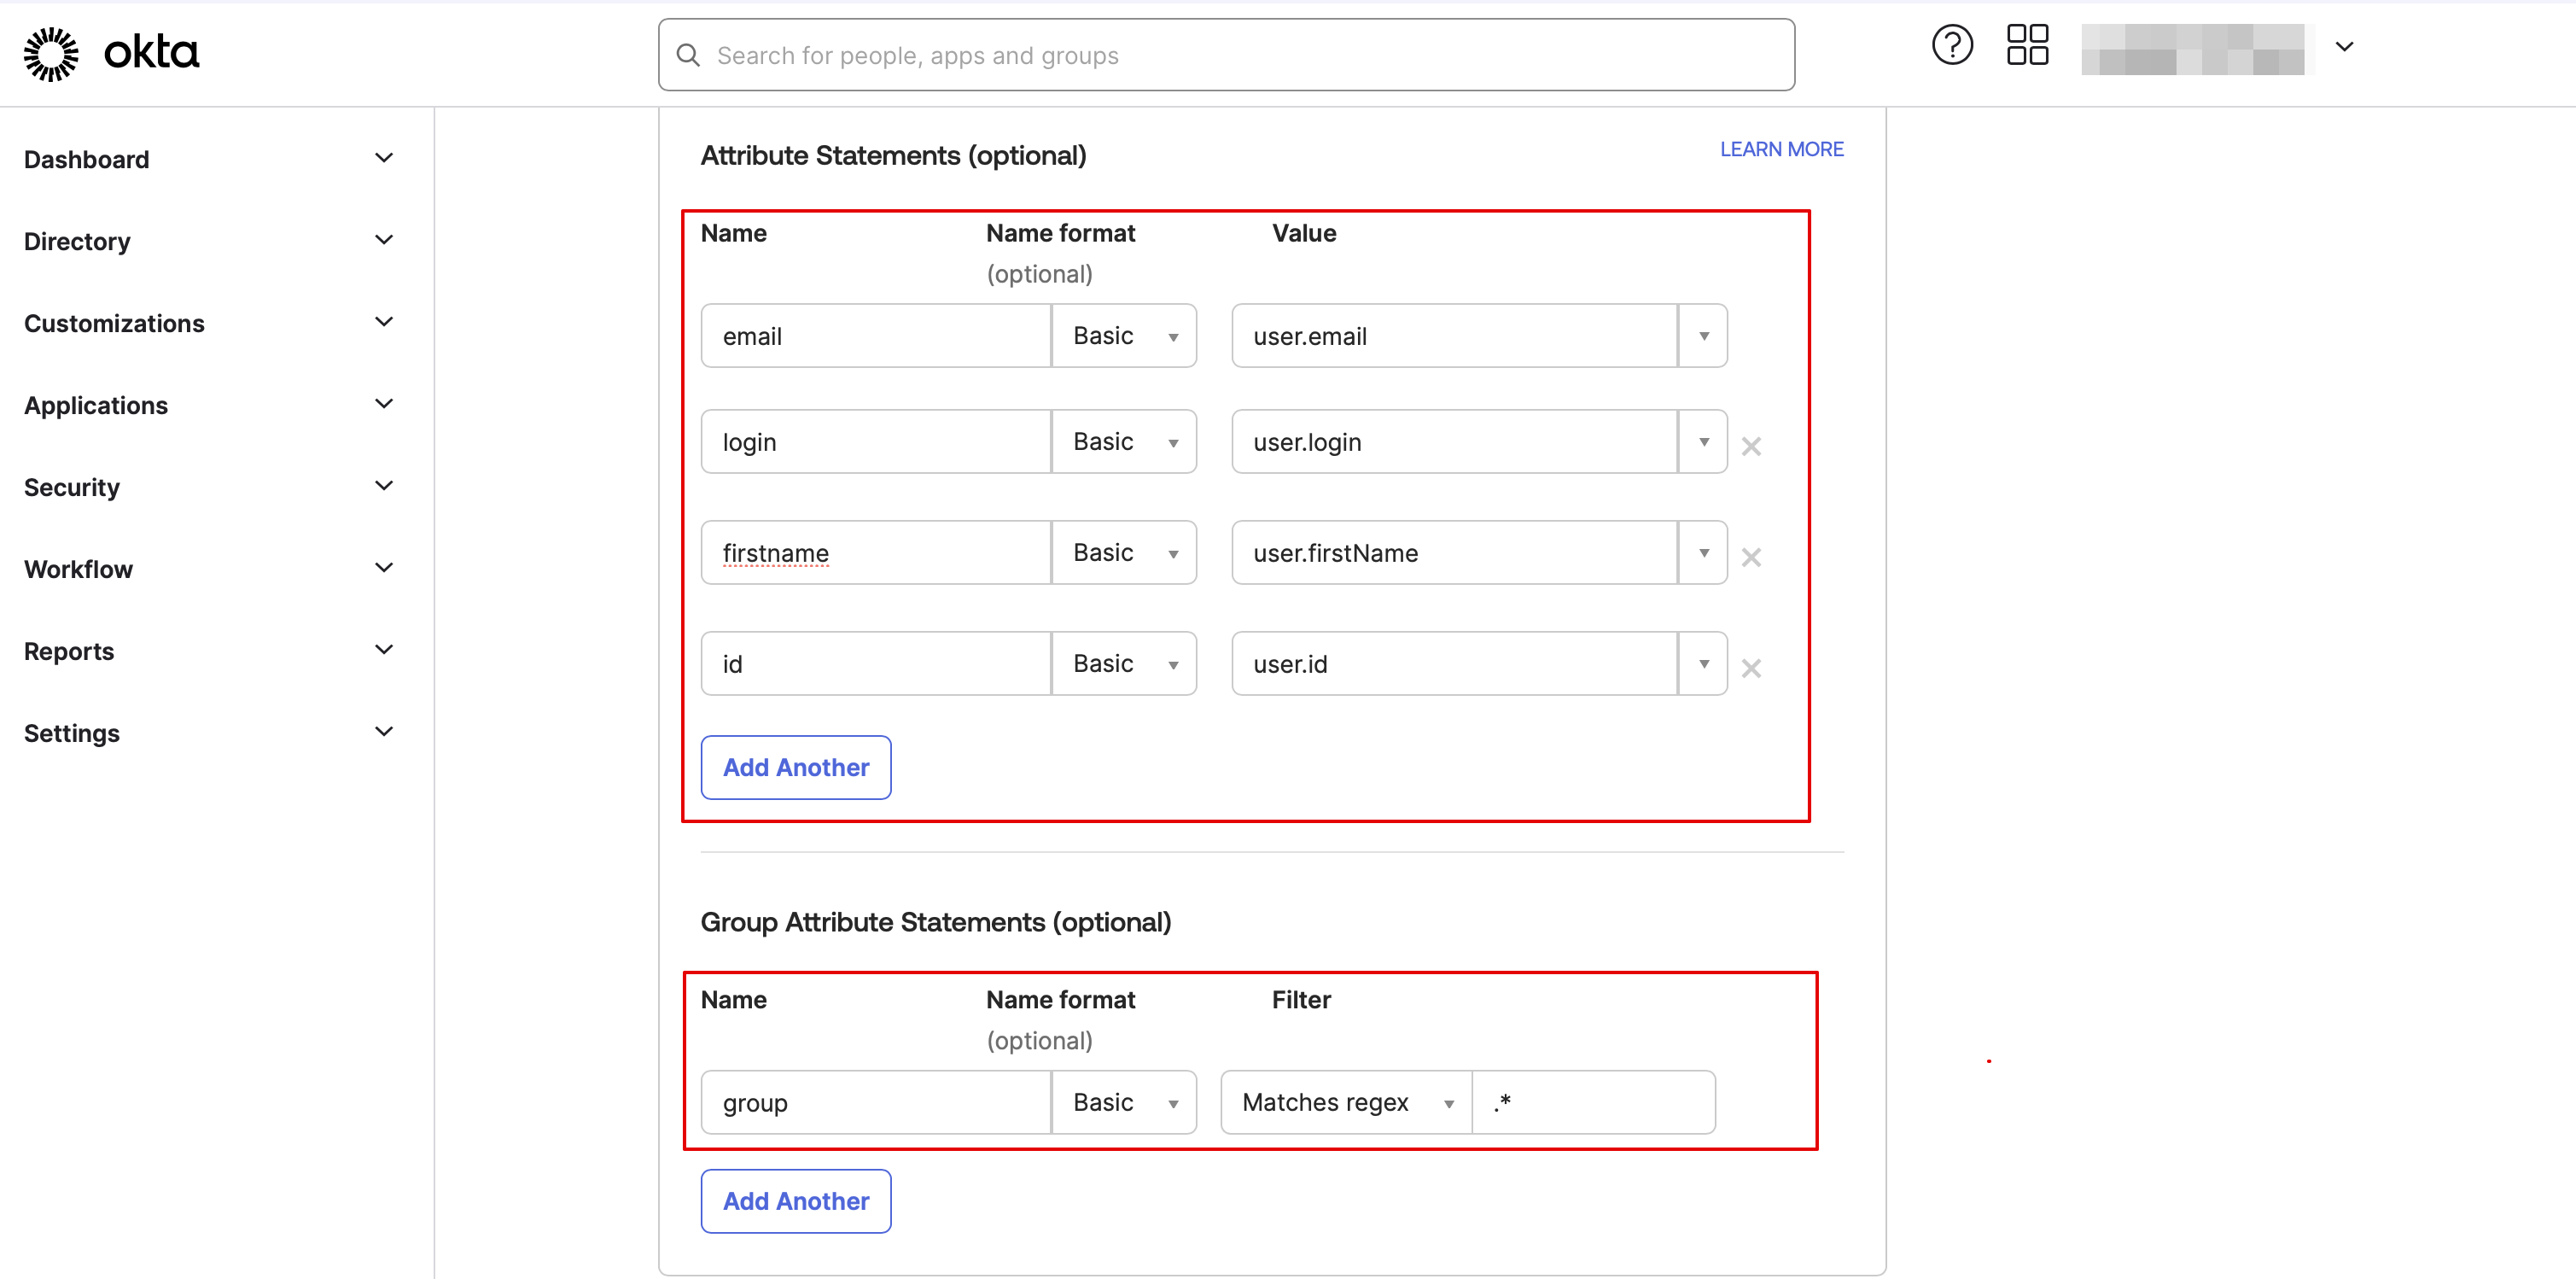
- On the SimplyBook.me side please make sure the same attributes are indicated in the User attributes and claims tab.
- 8. Proceed to the next step.

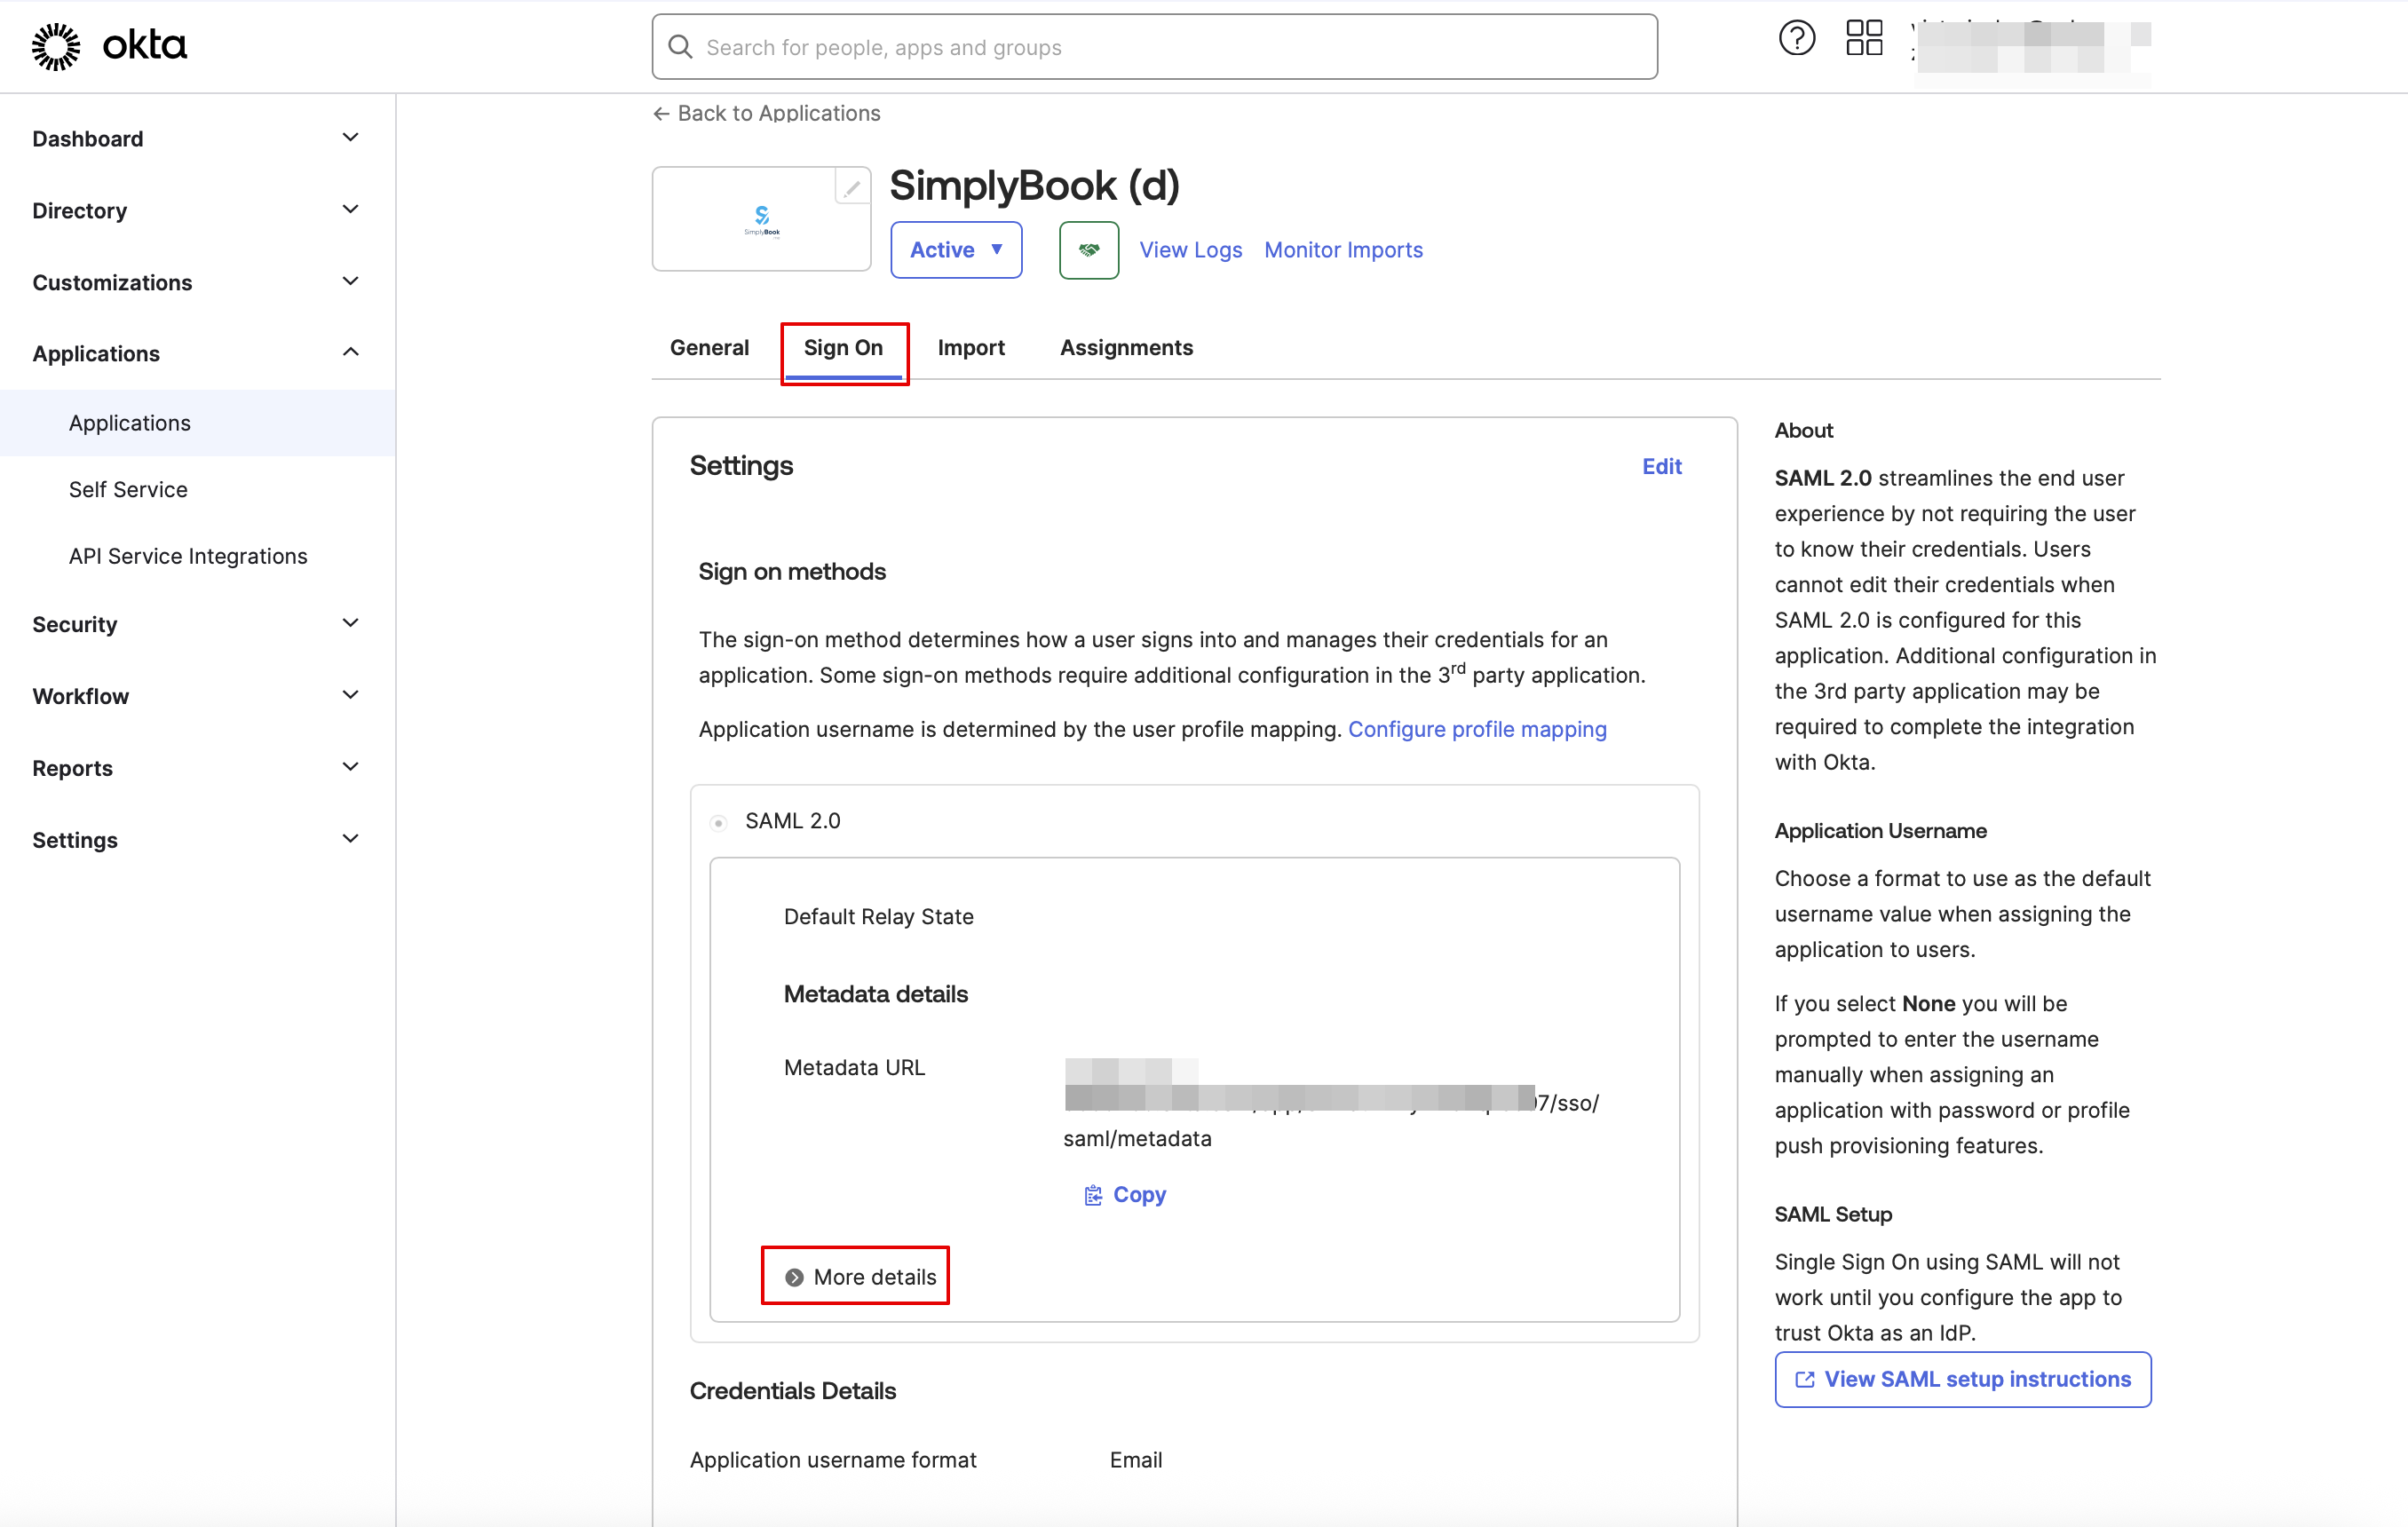
- 9. The app is now saved. Please open Sign on tab and click on on More details there.
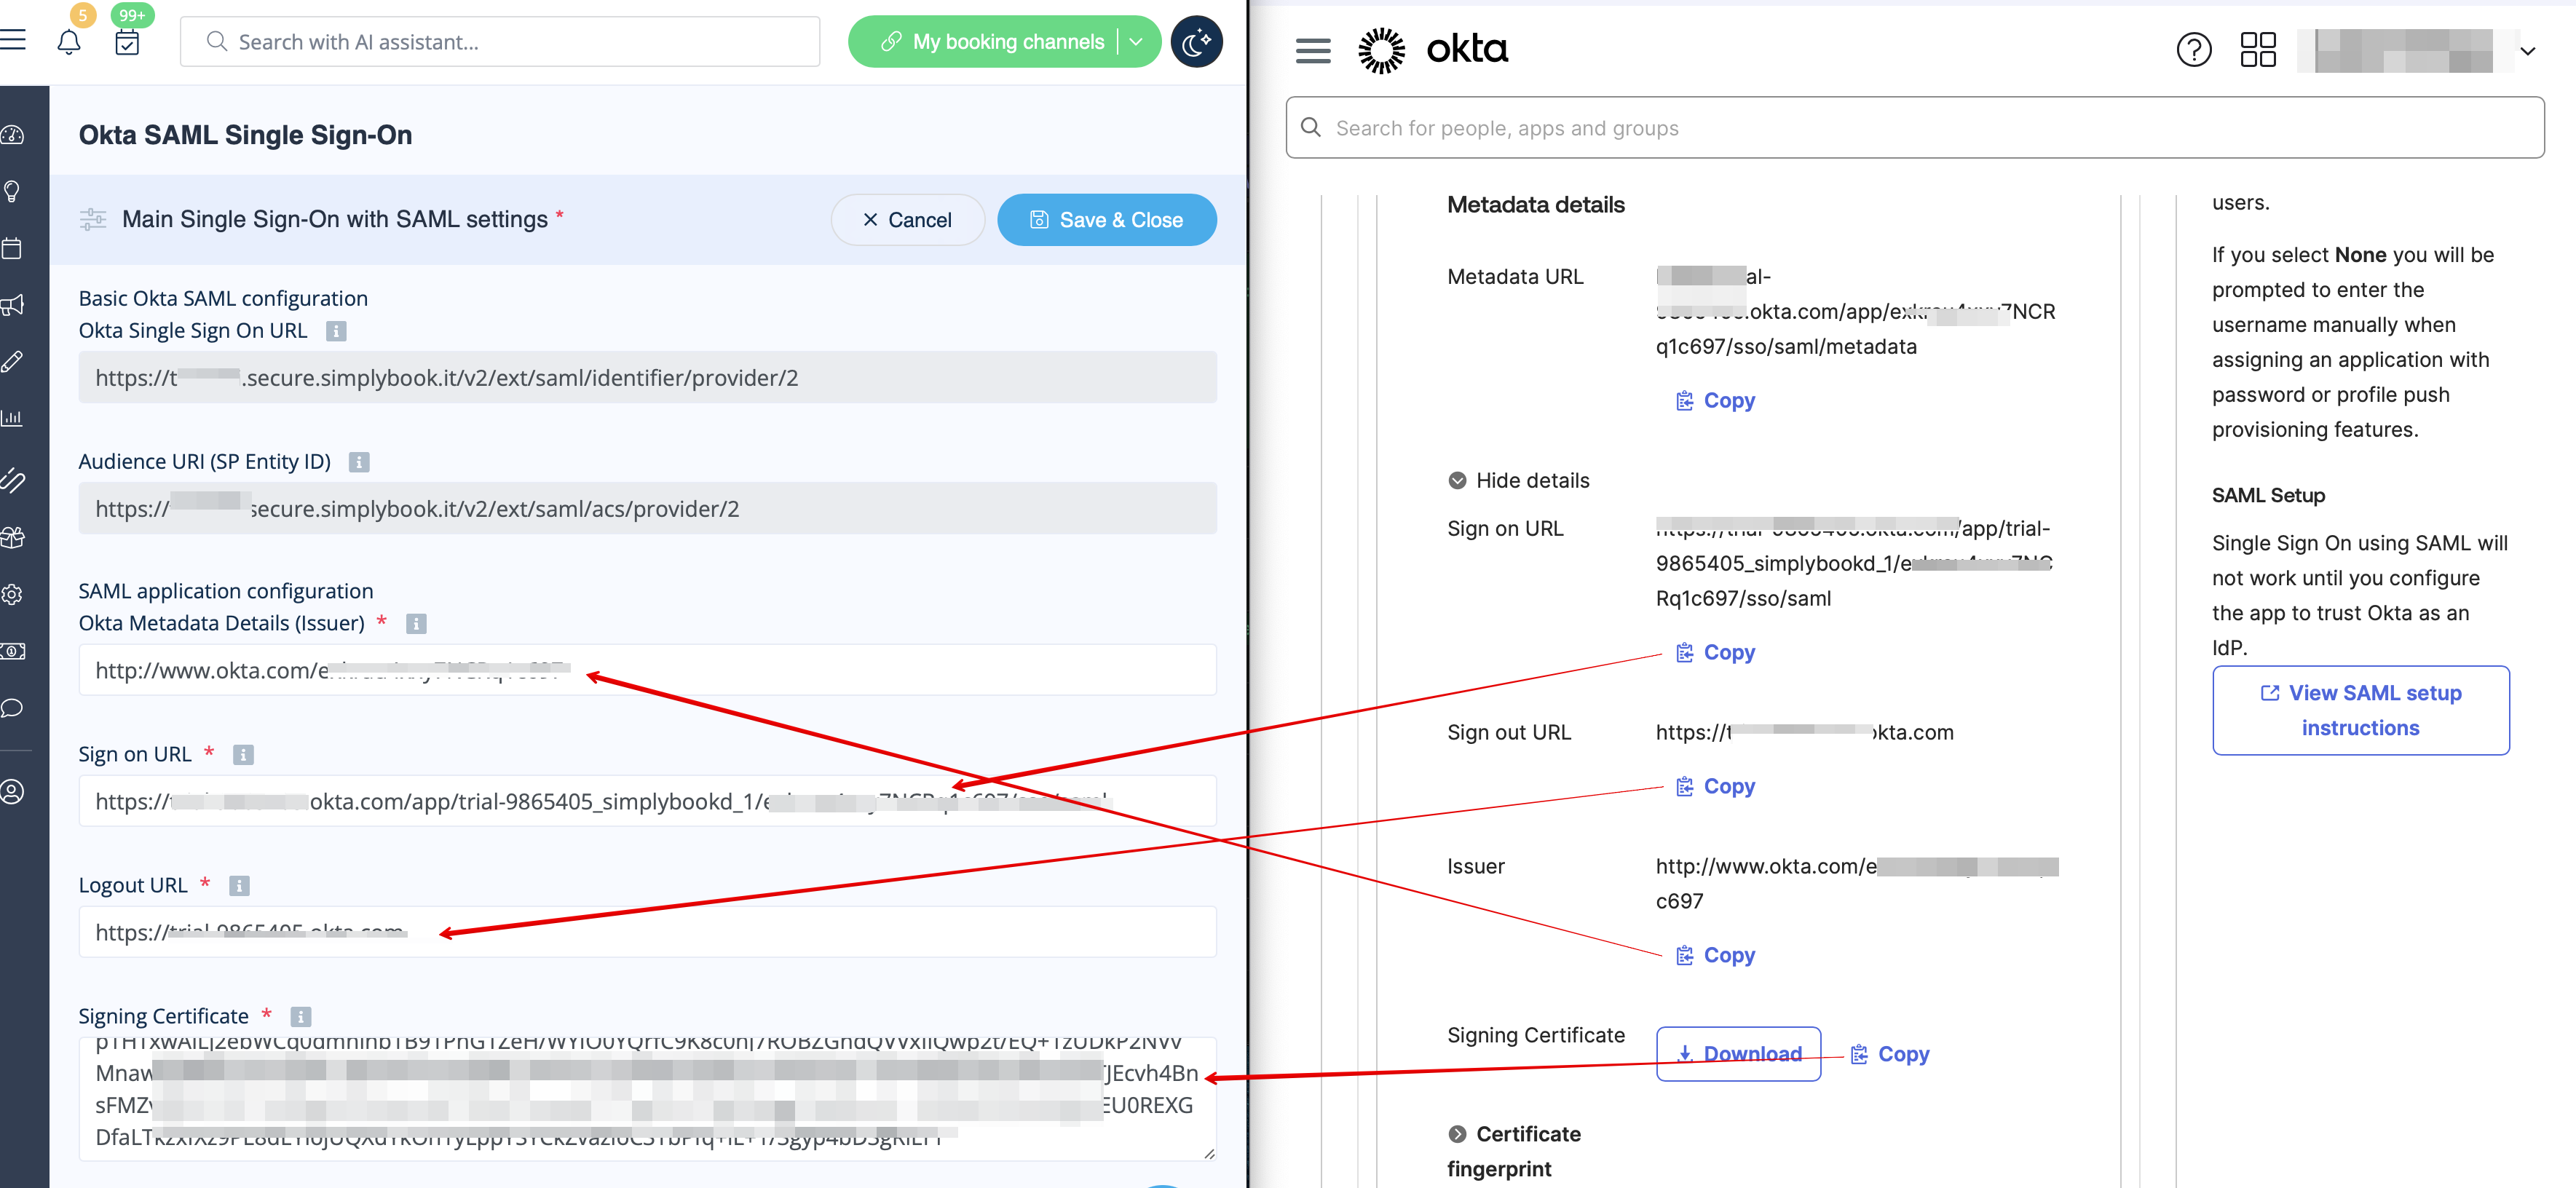
- 10. Copy Sign on URL, Sign out URL, Issuer and Signing certificate in Okta and paste them to the corresponding fields in SimplyBook.me SSO-SAML custom feature -> Manage -> Okta SAML Single Sign-On
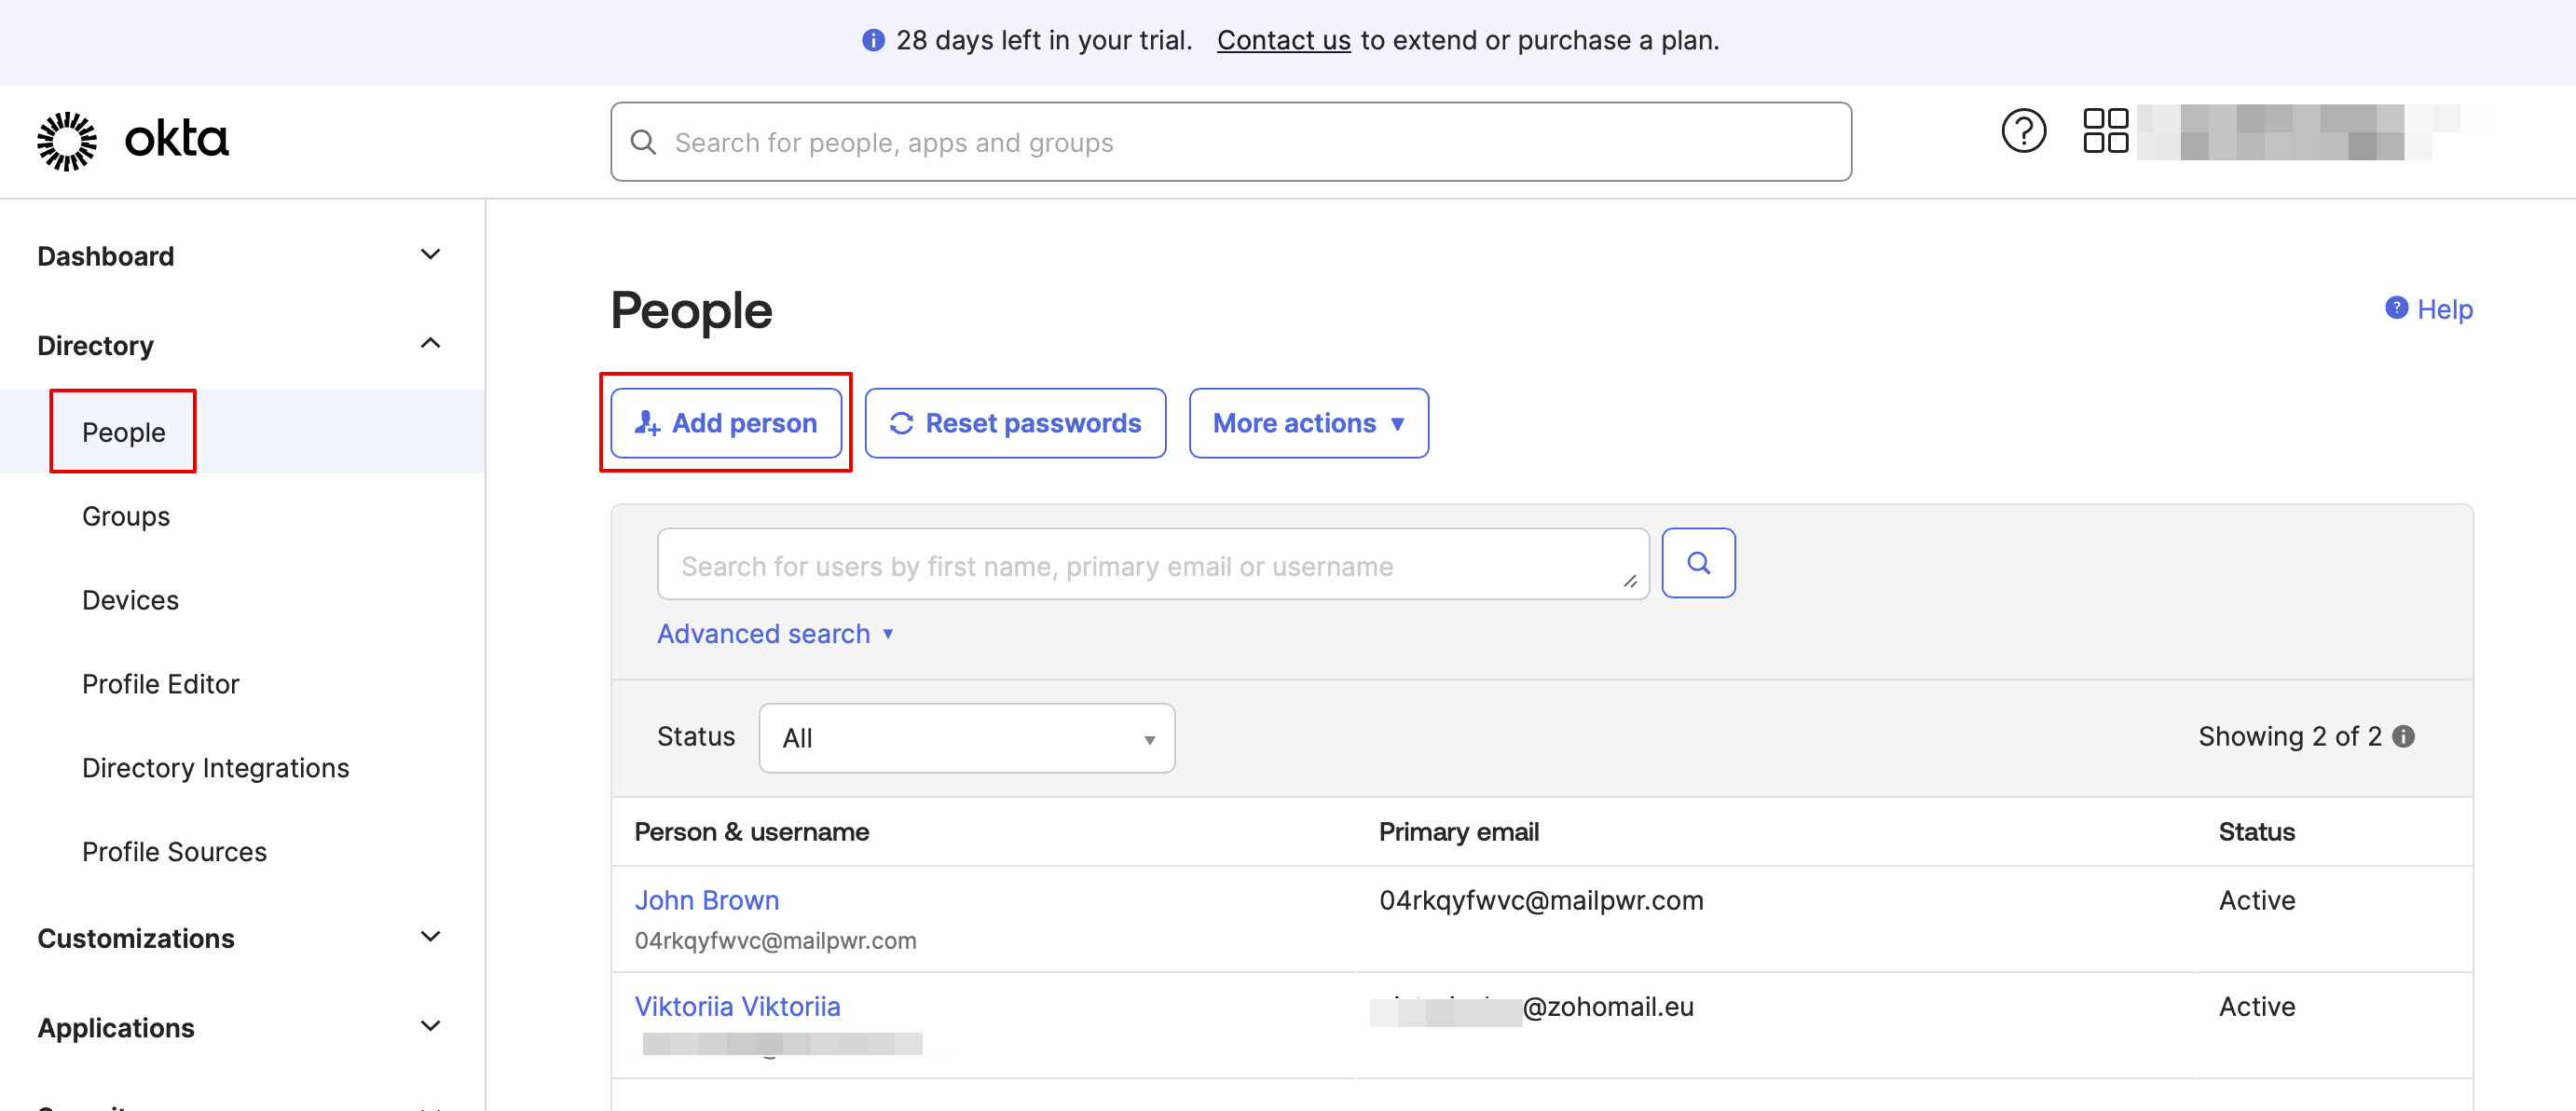
- 11. Now in Okta interface make sure all necessary employees are added to the system in People tab.
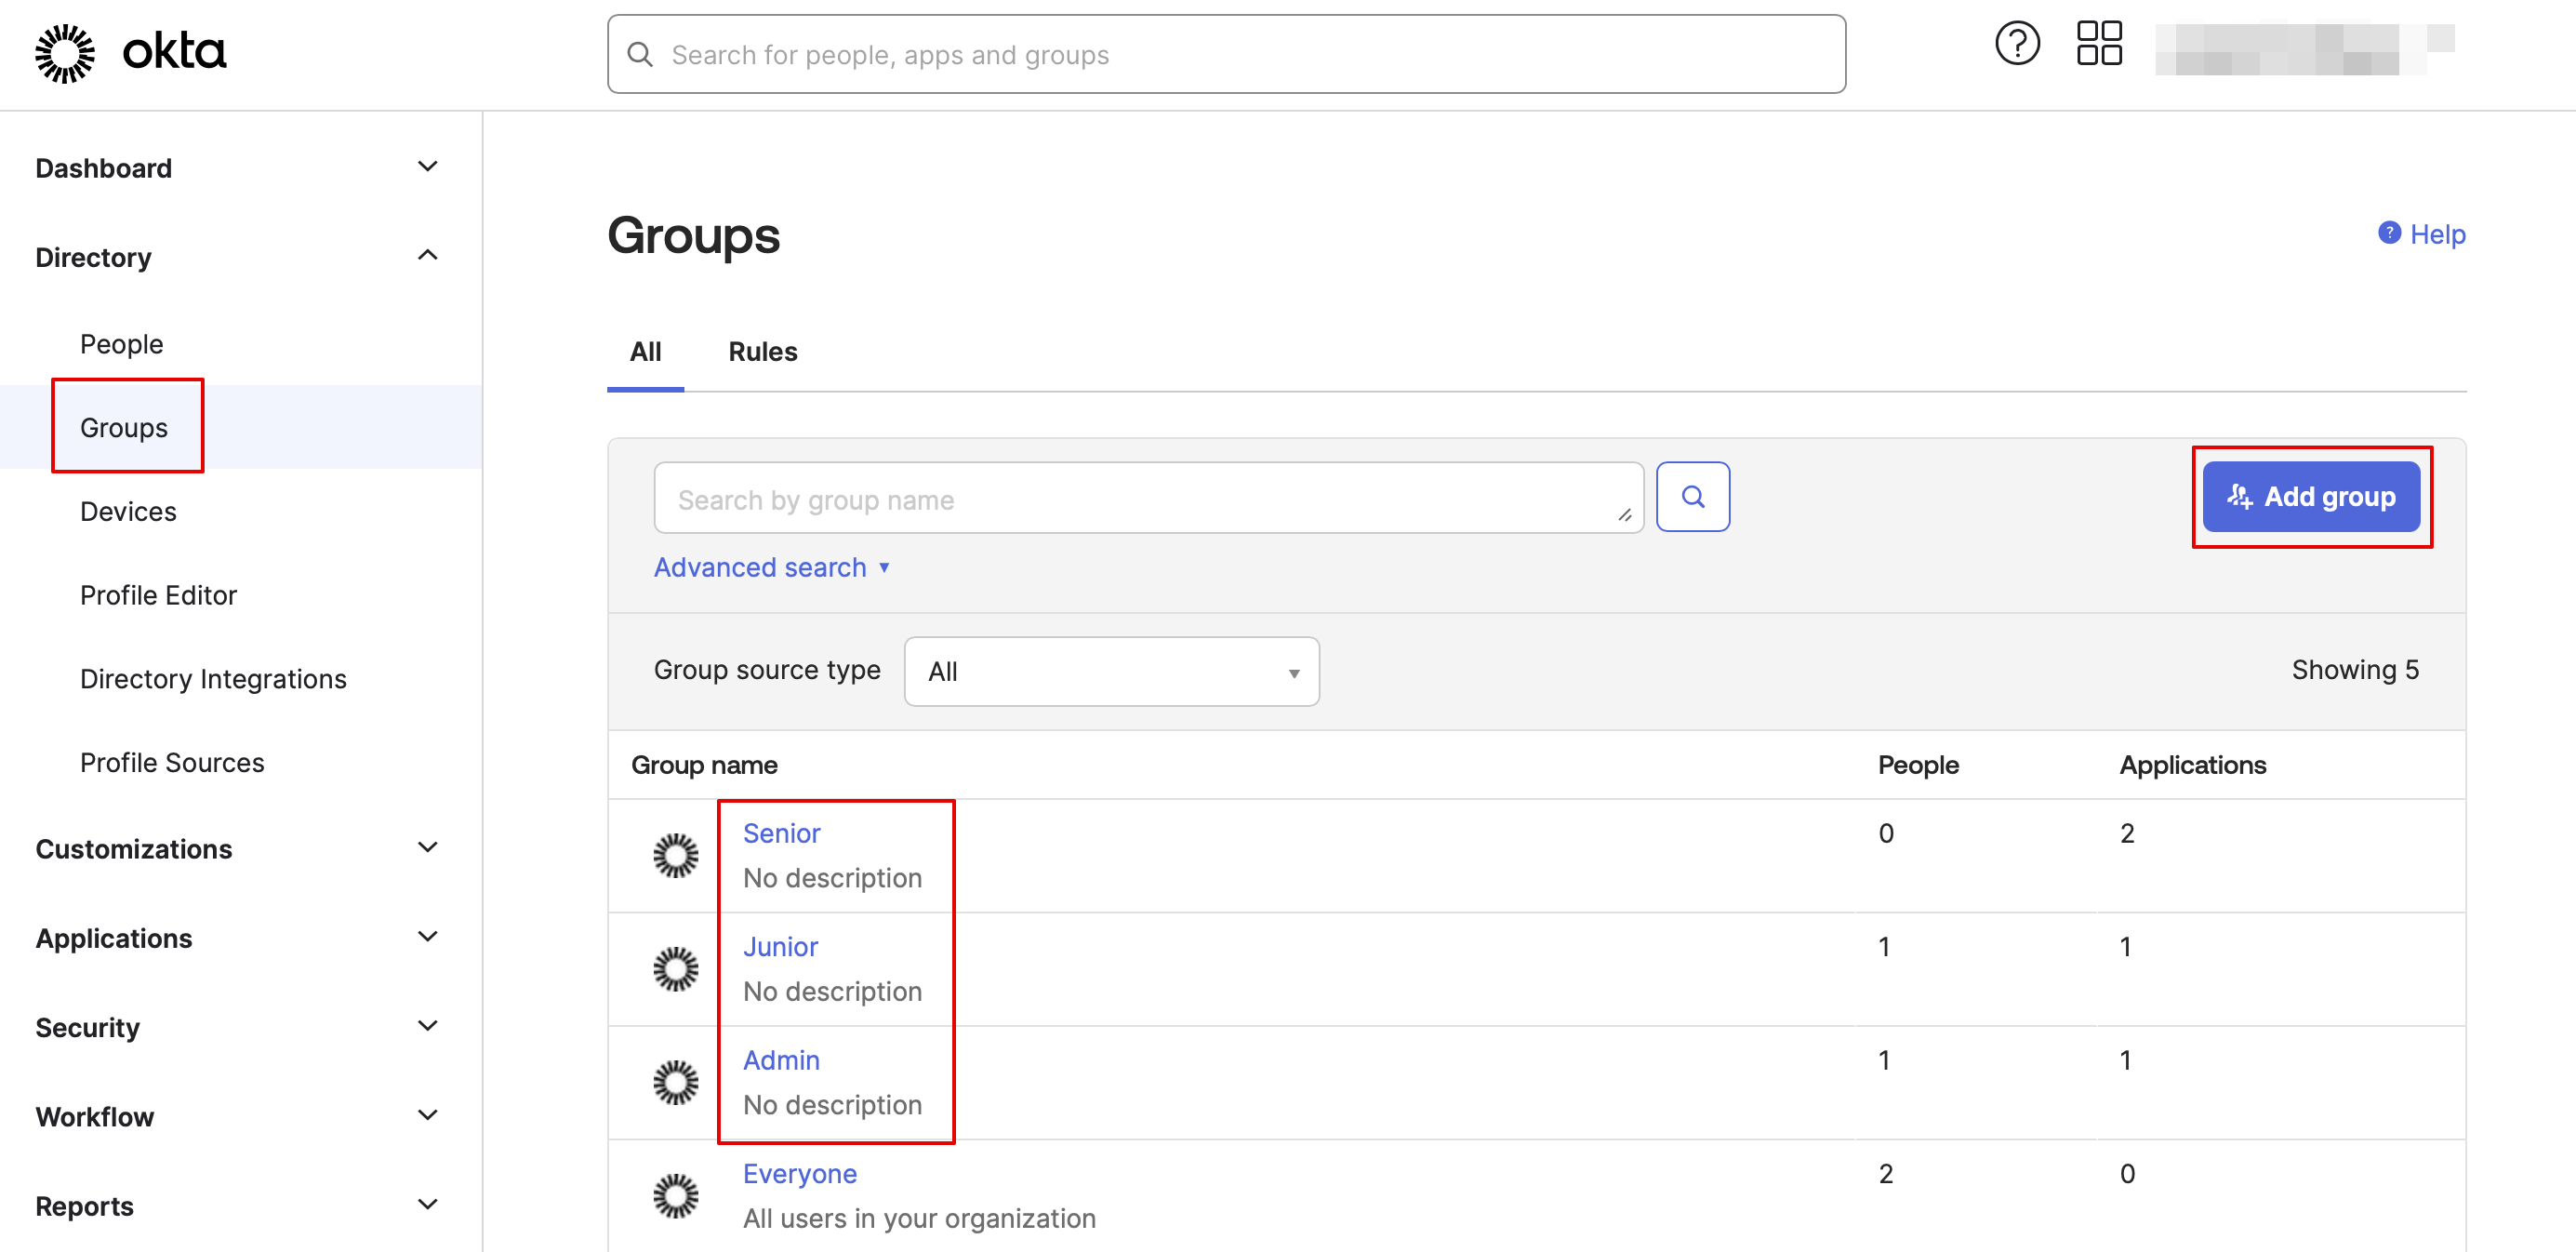
- 12. In Groups tab - create the groups matching the SimplyBook.me access levels. Assign the employees to these groups.

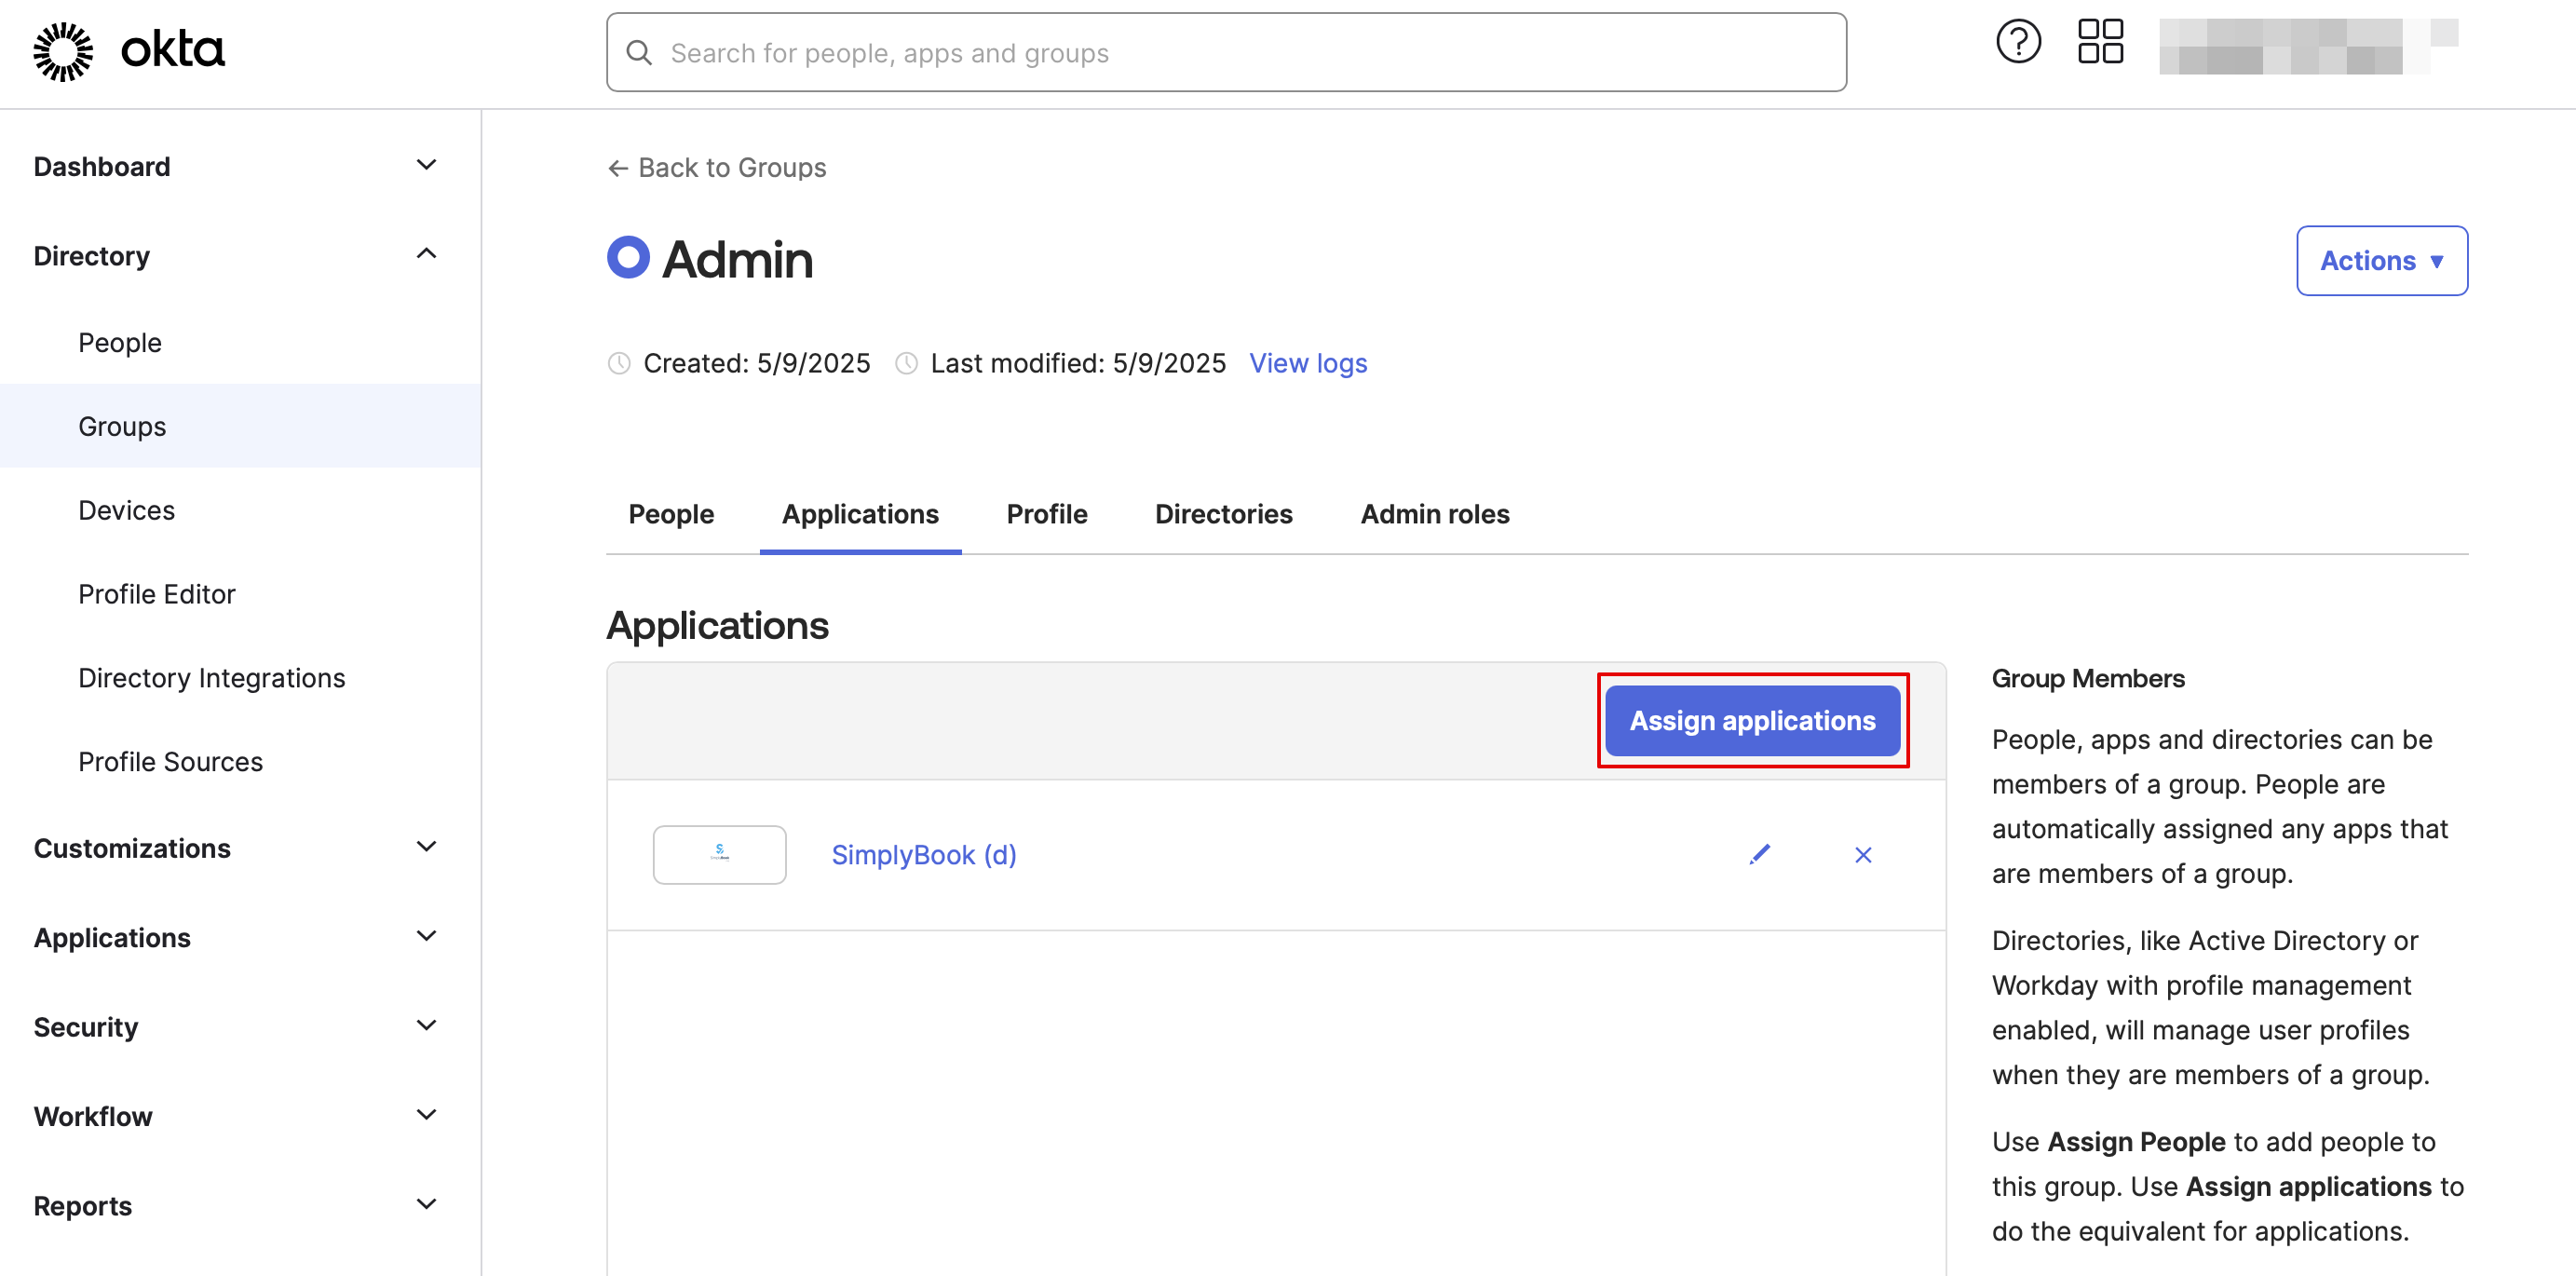
- 13. Assign the groups and people to the application that you've created.
- 14. In the SimplyBook.me side please indicate the groups names in the User groups matching settings tab. Save settings.
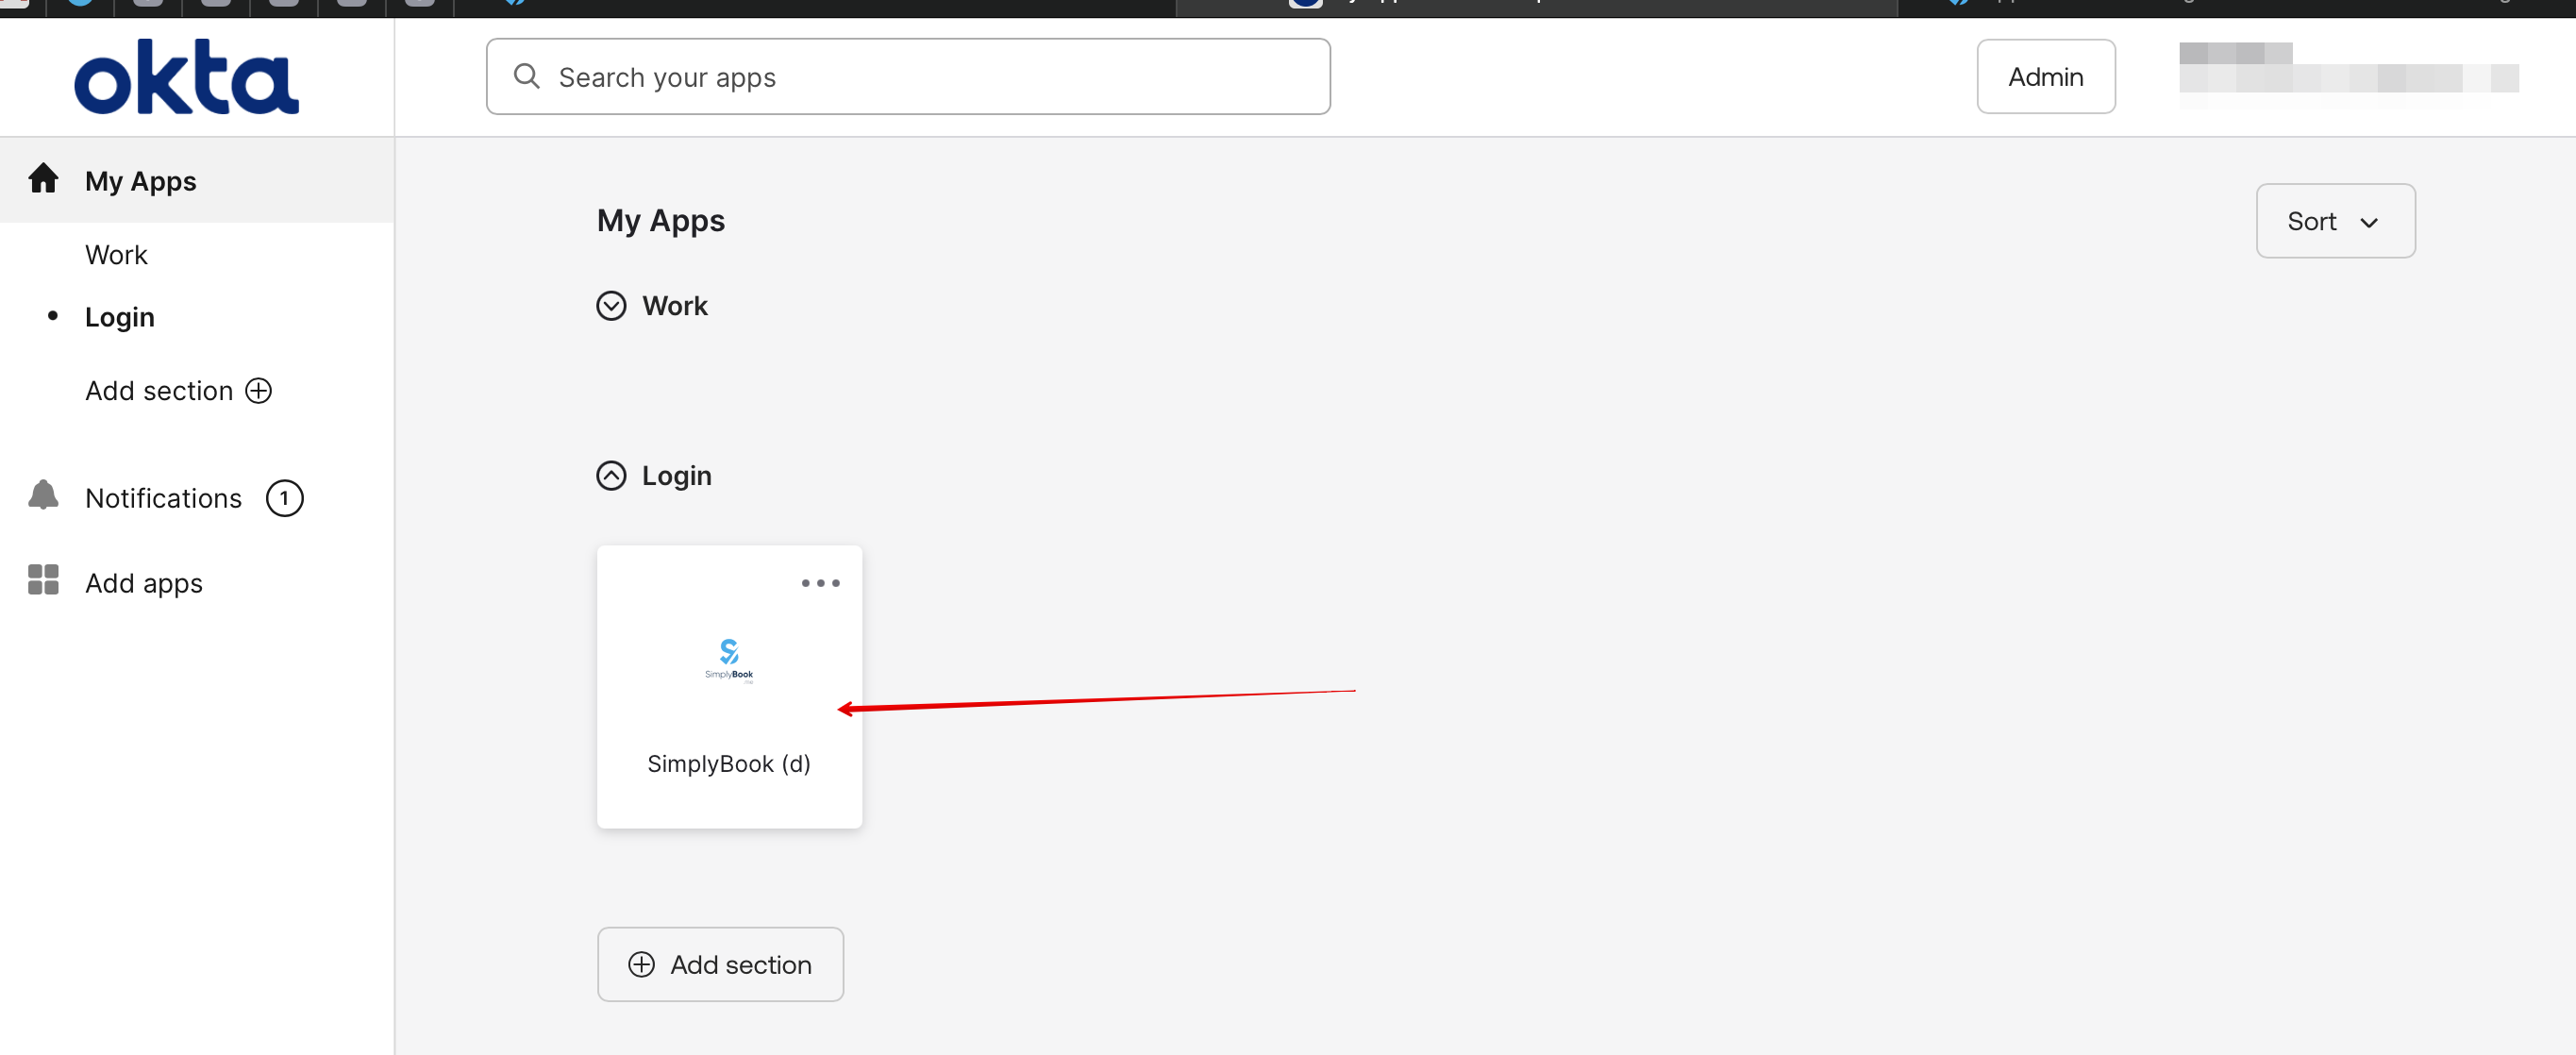
- 15. Everything is ready now. Your employees an now log in to your company account at SimplyBook.me with one single click on the Okta panel (the user in SimplyBook.me will be automatically create on the first login with the corresponding rights)