Point of Sale
Die individuelle Funktion "Point of Sale" ermöglicht es Systembenutzern, Buchungsverkäufe zu erstellen und zu verfolgen sowie Mitgliedschaften, Produkte und Geschenkgutscheine an bestehende oder neue Kunden zu verkaufen. Sie können die Kaufhistorie Ihrer Kunden überprüfen, ausstehende Transaktionen genehmigen und Rechnungen drucken. Und das alles auf einer übersichtlichen, mobilfreundlichen Oberfläche! Es ist ein wertvolles Werkzeug für die Verwaltung von Buchungszahlungen innerhalb des Systems. Es ist jedoch wichtig zu erwähnen, dass es sich nicht um ein echtes Zahlungsterminal handelt und keine Zahlungen verarbeiten kann. Stattdessen bietet es eine intuitive Schnittstelle zur Erfassung von Zahlungsinformationen. Es gibt derzeit keine Möglichkeit, Simplybook mit Zahlungsterminals zu verbinden.
Bitte beachten Sie! Die individuelle Funktion Zahlungen annehmen wird ebenfalls aktiviert, wenn Sie die PoS-Funktion einschalten.
Warum Sie das Point of Sale System verwenden sollten: ![]()
- How to use
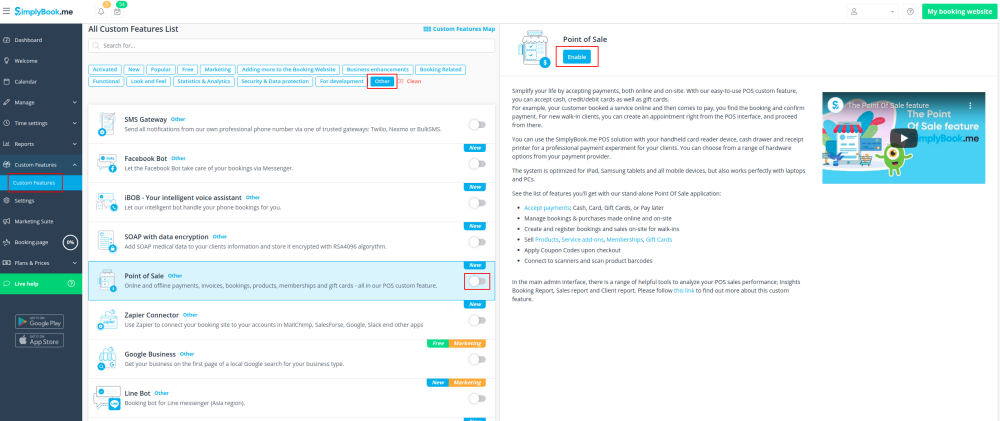
- 1. Enable Point of Sale Custom Feature on your Custom Features page, “Other” section.
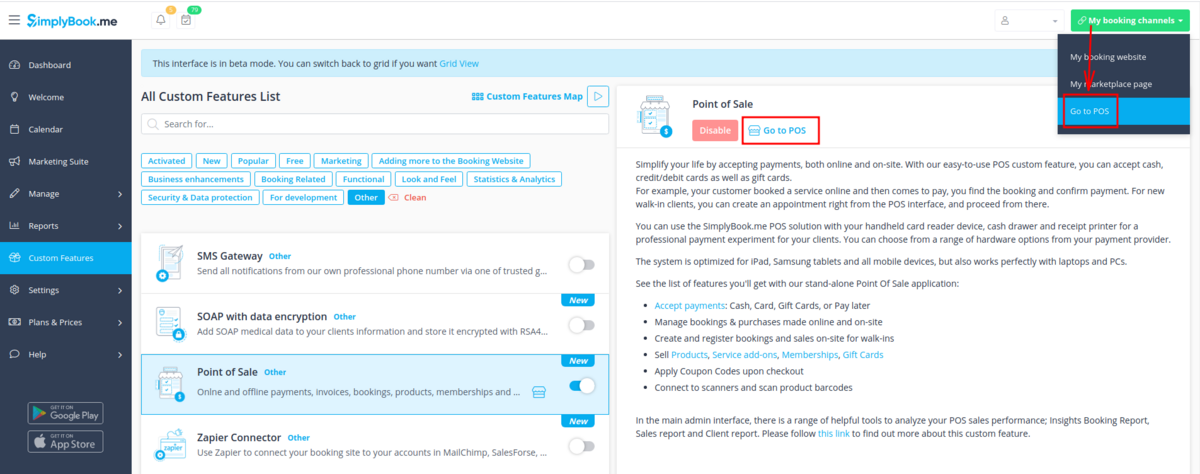
- 2. Click on “Go to POS” near this feature or in top right corner of your admin interface under "My booking channels".
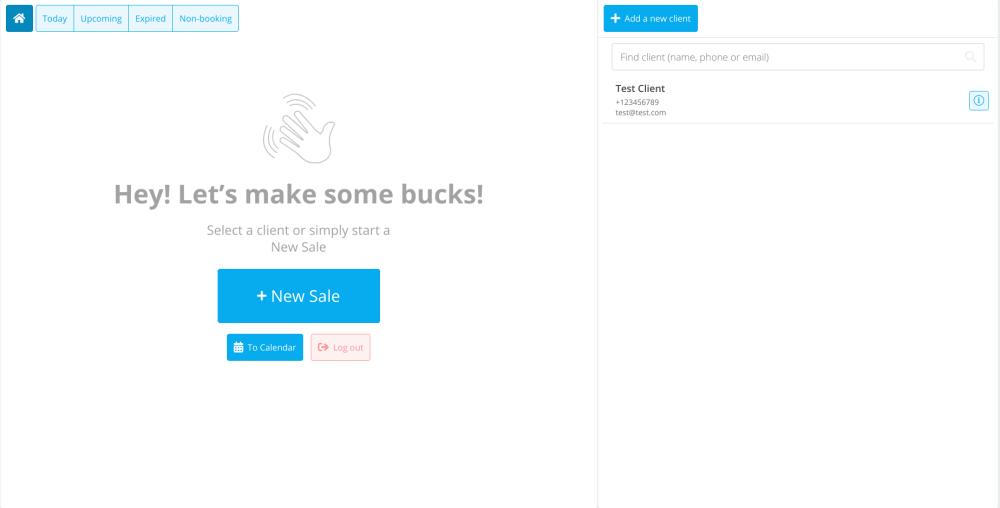
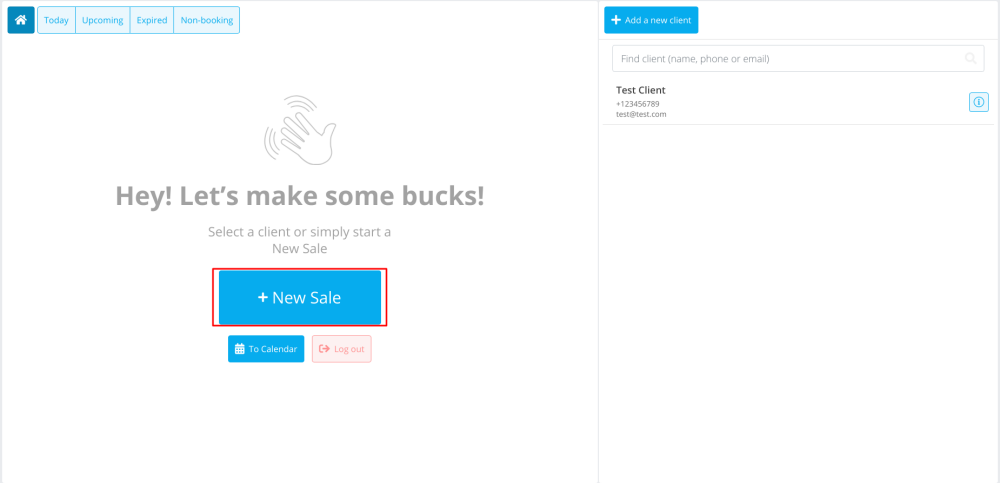
- 3. You will see sale start page. (If you need to return here at some point please use “Home” icon in the top left corner.)
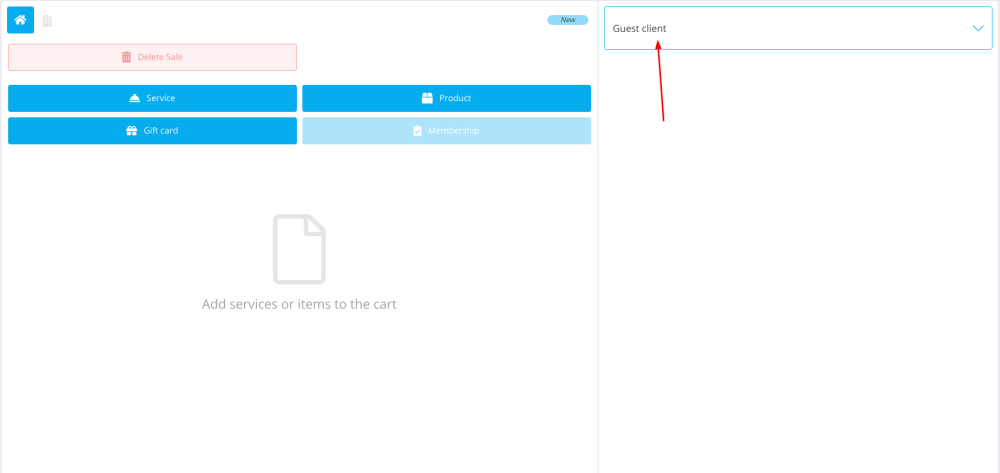
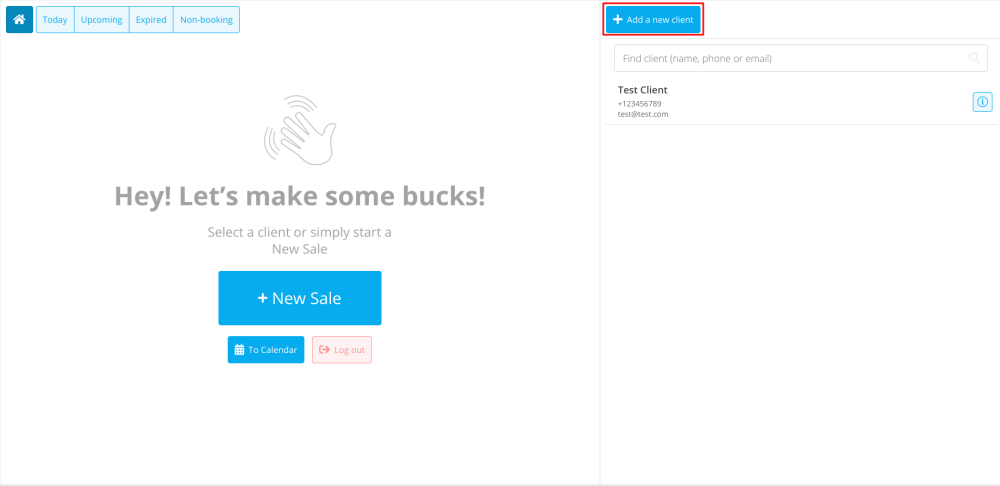
- 4. By default guest client is selected, but you can select a client from already existing ones in your system.
- 5. Or add new client directly from POS interface.
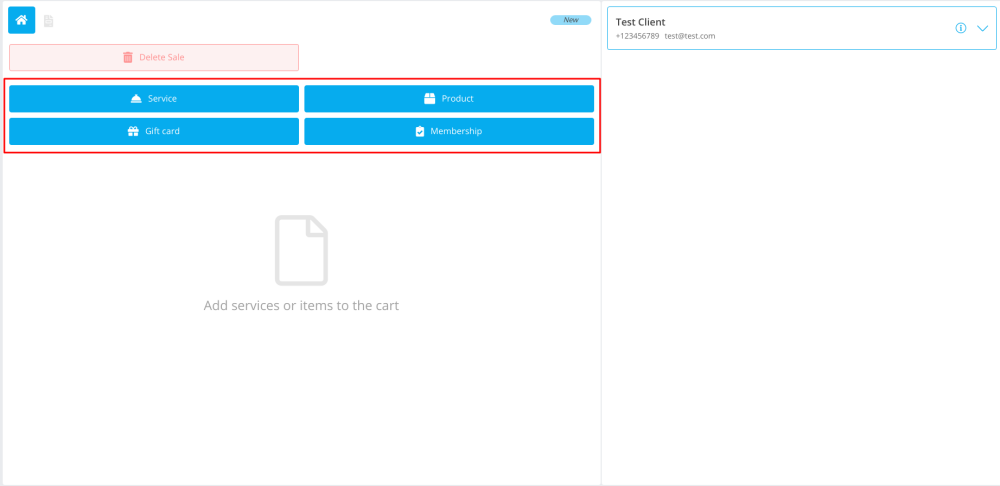
- 6. Select “New Sale” option to sell service/membership/package/product/add-on.
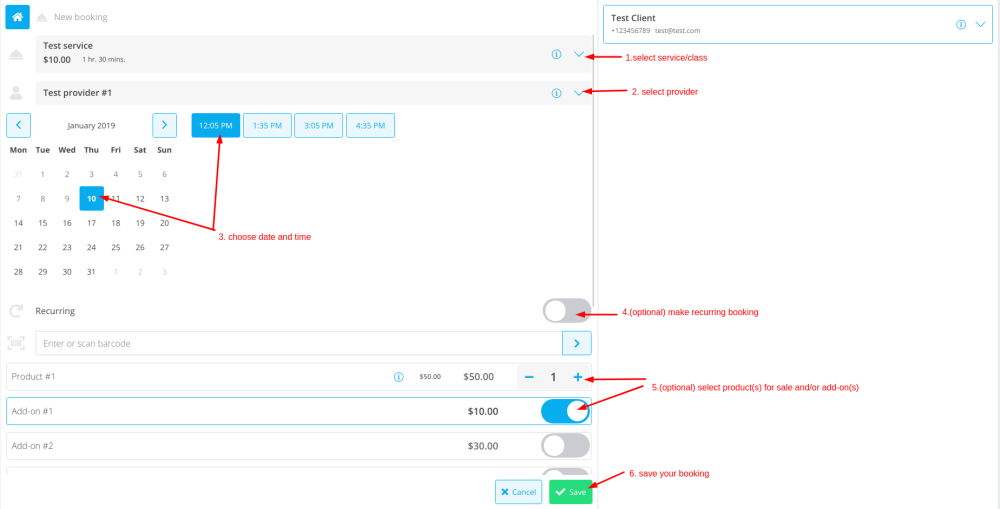
- 7. If you have selected service option new booking will be created. Please choose which service/class, provider, date and time do you wish to book. Add product(s), add-on(s) if necessary and click on “Save”.
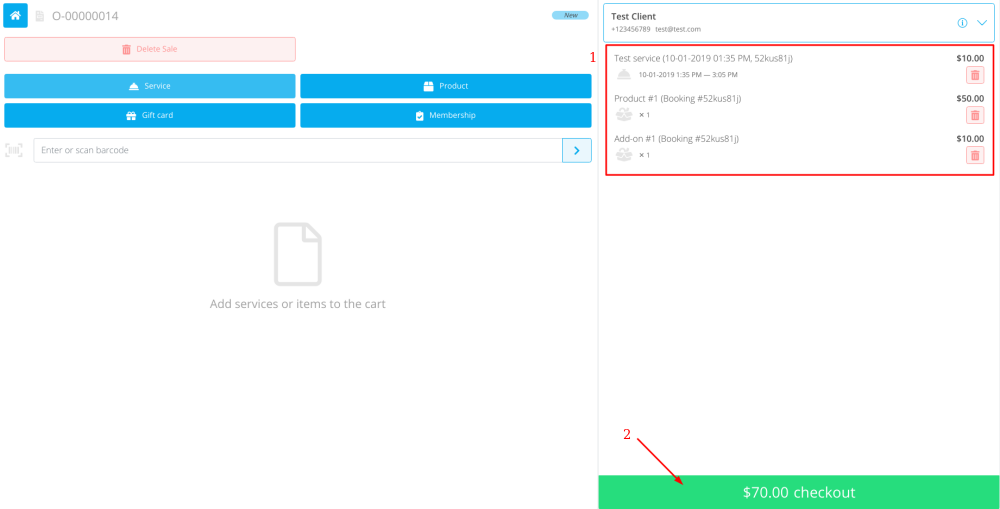
- 8. On the next step you can add more options to the cart(left side of the page) or confirm all the selections by clicking on the “Checkout button”(right side of the page).
- 9. Select payment method to confirm the order.
- 10. If you have chosen “Credit card/Wire transfer/Cash” the order will be automatically confirmed meaning that you have received the money using the options mentioned.
- If you have selected “Pay later” the order will be displayed as “pending”. You will be able to click on “Checkout” once more and select another payment method to confirm the sale.
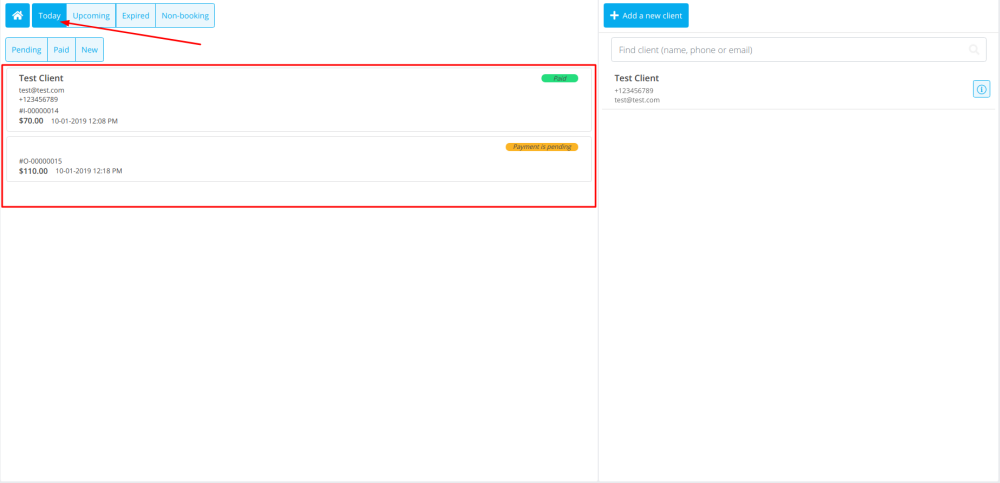
- 11. You can go to “Home” page and use filters to see today/upcoming/expired/non-booking/pending/paid, etc. orders. It is possible to click on the order to see the details/print the invoice.
