Difference between revisions of "Brief overview of the system"
| Line 5: | Line 5: | ||
<br><br> | <br><br> | ||
After you have registered your account with SimplyBook.me, the next step is to organize your working schedule, configure providers, services and plenty of other stuff. <br> | After you have registered your account with SimplyBook.me, the next step is to organize your working schedule, configure providers, services and plenty of other stuff. <br> | ||
| − | We encourage you to check out our [https://www.youtube.com/watch?v=I2K-AAdFq-U&t | + | We encourage you to check out our [https://www.youtube.com/watch?v=I2K-AAdFq-U&t video] on how to get started.<br> |
When you create an account, the system automatically creates 2 pages for you: ''admin interface'' and ''booking page''. | When you create an account, the system automatically creates 2 pages for you: ''admin interface'' and ''booking page''. | ||
<br><br> | <br><br> | ||
Revision as of 07:05, 2 July 2020
After you have registered your account with SimplyBook.me, the next step is to organize your working schedule, configure providers, services and plenty of other stuff.
We encourage you to check out our video on how to get started.
When you create an account, the system automatically creates 2 pages for you: admin interface and booking page.
Admin interface is where you login and manage your bookings, settings, design etc. Clients have no access to that page. (Example)
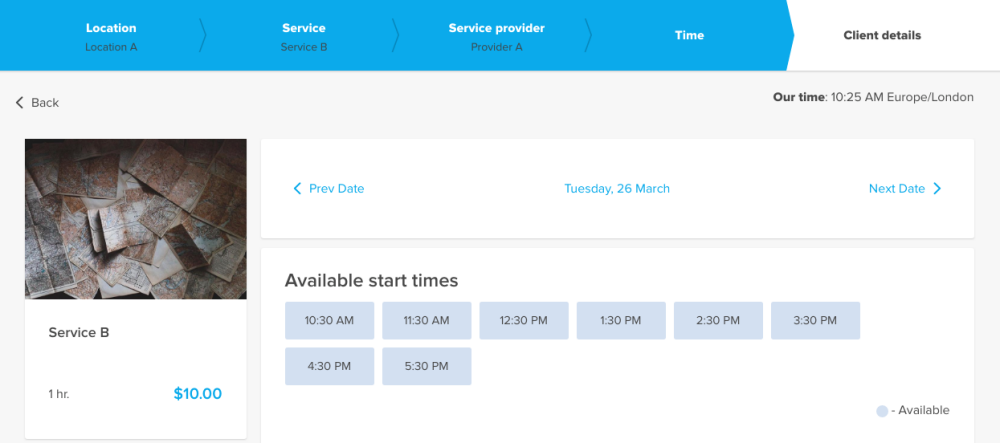
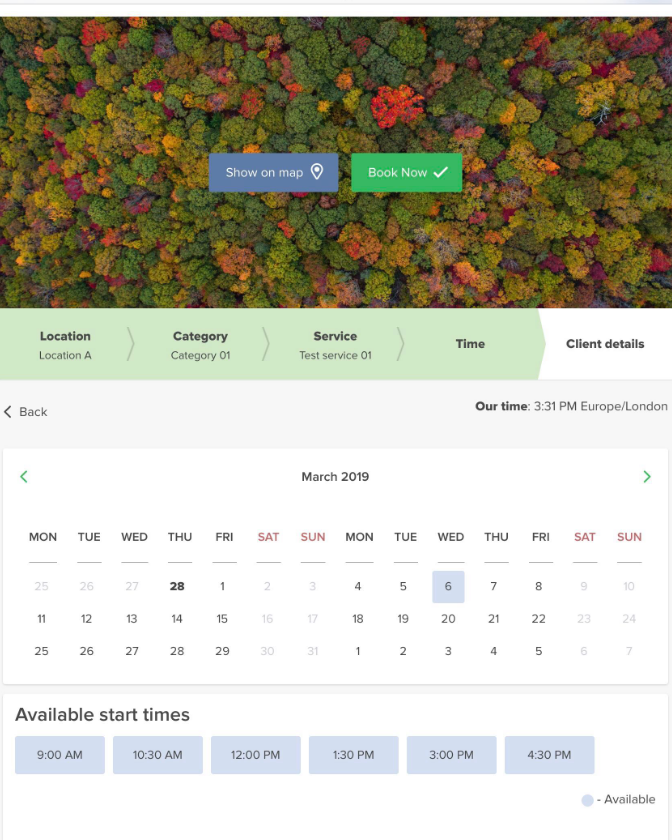
Booking Page is the interface for your clients. There, they can book your services and leave contact info. You can always access your booking page by clicking "My booking website" button in the upper right corner of your admin page. You will be transferred to the booking page and you can also send the url to your clients so that they can easily find your company. (Examples)
- 1. Upper bar. Three-line button shows/hides the full menu on the left. Latest news are marked as yellow notifications. Messages are marked with red and notifications with green color.
- 2. The first tab you see is Dashboard. It contains statistics about your performance, your current subscription package, bookings, performers, clients activity, etc. By analyzing the information you can make inferences about your business and figure out what can be done to improve it. If you need to know more about each section, just press the "i" sign.
- 3. Welcome page allows you to check general information regarding your account such as links to admin and client pages, current subscription and balance. You can also find some useful video tutorials on how to set up the system .
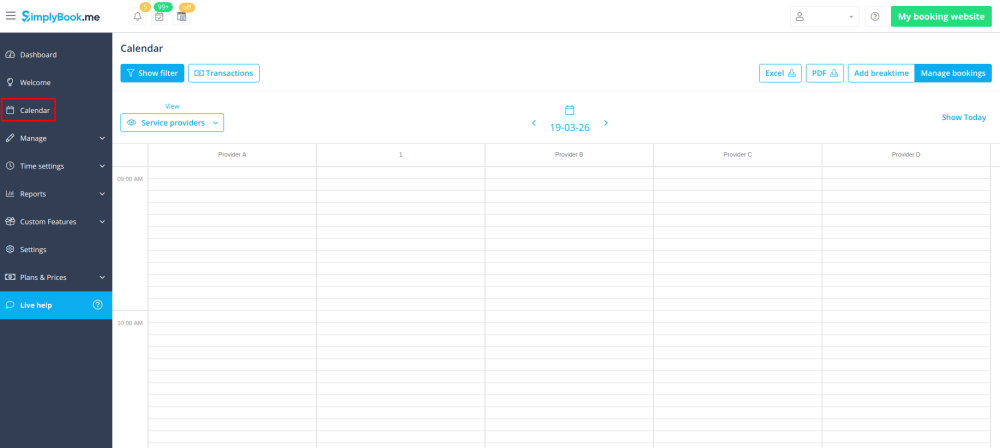
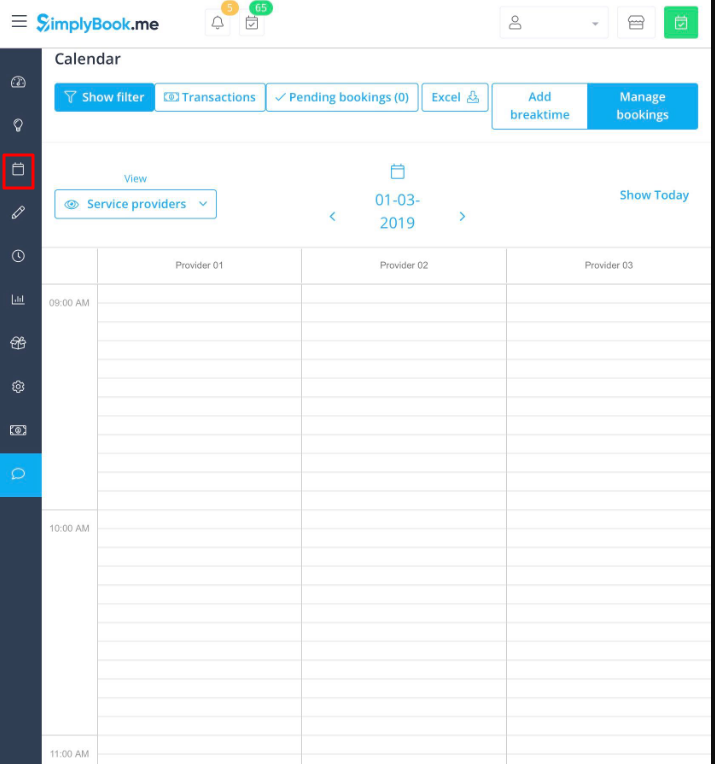
- 4. Calendar is a section where you can add, edit and delete your bookings and quickly add break times.
- 5. Manage tab contains several sections:
- Services - add, delete and edit services + create events
- Service Providers - add, delete and edit providers
- Classes option appears when you enable Classes custom feature and allows to create classes. You can use classes option only or combine them with services. They will be displayed together on the booking site.
- Packages section appears if the corresponding custom feature is enabled and allows to sell packages containing different services, products and add-ons.
- Clients - add, edit and delete clients
- Users - add, edit and delete users.
- Voice bookings tab allows to manage your voice booking bot settings when iBOB custom feature is on.
- Intake forms tab can be seen when Intake forms custom feature is enabled. Here you can create additional questions you wish to ask your clients during the booking process.
- Products for sale can be accessed when Products for Sale custom feature is switched on. This functionality allows you to create additional items to sell to the customers when they book.
- Service Add-Ons tab will appear if you enable Serice Add-Ons feature. It is one more up-selling option to enhance your business.
- Membership tab appears if you use Membership custom feature and allows you to create different kinds of memberships for your clients.
- Coupons and Gift cards section appears if you are using Coupons and Gift cards custom feature for issuing gift cards and allowing your clients to have some discounts.
- Taxes tab appears if you are using Accept payments custom feature and allows to create different tax options.
- Rewards and Referrals. To use this tab, you need to enable Rewards and Referrals in the Custom Features section and then you can use promotions to enhance your business.
- 6. In the Time Settings you have the following sections:
- Company Opening hours - regular schedule for your company on a weekly basis
- Company Special days - here you can set up specific schedule or days off for your company, for example national holidays.
- Providers schedule - individual schedules for each of your staff members (if you have only 1 provider, his/her working time can be the same as company's opening hours)
- Services schedule - individual schedules for each of your services (if you have only 1 service, its working time can be the same as company's opening hours)
- Classes schedule - appears when Classes custom feature is switched on. Allows to set individual schedules for each of your classes.
- 7. Reports tab contains different kinds of statistics you may wish to analyze and reviews from your clients
- 8. Custom Features. Custom Features are used to enhance the system and customize it in line with your needs. Please see the list of all Custom Features and their functions here.
- 9. Settings section allows to set varoius general options for your account starting from date format and notifications templates to website widgets creation.
- 9. Plans&Prices.
- Subscriptions. Here you can view different tariffs available for you and purchase or upgrade subscriptions.
- Additional items. Here you can purchase SMS credits, iBob credits, additional bookings and other items.


